
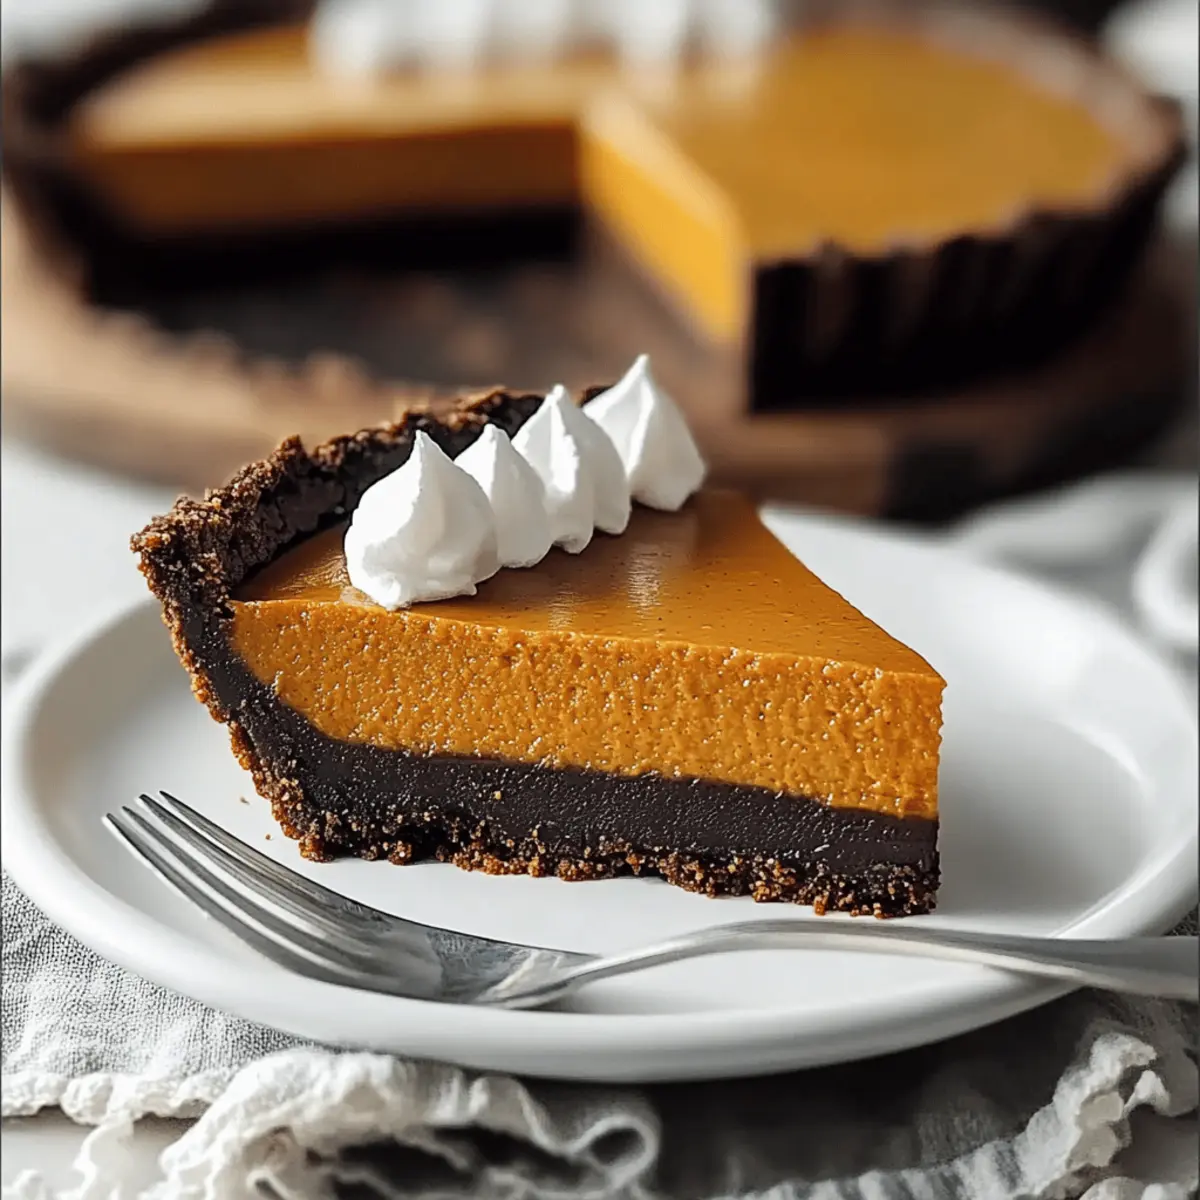
In the cozy embrace of autumn, I stumbled upon a delightful twist on a classic dessert that’s destined to become a festive favorite: the Dark Chocolate Pumpkin Tart. This mesmerizing tart unites the comforting flavors of pumpkin spice with the rich allure of dark chocolate, resulting in a dessert that’s both sophisticated and surprisingly easy to make. Perfect for Thanksgiving or any gathering, its pre-baked crust allows for a hassle-free baking experience, enabling you to spend more time with loved ones and less time in the kitchen. With just a handful of ingredients and minimal prep work, you’ll create a stunning centerpiece that will impress even the most discerning palates. Ready to elevate your dessert game? Let’s dive into this luxurious chocolate pumpkin creation!
Why is this tart a must-try?
Irresistible flavors: Combining pumpkin spice and dark chocolate, this tart captivates your taste buds in every bite.
Effortless preparation: With a pre-baked crust, you’ll find this dessert simplifies your holiday baking without compromise.
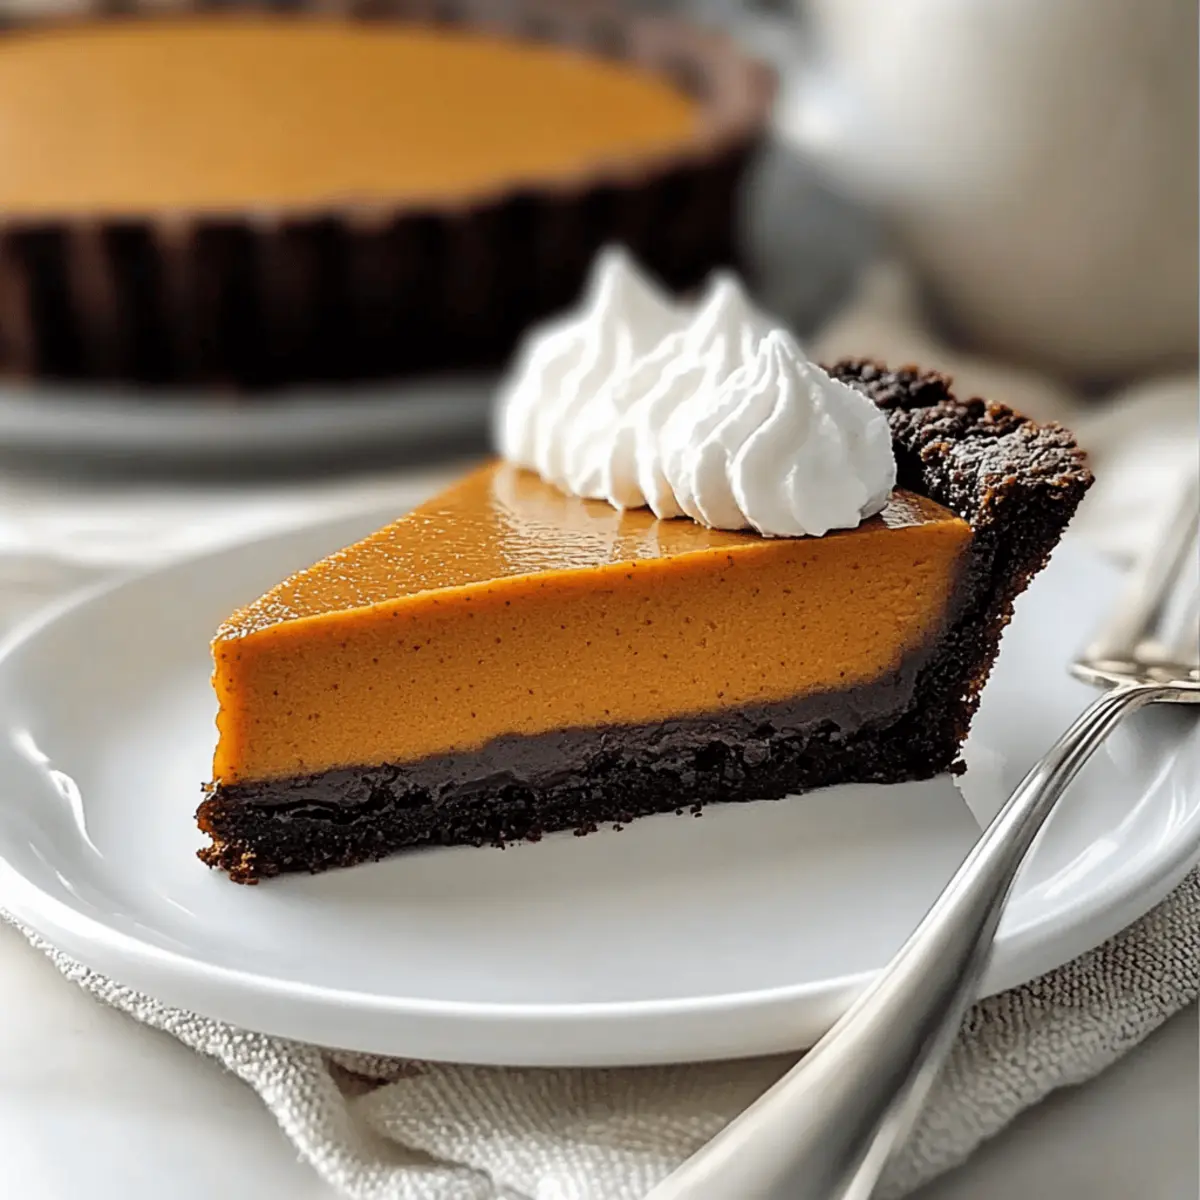
Show-stopping appearance: The rich, deep chocolate crust paired with the vibrant pumpkin filling makes it a stunning centerpiece.
Versatile pairing: Serve with whipped cream or spiced ice cream for a delightful contrast, enhancing the indulgence of your dessert.
Crowd-pleasing treat: Perfect for Thanksgiving and gatherings, it will surely impress friends and family alike, making you the star of the dessert table. Ready to explore more chocolate delights? Try the delectable Rocky Road Chocolate or Chocolate Chip Banana for a sweet ending to your meal!
Dark Chocolate Pumpkin Tart Ingredients
For the Crust
• All-Purpose Flour – Provides structure for the crust; substitute with a gluten-free flour blend for a gluten-free option.
• Unsweetened Dark Cocoa Powder – Imparts rich chocolate flavor and color to the crust; use sweet cocoa for a milder taste if desired.
• White Sugar – Sweetness for the crust; brown sugar can add a deeper flavor.
• Kosher Salt – Enhances overall flavor; regular salt can be used in its place.
• Unsalted Butter (melted) – Binds the crust ingredients and adds richness; margarine is a handy substitute in a pinch.
For the Filling
• Pure Pumpkin – The star ingredient offering sweetness and texture; opt for canned pure pumpkin for consistency.
• Sweetened Condensed Milk – Adds creaminess and sweetness to the filling; can be substituted with evaporated milk for a lower-sugar option.
• Large Egg – Provides stability and structure; a flax egg is a great vegan substitute.
• Pumpkin Pie Spice – Adds warmth and spice; substitute with a mix of cinnamon and nutmeg if you run out.
• Kosher Salt – Balances sweetness in the filling and enhances overall flavors.
Step‑by‑Step Instructions for Dark Chocolate Pumpkin Tart
Step 1: Preheat the Oven
Begin by preheating your oven to 425°F (220°C). While it warms up, take a 9-inch round tart pan and grease it thoroughly with non-stick spray. This will prevent the crust from sticking and ensure a beautiful release. Once the oven is ready, you’re set to create an indulgent Dark Chocolate Pumpkin Tart.
Step 2: Prepare the Crust Mixture
In a medium mixing bowl, whisk together all-purpose flour, unsweetened dark cocoa powder, sugar, and kosher salt until well combined. Create a well in the center of the dry mixture and pour in the melted unsalted butter. Stir until the mixture is crumbly and holds together when pressed. This chocolate crust will form the perfect base for your tart.
Step 3: Form and Pre-bake the Crust
Evenly press the crumbly mixture into the bottom and up the sides of the tart pan with your fingers or a flat-bottomed cup. Aim for an even thickness throughout. Bake the crust in the preheated oven for about 10 minutes until the edges are set but not overly darkened. Once baked, remove from the oven and allow it to cool for 10 minutes.
Step 4: Make the Pumpkin Filling
In a separate bowl, whisk together pure pumpkin, sweetened condensed milk, one large egg, pumpkin pie spice, and kosher salt until smooth and fully combined. This luscious filling blends flavors beautifully, providing a perfect contrast to the rich dark chocolate crust. The mixture should be thick yet pourable, ready to transform your tart.
Step 5: Combine and Bake the Tart
Pour the pumpkin mixture into the cooled chocolate crust, spreading it evenly. Place the tart back into the oven and bake at 425°F (220°C) for 10 minutes. Afterward, lower the temperature to 350°F (175°C) and continue baking for another 25 to 30 minutes. The filling should be set but slightly jiggly in the center when done.
Step 6: Cool Before Serving
Remove the Dark Chocolate Pumpkin Tart from the oven and allow it to cool in the pan for at least 1 hour. This cooling time is essential as it helps the filling firm up. Once cooled, gently slice and serve to reveal the beautiful layers of chocolate and pumpkin, allowing your creation to shine as a magnificent dessert centerpiece.
Make Ahead Options
These Dark Chocolate Pumpkin Tart preparations are perfect for the busy home cook! You can prepare the crust up to 24 hours ahead; simply press the mixture into the tart pan, bake it, and let it cool completely before wrapping it tightly in plastic wrap and refrigerating. The pumpkin filling can be made up to 3 days in advance; store it in an airtight container in the fridge. When you’re ready to bake, pour the chilled filling into the cooled crust and bake as instructed. This way, you’ll enjoy the same rich flavors without the last-minute rush, making your dessert just as delicious and ready for your festive table!
Dark Chocolate Pumpkin Tart Variations
Feel free to explore these delightful twists to make your Dark Chocolate Pumpkin Tart all your own!
- Gluten-Free: Swap all-purpose flour for a gluten-free blend, allowing everyone to enjoy this delightful dessert.
- Nutty Crust: Replace part of the flour with ground almonds or walnuts for a deliciously crunchy texture.
- Vegan: Use a flax egg and substitute sweetened condensed milk with a creamy coconut milk alternative for a plant-based option.
- Sugar-Free: Try erythritol or stevia in place of sugar for a low-sugar variant that still satisfies your sweet cravings.
- Spiced Up: Add a hint of cayenne pepper to the filling for a surprising, delightful kick that wonderfully contrasts the sweetness.
- Caramel Drizzle: Drizzle warm caramel sauce atop each slice for an extra indulgent touch that enhances the flavor profile.
- Chocolate Ganache Top: Spread a layer of chocolate ganache over the cooled tart for an extra layer of rich chocolatey goodness.
- Coconut Cream Topping: Serve each slice with dollops of coconut whipped cream to add a tropical flair that pairs beautifully with pumpkin spice.
These variations not only personalize your tart but also invite you to experiment with flavors and textures that your family will love. If you’re looking for more chocolate inspiration, don’t miss the rich High Protein Chocolate dessert or the wonderful Peanut Butter Chocolate bars!
How to Store and Freeze Dark Chocolate Pumpkin Tart
Fridge: Store the tart covered in the refrigerator for up to 5 days to maintain its freshness and flavor.
Freezer: Wrap the tart tightly in plastic wrap and then aluminum foil, and freeze for up to 3 months. Thaw in the fridge overnight before serving.
Slice Wisely: For easier serving, slice the tart before storing. This allows you to enjoy individual pieces without the need for thawing the entire dessert.
Reheating: If desired, gently reheat slices in the microwave for about 15-30 seconds to bring back the luscious texture of your Dark Chocolate Pumpkin Tart.
What to Serve with Dark Chocolate Pumpkin Tart
Indulging in a slice of this exquisite tart is only half the adventure; here’s how to enhance your dessert experience further.
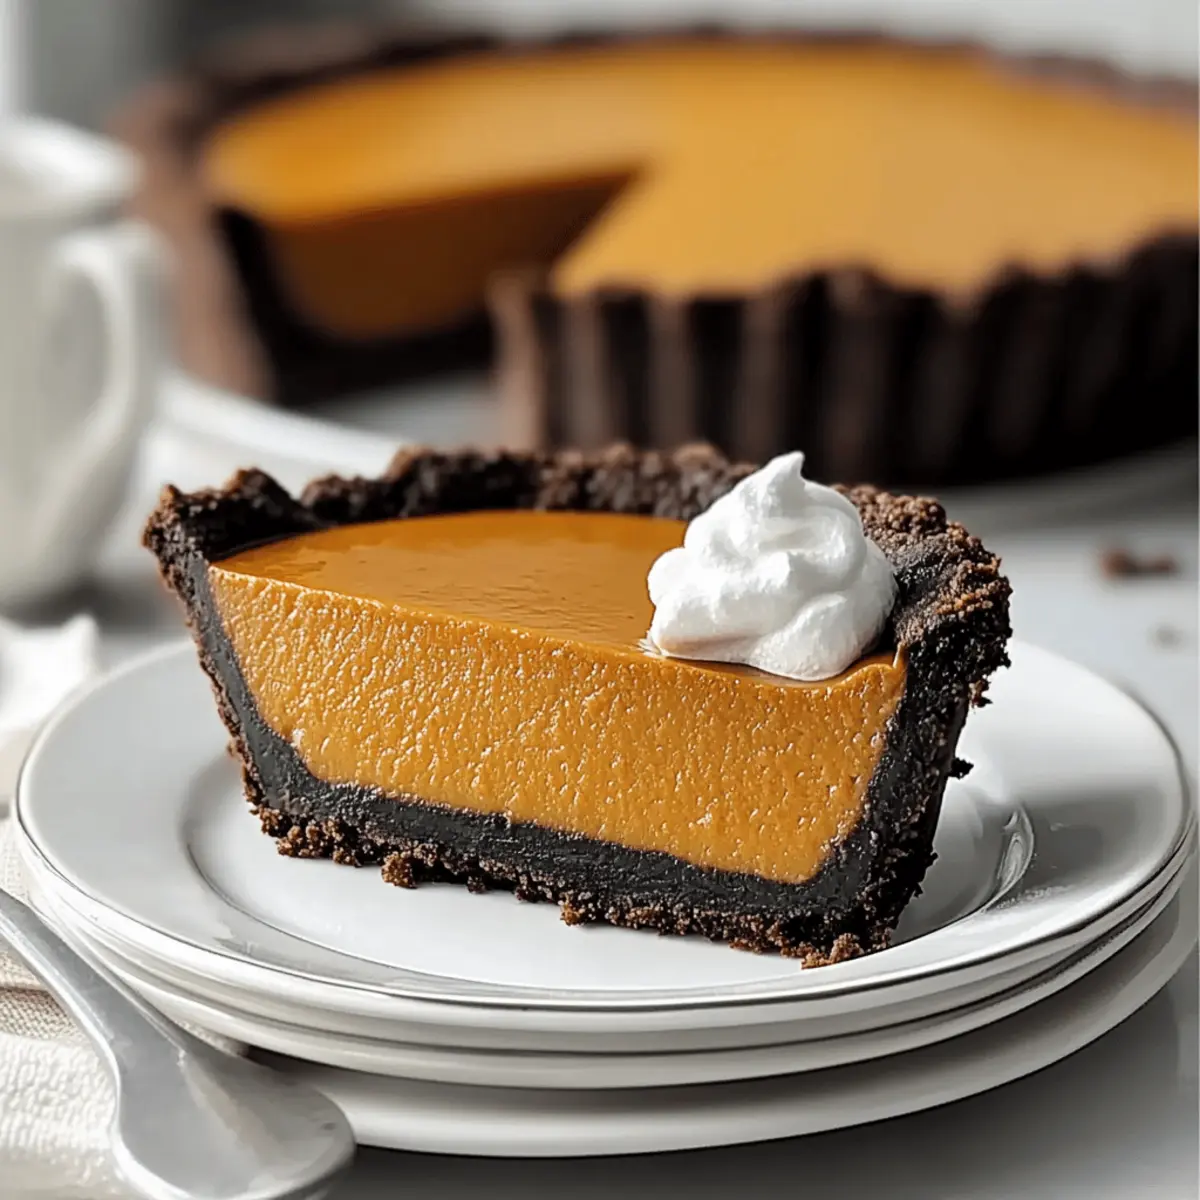
- Whipped Cream: A dollop of freshly whipped cream adds a light and airy contrast to the rich tart, enhancing its luxurious feel.
- Spiced Ice Cream: Tantalize your taste buds with a scoop of cinnamon or ginger ice cream for a delightful, creamy contrast to the chocolate. It complements the warm spices beautifully!
- Chocolate Sauce: Drizzling a bit of warm chocolate sauce on top not only amps up the chocolate flavor but also adds a decadent finish to each bite.
- Fresh Berries: A handful of raspberries or strawberries brings a burst of freshness and a touch of tartness that balances the sweet richness.
- Chai Tea: Pairing your tart with a steaming cup of spiced chai tea warms the heart and soul, echoing the pumpkin spices in the dessert.
- Pecan Pralines: Crunchy pecan pralines scattered on top offer a lovely textural contrast and a sweet, nutty flavor that enhances the festive vibes.
Creating a symphony of flavors will make your dessert table unforgettable!
Expert Tips for Dark Chocolate Pumpkin Tart
• Crust Perfection: Pre-bake the crust until the edges are firm to prevent a soggy base. This step is crucial for the pie’s texture.
• Mix Wisely: Stir the filling just until combined to avoid overmixing. This prevents air bubbles that can crack the tart’s surface while baking.
• Temperature Control: Start baking at a higher temperature for the initial set, then lower it for even cooking. This ensures a perfectly baked filling without overbaking.
• Cool Time Matters: Allow the tart to cool completely in the pan to maintain its structure and prevent weeping. This helps in achieving a clean slice when serving.
• Flavor Boost: Experiment with spices! Adding ground nutmeg or cloves can elevate the flavor profile of your Dark Chocolate Pumpkin Tart.
Dark Chocolate Pumpkin Tart Recipe FAQs
What type of pumpkin should I use for the filling?
Absolutely! I recommend using canned pure pumpkin for consistency and ease of use. However, if you prefer fresh ingredients, fresh sugar pie pumpkins work beautifully too. Just be sure to cook and purée them before using.
How should I store my Dark Chocolate Pumpkin Tart?
After it has cooled, store your tart covered in the refrigerator for up to 5 days. This keeps it fresh and delicious! Ensure it’s well-sealed to prevent any fridge odors from seeping in.
Can I freeze the Dark Chocolate Pumpkin Tart?
Very much so! Wrap the tart tightly in plastic wrap followed by aluminum foil, and freeze it for up to 3 months. When you’re ready to indulge, simply thaw it in the fridge overnight before serving to preserve its texture.
What should I do if my filling cracks during baking?
If you notice cracks on the surface of your tart, don’t worry—it still tastes wonderful! To avoid this in the future, try not to overmix the filling after adding the egg, as this can introduce too much air. Additionally, ensure your oven doesn’t run too hot; baking at a lower temperature once the initial set is achieved helps with even cooking.
Are there any dietary considerations for this tart?
For sure! If you have allergies, this tart contains gluten (from flour) and dairy (from butter and sweetened condensed milk). You can substitute the flour with a gluten-free blend and use almond milk mixed with cornstarch for a dairy-free option. If making for pets, pumpkin in moderation is safe, but keep all chocolate away from them as it’s toxic.
How long does the crust need to bake before adding the filling?
Great question! You should bake the crust for about 10 minutes until the edges are set. This pre-baking step is crucial to ensure that the crust stays firm and does not get soggy when the filling is added. Allow it to cool for at least 10 minutes before pouring in the filling for best results.
Irresistible Dark Chocolate Pumpkin Tart for Fall Bliss
Ingredients
Equipment
Method
- Preheat your oven to 425°F (220°C) and grease a 9-inch round tart pan.
- Whisk together flour, cocoa powder, sugar, and salt in a bowl. Add melted butter and mix until crumbly.
- Press the crust mixture into the tart pan evenly, bake for 10 minutes, then cool for 10 minutes.
- In another bowl, whisk together pumpkin, condensed milk, egg, spice, and salt until smooth.
- Pour pumpkin filling into the cooled crust and bake at 425°F for 10 minutes, then reduce to 350°F and bake for 25-30 minutes until slightly jiggly.
- Cool the tart in the pan for at least 1 hour before slicing and serving.
Leave a Reply