
As I stood in my kitchen, the sweet aroma of cherries filled the air, instantly transporting me back to childhood memories of summer picnics and sweet treats. That’s when I knew I had to recreate that nostalgic feeling with these delightful No-Bake Cherry Mash Truffles. This easy-to-make dessert offers a delightful combination of chewy cherries and creamy peanut butter, all wrapped in a rich chocolate coating. Perfect for impressing guests or simply indulging yourself, these truffles are not only a joy to make but also a fantastic no-bake option for those warm days. Plus, they’re vegetarian and can easily be adapted for nut-free diets! Are you ready to dive into this sweet adventure?
What Makes Cherry Mash Truffles Irresistible?
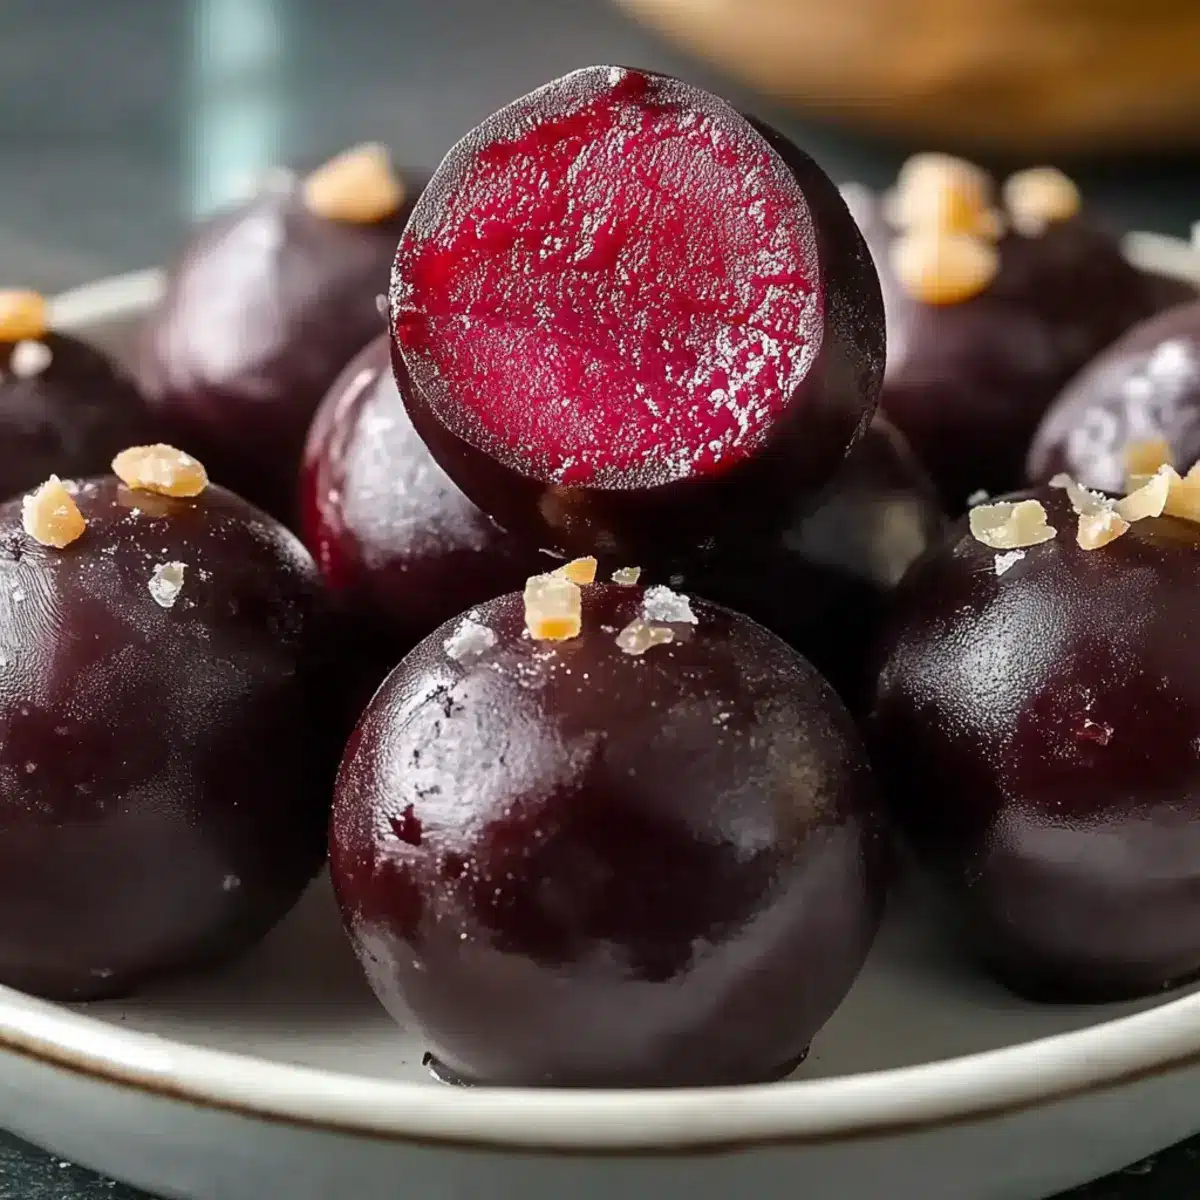
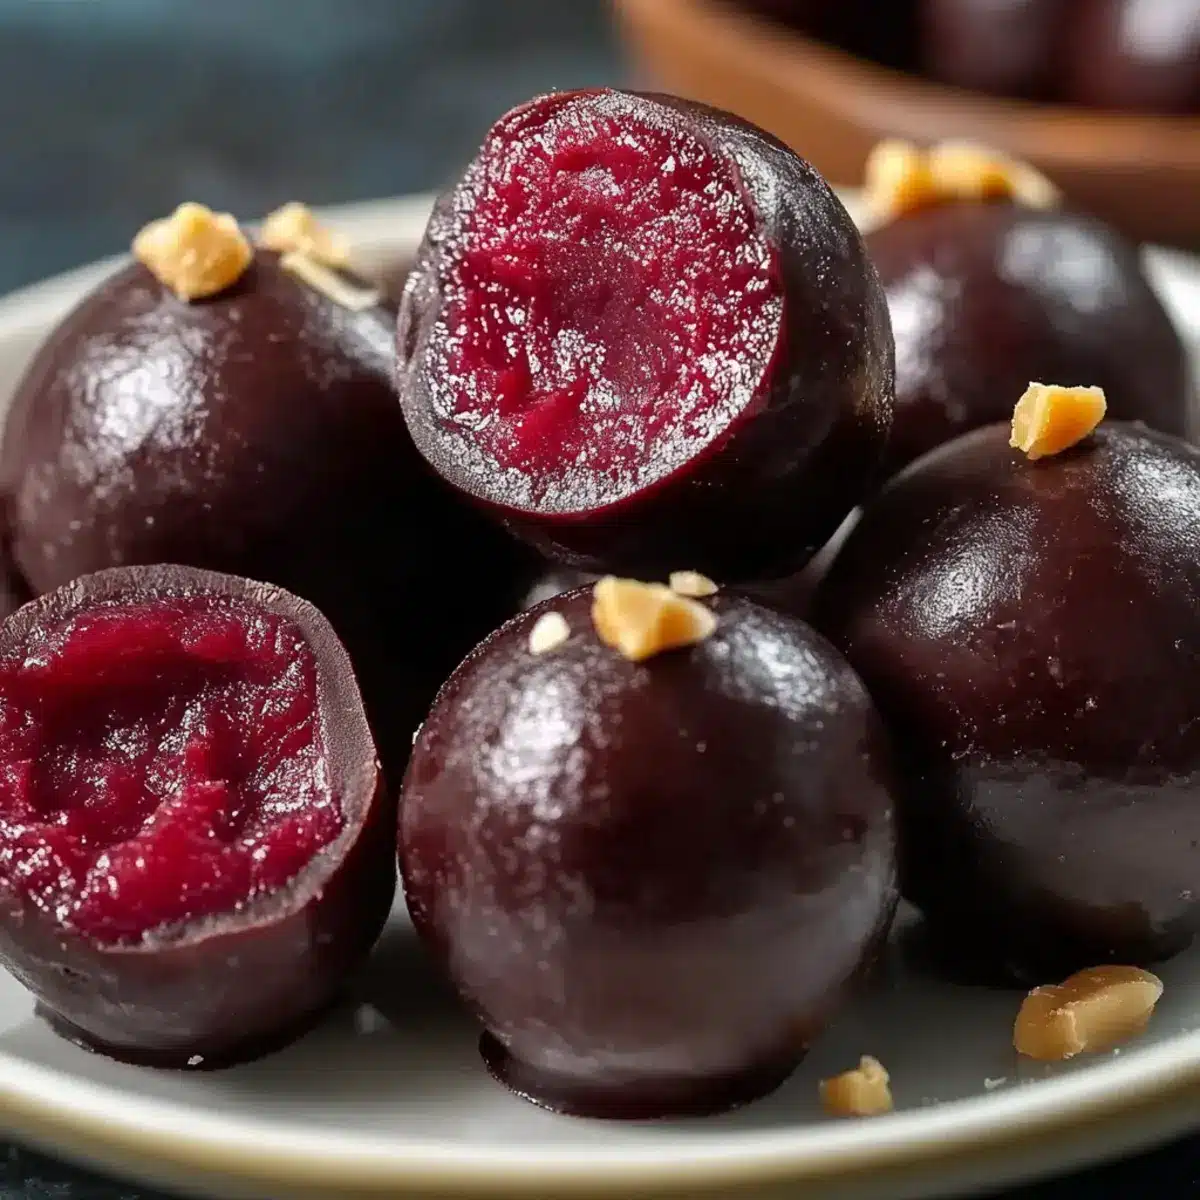
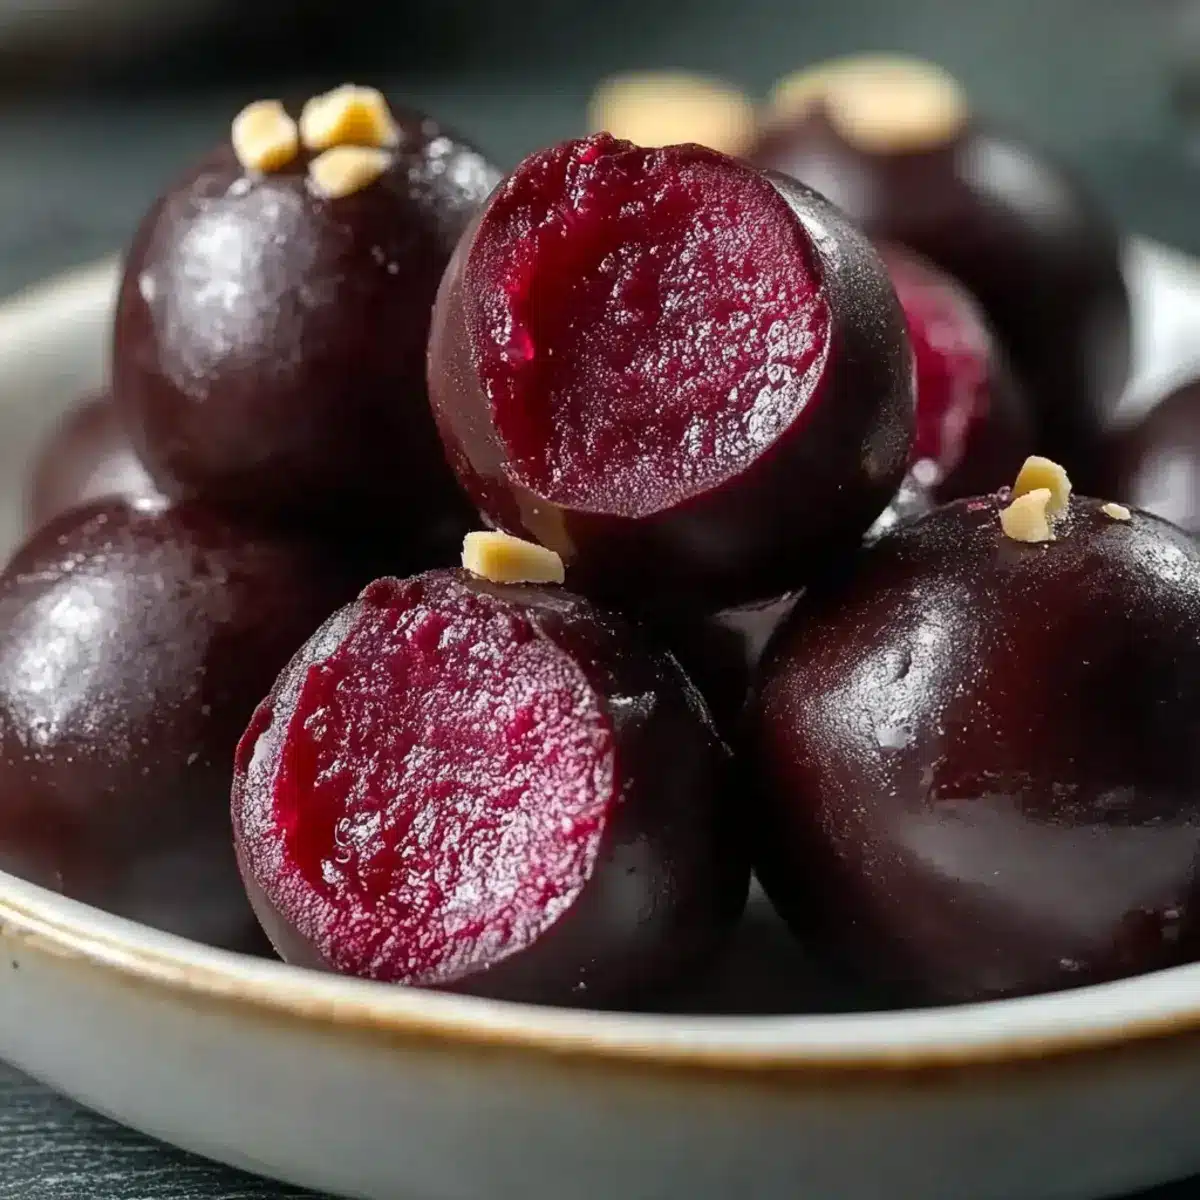
Nostalgic Flavor: Each bite of these truffles transports you back to blissful summer picnics, blending chewy cherry goodness with a creamy peanut butter center wrapped in rich chocolate.
No-Bake Delight: Forget the oven! These tasty treats come together effortlessly, perfect for those lazy, warm days when you crave something sweet without the hassle.
Customizable Options: Whether you’re nut-free or prefer a sweeter touch, with simple substitutions like sunflower seed butter or a drizzle of white chocolate, you can tailor them to your taste.
Crowd Appeal: Impress family and friends with these homemade delights—they’re bound to become the star of any gathering, bringing smiles with every indulgent bite.
Quick Preparation: Whip them up in no time! A little chilling and mixing is all it takes to create these flavorful bites, making them a quick go-to dessert.
Perfect for Any Occasion: Whether it’s a casual gathering or a special celebration, these Cherry Mash Truffles are a delightful addition. Pair them with your favorite beverage for a memorable treat!
Cherry Mash Truffles Ingredients
For the Truffle Mixture
- Chopped Maraschino Cherries – Adds sweetness and chewy texture; fresh cherries can substitute if well-prepared.
- Cherry Juice – Enhances cherry flavor and moisture; additional juice from the maraschino cherry jar works too.
- Softened Butter – Provides richness and helps bind the filling; use vegan butter for a dairy-free alternative.
- Almond Extract – Contributes a nutty aroma that complements the cherry flavor; feel free to substitute with vanilla extract.
- Vanilla Extract – Boosts the overall flavor profile; it’s a versatile ingredient for many desserts.
- Salt – Balances sweetness and enhances flavor; just a pinch goes a long way.
- Powdered Sugar – Acts as a sweetener and thickening agent for the truffle mixture; no substitutes recommended for texture.
For the Chocolate Coating
- Semi-Sweet Chocolate Chips – Forms the chocolate coating; dark chocolate can be used for a richer taste.
- Peanut Butter – Adds creaminess and enhances chocolate flavor; for a nut-free version, use sunflower seed butter.
- Chopped Salted Peanuts – Provides crunch and a salty contrast; omit for nut-free versions.
This delightful blend of ingredients is what makes the Cherry Mash Truffles such a delicious no-bake treat, perfect for satisfying those sweet cravings!
Step‑by‑Step Instructions for Cherry Mash Truffles
Step 1: Prepare the Cherry Mixture
In a large mixing bowl, combine the chopped maraschino cherries, cherry juice, softened butter, almond extract, vanilla extract, and a pinch of salt. Use a spatula to thoroughly mix until the ingredients are well blended, creating a colorful and fragrant mixture. This will form the delightful base for your Cherry Mash Truffles.
Step 2: Create the Dough
Gradually add powdered sugar to the cherry mixture, stirring consistently until a thick dough forms. The mixture should hold together well but remain slightly sticky, showcasing the luscious cherry color. This sweet dough will become the heart of your truffles, so ensure all ingredients are fully incorporated for optimal flavor.
Step 3: Chill the Mixture
Cover the dough with plastic wrap and refrigerate for 20 to 30 minutes. Chilling is crucial as it firms up the mixture, making it easier to handle when shaping the truffles. After chilling, you’ll notice the dough has taken on a firmer texture, ready for rolling into delightful bite-sized centers.
Step 4: Shape the Truffles
Once chilled, use a cookie scoop or your hands to portion out 1-inch balls of the mixture, rolling them gently to achieve a smooth shape. Place each rolled truffle onto a parchment-lined baking sheet, making sure they are spaced apart to avoid sticking. This step is essential, as these will soon become the star of your Cherry Mash Truffles.
Step 5: Freeze the Truffles
Place the baking sheet with the shaped truffles into the freezer for 15 to 20 minutes. Freezing them makes for an easier chocolate coating process, as it helps the dough hold its shape when dipped. You’re aiming for a firm texture that balances perfectly with the upcoming chocolate coating.
Step 6: Melt the Chocolate and Peanut Butter
In a microwave-safe bowl, heat semi-sweet chocolate chips and peanut butter in 30-second intervals, stirring after each burst until you achieve a smooth and glossy mixture. This delectable coating will envelop your Cherry Mash Truffles, enhancing their sweetness and adding a rich layer of flavor. Be careful not to overheat; you want it velvety and delightful!
Step 7: Dip the Truffles
Using a fork or toothpick, dip each chilled cherry ball into the melted chocolate mixture, ensuring it is fully coated. Let the excess chocolate drip off before placing them back on the parchment-lined baking sheet. This step will create the indulgent outer layer that makes Cherry Mash Truffles irresistibly attractive.
Step 8: Chill to Set
Return the coated truffles to the refrigerator for an additional 15 minutes to allow the chocolate to set firmly. You’ll notice how the chocolate coating becomes shiny and hard, completing the truffle-making process with a delightful finish. This final chill ensures each truffle holds its spectacular shape when served.
Step 9: Optional Decoration
For an extra touch of flair, feel free to decorate your freshly coated truffles with crushed peanuts or a drizzle of melted white chocolate before serving. This optional step transforms your Cherry Mash Truffles into a stunning presentation, perfect for impressing guests or adding a personal touch to your homemade treats.
Cherry Mash Truffles Variations & Substitutions
Let your creativity flow as you make these truffles your own—there are so many delightful twists you can add!
- Nut-Free Option: Substitute peanut butter with sunflower seed butter for a nut-free yet equally creamy delight.
- Fresh Cherries: Use fresh, pitted cherries instead of maraschino for a more natural flavor explosion.
- Flavor Twist: Swap almond extract for orange extract to introduce a zesty brightness to your cherry mixture. It’s a refreshing twist!
- Sugar-Free: Opt for powdered erythritol instead of powdered sugar for a lower-calorie version without sacrificing sweetness.
- White Chocolate Drizzle: Elevate your truffles by topping them with a drizzle of melted white chocolate—it’s an eye-catching addition!
- Crunchy Texture: Incorporate crushed pretzels or rice crispies into the truffle mixture for added crunch and texture.
- Decadent Chocolate: Use dark chocolate instead of semi-sweet for a richer taste that perfectly complements the sweet cherries.
- Spicy Kick: Add a pinch of cayenne pepper to the chocolate mixture for a surprising and delightful heat that contrasts beautifully with the sweetness.
With these variations, your Cherry Mash Truffles can be uniquely yours. Explore and enjoy the process of making it a personal favorite! If you’re looking for more no-bake treats to enhance your dessert repertoire, check out our favorite no-bake desserts and discover other delightful options for gatherings!
What to Serve with Cherry Mash Truffles?
Indulging in these delightful truffles opens the door to a world of complimentary flavors and textures, creating a memorable dessert experience.
-
Fresh Fruit Platter: Vibrant berries or juicy slices of citrus add a refreshing contrast, balancing the sweetness of the truffles beautifully.
-
Creamy Vanilla Ice Cream: A scoop of velvety vanilla ice cream serves as the perfect base, enhancing the flavors while providing a delightful temperature contrast.
-
Rich Coffee: A hot cup of coffee or espresso cuts through the sweetness, enhancing the chocolate and cherry notes in each truffle bite.
-
Decadent Chocolate Sauce: Drizzling warm chocolate sauce over the truffles takes them to the next level of indulgence, perfect for chocolate lovers.
-
Sparkling Water with Lime: This effervescent drink is light and refreshing, cleansing the palate between each sweet mouthful.
-
Baked Brie with Honey: The creamy, melty brie paired with a drizzle of honey creates a savory-sweet combination that complements the rich flavors of the truffles.
-
Chocolate-Covered Strawberries: Maintain the charming chocolate theme! This elegant duo of flavors elevates your dessert spread into a true indulgence.
-
Mini Cheesecake Bites: Creamy, rich cheesecakes add a world of texture and flavor, harmonizing beautifully with the Cherry Mash Truffles.
-
Homemade Lemonade: A zesty, tangy lemonade refreshes the palate while highlighting the cherry goodness in these decadent treats.
How to Store and Freeze Cherry Mash Truffles
Fridge: Store your Cherry Mash Truffles in an airtight container in the refrigerator for up to one week. This keeps them fresh and chewy, ready for a late-night treat!
Freezer: For longer storage, freeze the truffles in a single layer on a baking sheet, then transfer to a container. They can be kept in the freezer for up to one month.
Thawing: If frozen, allow the Cherry Mash Truffles to thaw overnight in the refrigerator before serving. This maintains their perfect texture and flavor.
Reheating: There’s no need to reheat; enjoy these delightful no-bake treats chilled for the best experience!
Make Ahead Options
These Cherry Mash Truffles are perfect for meal prep, allowing you to savor delightful desserts without last-minute stress! You can prepare the truffle mixture and refrigerate it for up to 24 hours. Simply follow the initial steps to combine your ingredients and chill. When you’re ready to serve, scoop and roll the chilled mixture into balls, then proceed to freeze them before dipping in chocolate. To maintain their delightful quality, store them in an airtight container in the refrigerator for up to one week after coating. This way, you can enjoy these sweet treats anytime with just a little finishing touch!
Expert Tips for Cherry Mash Truffles
-
Chill Well: Ensure the cherry mixture is well chilled before rolling to prevent stickiness and make shaping easier.
-
Even Coating: Use a fork or toothpick to dip the truffles into the chocolate; this helps achieve an even coating without a mess.
-
Storage Matters: For the best flavor and texture, store the cherry mash truffles in an airtight container in the refrigerator.
-
Customize Wisely: Remember, substituting almond extract with vanilla provides a different flavor profile; choose according to your taste.
-
Don’t Overheat: When melting chocolate, heat in short bursts and stir frequently; this keeps the chocolate smooth and prevents burning.

Cherry Mash Truffles Recipe FAQs
How do I choose the best maraschino cherries?
Absolutely! Opt for bright red cherries with a glossy appearance. Avoid jars with dark spots all over—they may indicate age or spoilage. If you want a fresher option, select fresh cherries in season, ensuring they are firm and vibrant without blemishes.
What is the best way to store Cherry Mash Truffles?
For optimal freshness, store your Cherry Mash Truffles in an airtight container in the refrigerator. They’ll stay delicious for up to one week. If you like, include a piece of parchment paper between layers to prevent sticking. Enjoy them chilled!
Can I freeze Cherry Mash Truffles?
Yes, you can! To freeze, place the truffles in a single layer on a baking sheet and freeze for about 2 hours until solid. Then, transfer them to a freezer-safe container or zip-top bag. They can be stored in the freezer for up to one month. When ready to enjoy, thaw them overnight in the refrigerator.
What should I do if my truffle mixture is too sticky?
Not a problem! If your mixture is too sticky, it may help to chill it for another 10 minutes. You can also sprinkle a tiny bit of powdered sugar to make it easier to handle. Always ensure your hands are dry when rolling the truffles to maintain a smooth texture!
Are there any allergy considerations for Cherry Mash Truffles?
Definitely! If you’re making these for anyone with allergies, replace peanut butter with sunflower seed butter for a nut-free version. Furthermore, always check labels of store-bought ingredients, as some might contain hidden allergens. The chocolate chips can usually be found dairy-free as well.
Can I make these Cherry Mash Truffles vegan?
Absolutely! To create a vegan version, simply substitute the softened butter with vegan butter or coconut oil, and ensure that the chocolate chips are dairy-free. This way, everyone can indulge in this delightful treat without dietary concerns!
Cherry Mash Truffles: No-Bake Treats for Sweet Moments
Ingredients
Equipment
Method
- In a large mixing bowl, combine the chopped maraschino cherries, cherry juice, softened butter, almond extract, vanilla extract, and a pinch of salt. Mix until well blended.
- Gradually add powdered sugar to the cherry mixture, stirring until a thick dough forms.
- Cover the dough with plastic wrap and refrigerate for 20 to 30 minutes to firm up the mixture.
- Once chilled, use a cookie scoop or your hands to form 1-inch balls and place them on a parchment-lined baking sheet.
- Freeze the truffles for 15 to 20 minutes to help them hold their shape when coated.
- In a microwave-safe bowl, heat semi-sweet chocolate chips and peanut butter in 30-second intervals, stirring until smooth.
- Dip each chilled cherry ball into the melted chocolate mixture and let the excess drip off before placing them back on the baking sheet.
- Return the coated truffles to the refrigerator for 15 minutes to allow the chocolate to set.
- Optionally, decorate with crushed peanuts or a drizzle of melted white chocolate before serving.
Leave a Reply