
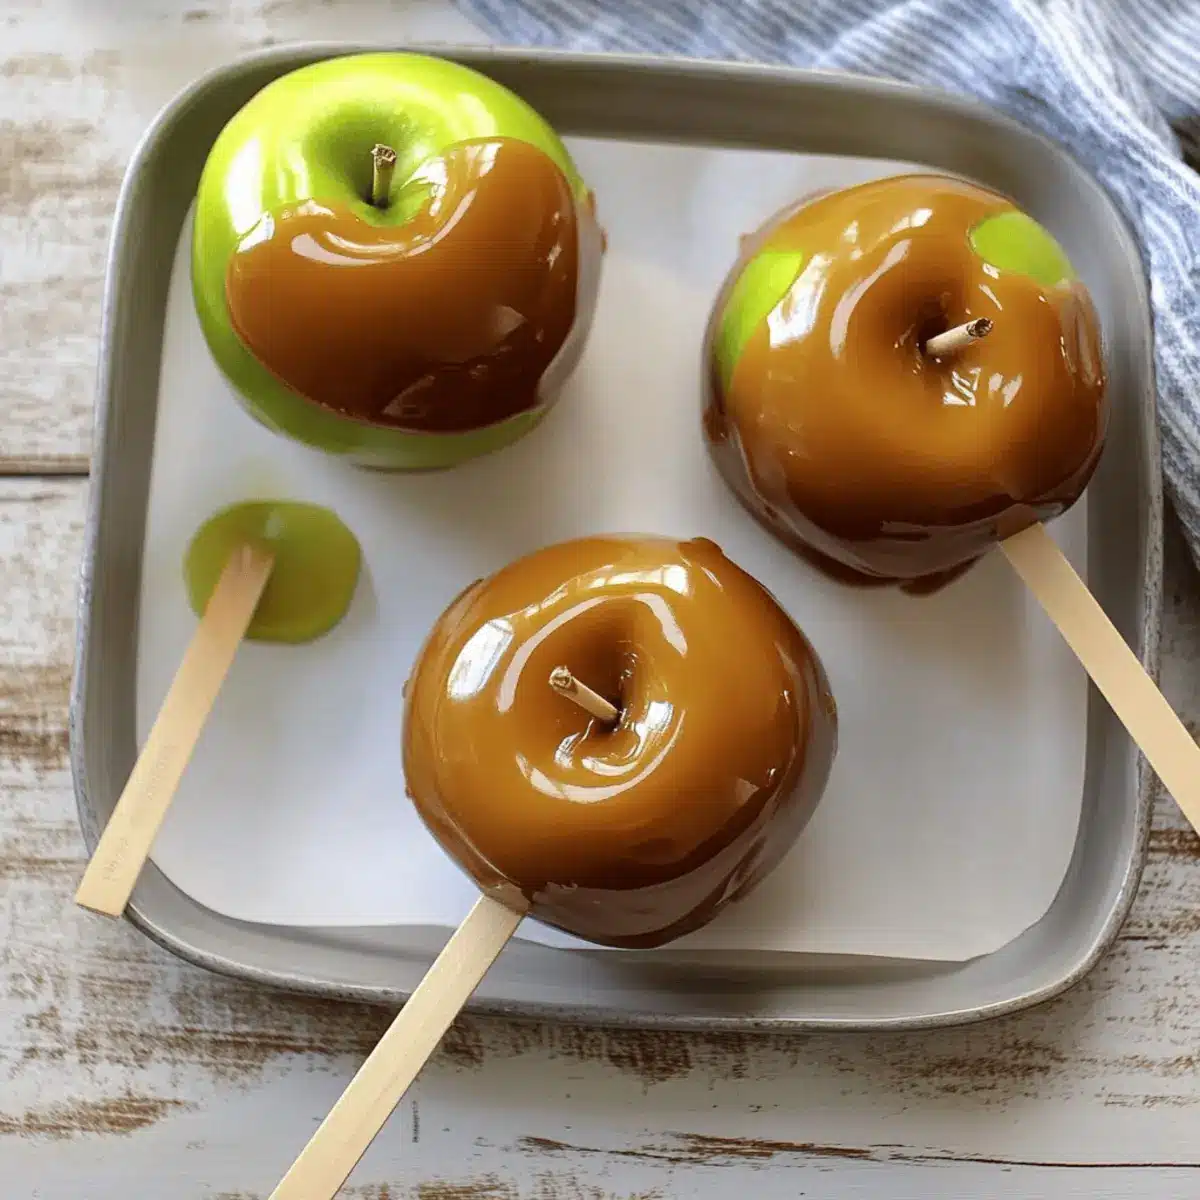
The rich aroma of caramel wafting through the kitchen instantly transports me back to bustling autumn fairs, where the crisp air mingles with sugary sweetness. Making homemade caramel apples at home has become a cherished tradition, one that I can’t help but share with fellow enthusiasts. This beginner-friendly recipe brings together tart Granny Smith apples and creamy, buttery caramel for a delightful treat that’s as easy to whip up as it is to customize. Not only do these caramel apples make for a show-stopping dessert at any fall gathering, but they also add a fun, hands-on activity to your kitchen repertoire. So, are you ready to create a nostalgic, mouthwatering masterpiece? Let’s dive into this timeless recipe and celebrate the flavors of autumn together!
Why Are Homemade Caramel Apples So Special?
Nostalgic Treat: The aroma of caramel filling your home takes you back to childhood fairs, making every bite a sweet memory.
Beginner-Friendly: With easy-to-follow steps, anyone can create these delights, making it a perfect kitchen project for families or gatherings.
Customizable Fun: Enhance your caramel apples with toppings like nuts, sprinkles, or a drizzle of chocolate for a personal touch.
Perfect for Fall: These delectable snacks are ideal for autumn parties and gatherings, bringing smiles to all ages.
Gift-Worthy: Beautifully wrapped caramel apples make thoughtful gifts for loved ones during the festive season.
Indulge in this classic treat with our simple techniques to create perfectly chewy caramel apples that everyone will adore!
Caramel Apples Ingredients
For the Apples
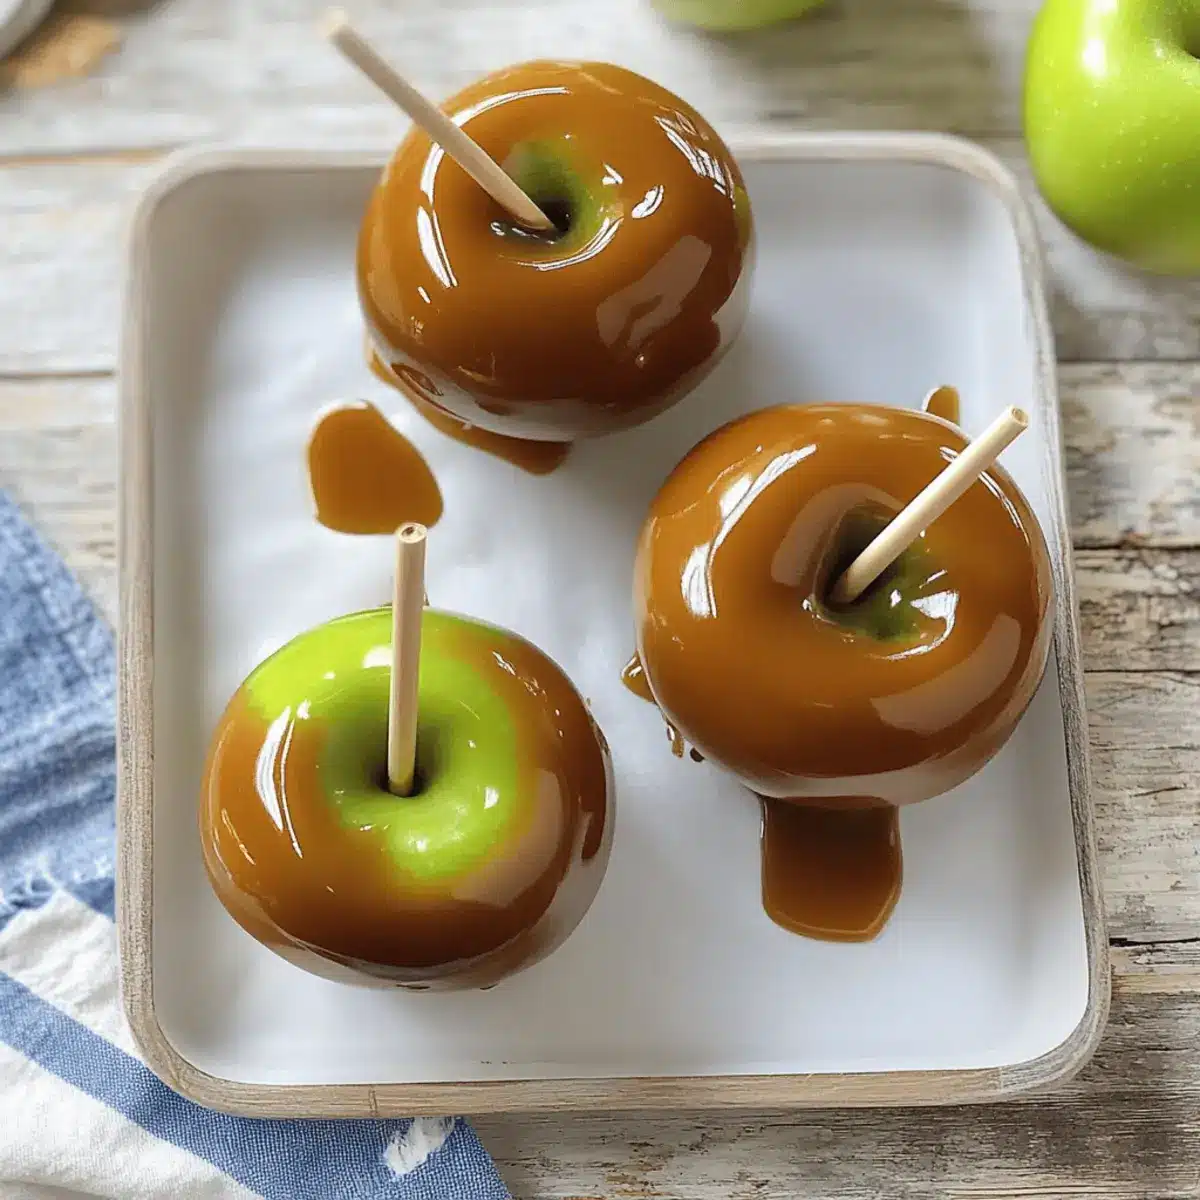
• Small Granny Smith Apples – Tart and crisp, they provide the ideal contrast to sweet caramel; remember to wash and dry them well before use.
For the Caramel
• Brown Sugar (2 cups) – Adds sweetness and influences caramel color; opt for light brown for a subtle taste or dark for a richer flavor.
• Light Corn Syrup (1 cup) – Ensures smooth texture and prevents crystallization in your homemade caramel apples.
• Sweetened Condensed Milk (14 oz can) – Provides creaminess and gives your caramel a delicious richness.
• Unsalted Butter (½ cup) – Melt it before mixing to enhance the richness of your caramel.
• Salt (¼ teaspoon) – Balances the sweetness and enhances overall flavor for the best homemade caramel experience.
Expert Tips
• Candy Thermometer – Using one is crucial for ensuring your caramel reaches the perfect temperature for coating your apples.
Delight in creating homemade caramel apples straight from your kitchen, where each bite brings a touch of nostalgia!
Step‑by‑Step Instructions for Homemade Caramel Apples
Step 1: Prepare Apples
Begin by washing the small Granny Smith apples thoroughly under cool water to remove any dirt. To eliminate the wax coating, dip them briefly in hot water mixed with vinegar for about 10 seconds, then thoroughly dry each apple using a clean towel. Insert wooden sticks into the tops, about halfway into the apples, and line a baking sheet with parchment paper to prevent sticking.
Step 2: Make Caramel
In a heavy-bottomed saucepan, melt the unsalted butter over medium-low heat, stirring occasionally. Once melted, mix in 2 cups of brown sugar, 1 cup of light corn syrup, 14 ounces of sweetened condensed milk, and ¼ teaspoon of salt. Stir well to combine all ingredients until smooth and slightly bubbly, ensuring the mixture doesn’t burn, which usually takes about 5 minutes.
Step 3: Cook Caramel
Attach a candy thermometer to the side of your saucepan before cooking the caramel mixture. Allow it to cook undisturbed while stirring constantly until it reaches the soft-ball stage, around 230-240°F. Keep a close eye on the color—it should shift to a warm, golden amber, signaling it’s time to remove it from the heat.
Step 4: Cool Caramel
Once your caramel reaches the desired temperature, take the saucepan off the heat and let the mixture cool for a few minutes. Allow it to drop to about 190°F, which is the optimal temperature for dipping. This cooling step ensures the caramel adheres well to your apples without becoming too thick or too runny.
Step 5: Dip Apples
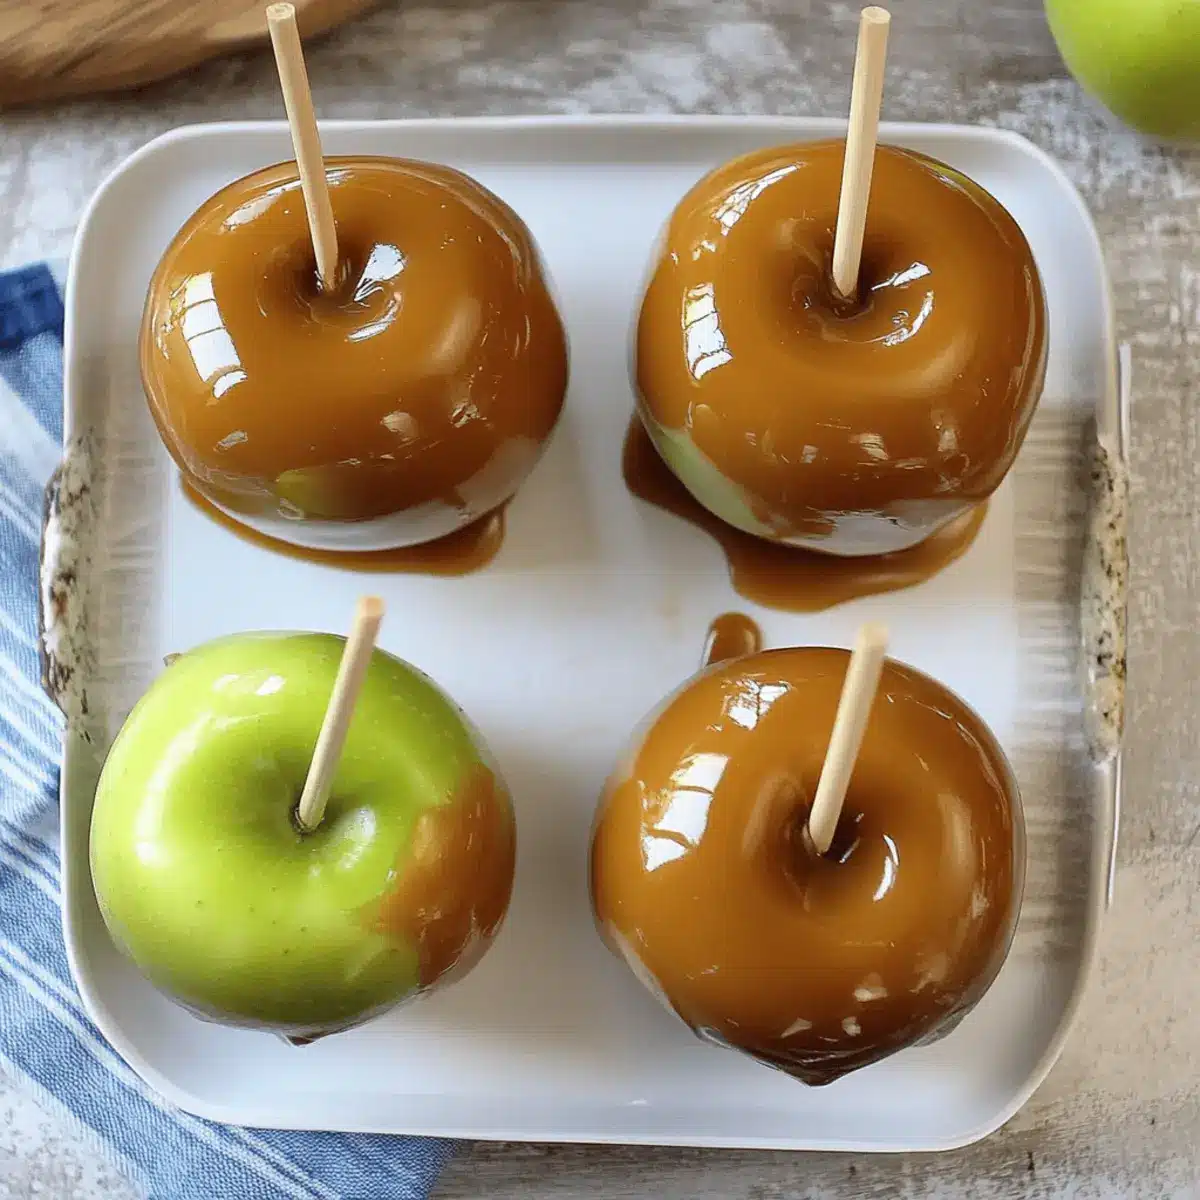
Gently tilt the pot of cooled caramel to the side and dip each prepared apple into the mixture. Rotate the apple to ensure an even coating of caramel before allowing the excess to drip off back into the pot. Place each caramel-coated apple upright on the lined baking sheet to set.
Step 6: Add Toppings
While the caramel is still tacky, sprinkle your choice of toppings like crushed nuts, cookie crumbs, or decorative sprinkles over the caramel. If you want to drizzle melted chocolate on top, wait about 10-15 minutes for the caramel to firm up slightly before doing so to create a beautiful, layered effect.
Step 7: Cool
Finally, allow your homemade caramel apples to cool completely until the caramel sets and becomes glossy. This usually takes about 30 minutes. Once set, they can be enjoyed immediately or stored in an airtight container, ready to share or gift!
How to Store and Freeze Caramel Apples
Room Temperature: Keep your homemade caramel apples at room temperature for up to 2 days. Store them in a cool, dry place, away from direct sunlight to preserve their freshness.
Fridge: For longer storage, place caramel apples in clear boxes or airtight containers and store them in the refrigerator for up to 2 weeks. Allow them to come to room temperature before serving to soften the caramel.
Freezer: While not ideal, you can freeze caramel apples for up to 3 months. Wrap them individually in plastic wrap and place them in a freezer-safe bag. Thaw in the fridge overnight before enjoying.
Reheating: If the caramel has become too hard, gently warm the apples in a microwave for a few seconds to return some softness. Enjoy your caramel apples at their best!
Caramel Apples: Delicious Variations Awaits
Feel free to customize your caramel apples into delightful creations that excite the taste buds and spark creativity!
-
Different Apples: Try using Honeycrisp or Fuji apples for a sweeter taste or even tart Granny Smith for the classic experience. Each variety brings its unique twist!
-
Nutty Delight: Roll your caramel apples in chopped almonds, pecans, or walnuts for a crunchy texture that perfectly complements the smooth caramel.
-
Chocolate Drizzle: Add a drizzle of melted chocolate over the caramel for a decadent finish, using dark, white, or milk chocolate for an irresistible layer of flavor.
-
Spice It Up: Sprinkle a dash of cinnamon or nutmeg on the caramel before it sets, enhancing the warmth of autumn flavors that evoke cozy memories.
-
Cookie Crumb Coating: Crush your favorite cookies, like Oreos or graham crackers, and roll your apples for an extra layer of sweetness and a fun crunch.
-
Peanut Butter Swirl: For a nutty twist, mix creamy peanut butter into the caramel before dipping! It adds a luscious richness that chocolate lovers will adore.
-
Fruity Toppings: Add dried cranberries, chopped dried apricots, or coconut flakes to bring a fruity freshness that brightens the flavors and adds a playful finish.
Explore the possibility of individual flavors with each batch! These variations not only elevate your caramel apples but also let you share unique and personalized treats during your seasonal celebrations. For more ideas on custom toppings, check out our guide on creative dessert toppings to inspire your kitchen adventures!
Expert Tips for Homemade Caramel Apples
Perfectly Dry Apples: Ensure your apples are completely dried after washing; any moisture can cause caramel to slide off.
Temperature Matters: Use a candy thermometer for accuracy; if your caramel is too soft, it hasn’t reached 230-240°F, and if too hard, it’s been overcooked.
Consistent Stirring: Always stir the caramel continuously while cooking to prevent burning, especially since sweetened condensed milk can scorch quickly.
Toppings Timing: Add toppings while the caramel is still tacky for the best adhesion. Wait 10-15 minutes if you’re drizzling chocolate to avoid it sliding off.
Setting Time: Allow your caramel apples to cool until the caramel is glossy and fully set; this can take about 30 minutes, but it’s worth the wait for the perfect bite!
Indulge in this classic caramel apples recipe and create a thoughtful autumn treat the whole family will cherish!
Make Ahead Options
These homemade caramel apples are perfect for meal prep enthusiasts looking to save time on busy weeknights! You can prep the caramel base up to 24 hours ahead of time by making the caramel and refrigerating it in an airtight container. When you’re ready to assemble, gently reheat the caramel on low heat until it’s smooth and pourable. Additionally, you can wash and dry the apples ahead of time, inserting the sticks and storing them in the refrigerator for up to 3 days to keep them fresh. Just remember to dip and coat the apples right before serving for the best texture. This way, you’ll have delightful caramel apples ready to impress your family or guests with minimal effort!
What to Serve with Perfect Homemade Caramel Apples
Imagine your kitchen filled with warmth and laughter as you enjoy delicious, festive treats that will surely delight everyone.
-
Warm Cinnamon Cider: The cozy, spiced notes of warm cider perfectly enhance the sweet and buttery flavor of caramel apples, creating an inviting atmosphere.
-
Pumpkin Pie: This classic fall dessert provides a sweet and spiced contrast to chewy caramel apples, rounding off your autumn culinary experience beautifully.
-
Roasted Nuts: Crunchy and savory, roasted nuts offer a delightful texture contrast to the soft caramel coating and tart apple, making every bite unforgettable.
-
Vanilla Ice Cream: A scoop of creamy vanilla ice cream alongside caramel apples creates a heavenly dessert duo, marrying hot and cold for a delightful treat.
-
Chocolate Fondue: Dip slices of caramel apple into chocolate fondue for an extra indulgent treat that combines flavors in a luxurious way, perfect for sharing.
-
Gingersnap Cookies: The crunchy, spicy flavor of gingersnap cookies complements the sweetness of caramel apples while adding a satisfying texture contrast.
-
Pecan Pie Bars: The rich, buttery pecan pie bars enhance the flavors of your caramel apples, making for an impressive dessert spread at any gathering.
-
Sparkling Cider: A refreshing, bubbly drink that pairs delightfully with the sweetness of caramel apples, adding a festive touch to your gathering.

Homemade Caramel Apples Recipe FAQs
What kind of apples should I use for caramel apples?
I highly recommend using small Granny Smith apples! Their tartness contrasts beautifully with the sweet caramel, creating a delightful flavor balance. Other great options are Honeycrisp or Fuji apples, which offer sweetness and crispness that work wonderfully with caramel.
How should I store leftover caramel apples?
To keep your caramel apples fresh, store them at room temperature for up to 2 days. If you want to enjoy them longer, place them in clear boxes or airtight containers in the refrigerator for up to 2 weeks. Just remember to let them warm to room temperature before serving to soften the caramel.
Can I freeze caramel apples?
Absolutely! While they are best enjoyed fresh, you can freeze caramel apples for up to 3 months. Wrap each apple individually in plastic wrap and place them in a freezer-safe bag. When you’re ready to enjoy them, thaw the apples in the fridge overnight for the best texture.
What if my caramel is too soft or too hard?
No worries! If your caramel is too soft, it likely hasn’t reached the necessary temperature of 230-240°F (soft-ball stage). Stir continuously while cooking, and make sure to check with a candy thermometer. If it’s too hard, that means it cooked too long; to remedy this, gently reheat it with a splash of water on low heat until it softens.
Can my pets have any of the ingredients?
It’s best to keep these treats away from pets as they contain sugar and other sweeteners that are not good for them. If you’re concerned about allergies or animal safety, always check ingredients and consult your vet regarding any food safety concerns.
How long does it take for the caramel to set?
After dipping, allow your caramel apples to cool for about 30 minutes until the caramel sets and becomes glossy. This is crucial for achieving that perfect, chewy texture that you’ll want to indulge in!
Homemade Caramel Apples: A Sweet Fall Tradition
Ingredients
Equipment
Method
- Wash the small Granny Smith apples thoroughly under cool water to remove any dirt. Dip them briefly in hot water mixed with vinegar for about 10 seconds, then dry each apple thoroughly.
- In a heavy-bottomed saucepan, melt the unsalted butter over medium-low heat, stirring occasionally. Mix in brown sugar, corn syrup, sweetened condensed milk, and salt. Stir well until smooth and slightly bubbly (about 5 minutes).
- Attach a candy thermometer to the side of the saucepan. Cook the caramel mixture while stirring constantly until it reaches the soft-ball stage, around 230-240°F, and shifts to a warm, golden amber color.
- Remove from heat and let the mixture cool for a few minutes until it drops to about 190°F, ideal for dipping.
- Gently tilt the pot of cooled caramel and dip each apple, rotating for an even coat. Allow excess caramel to drip off and place on a lined baking sheet.
- Sprinkle toppings like crushed nuts or sprinkles while the caramel is still tacky. If drizzling chocolate, wait 10-15 minutes for the caramel to firm up slightly first.
- Let the caramel apples cool completely until set and glossy (about 30 minutes). Enjoy immediately or store in an airtight container.
Leave a Reply