
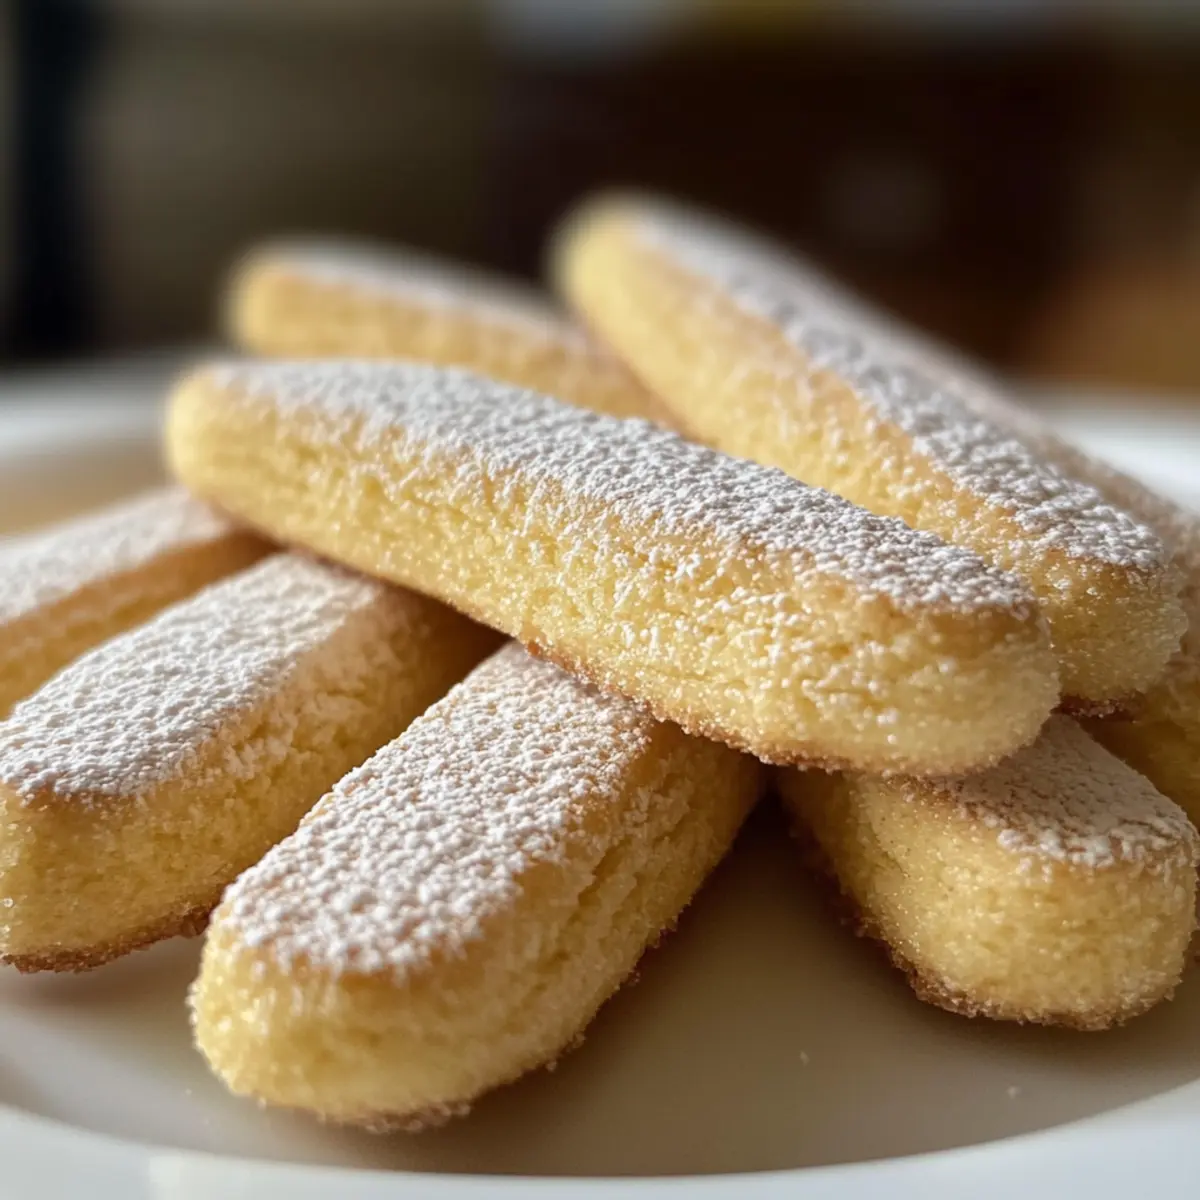
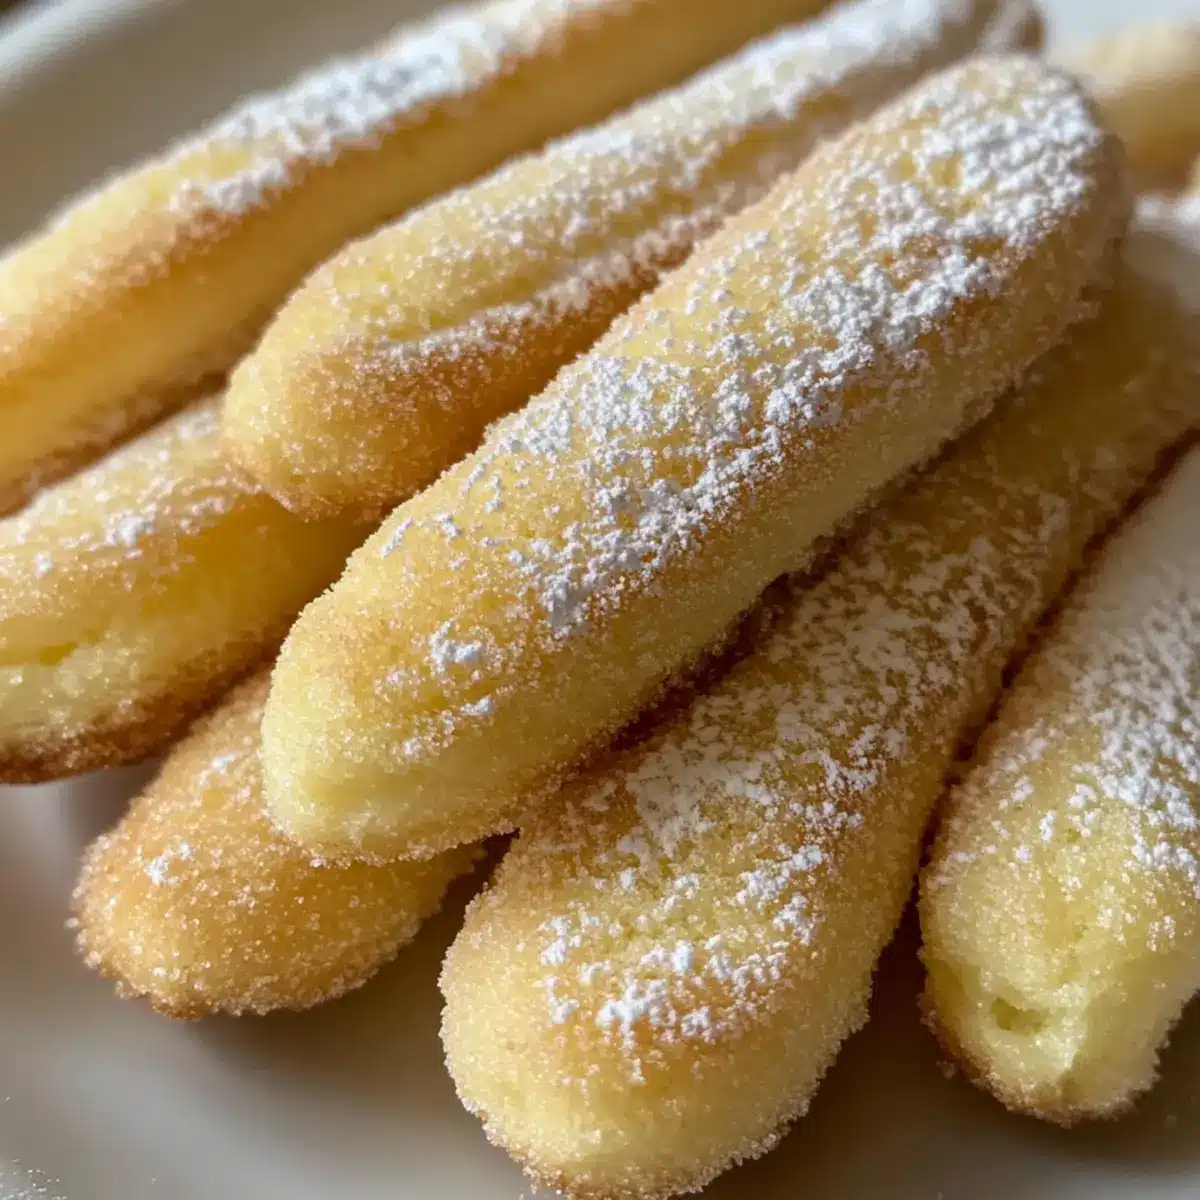
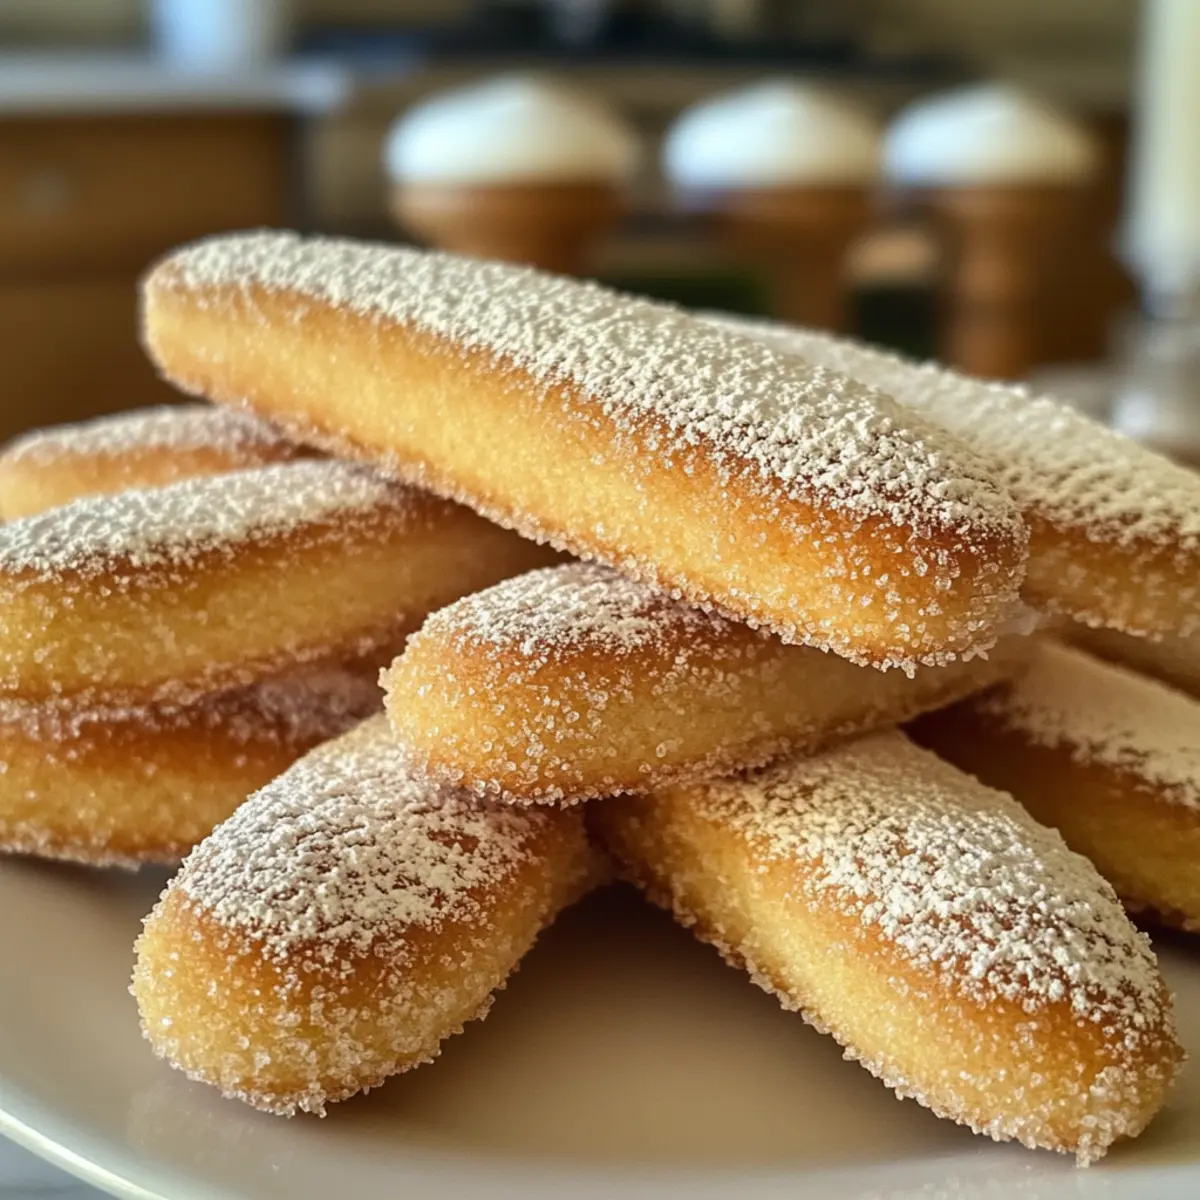
A delightful aroma wafts through the kitchen as I whip up a batch of homemade ladyfinger cookies, and I can already feel the excitement brewing. These light and crispy cookies are not just a treat; they’re essential for crafting the perfect Tiramisu. With a simple, no-fail recipe in your culinary arsenal, you can quickly elevate any dessert experience. Plus, they’re a wonderful way to impress friends and family without spending hours in the kitchen. So, ready to create these airy delights that will make your Tiramisu sing? Let’s dive into the magic of making ladyfinger cookies at home!

Why Make Ladyfinger Cookies at Home?
Homemade ladyfinger cookies bring a whole new level of delight to your dessert table. Light and Airy, these cookies perfectly complement classic Tiramisu while also standing alone as a delightful treat with coffee. Easy to Whip Up, you can have a batch ready in no time, impressing your guests effortlessly. Plus, customizable options let you experiment with flavors like almond or citrus for a personal touch. Don’t forget, these magic little cookies are a great way to break away from mundane store-bought treats! Pair them with a cup of espresso or a dollop of whipped cream for the ultimate indulgence.
Ladyfinger Cookies for Tiramisu
• Why not bring the charm of Italy right into your kitchen with these homemade ladyfinger cookies? They’re not just perfect for Tiramisu; they add a delightful crunch to any dessert!
For the Cookie Base
- 3 large eggs – Room temperature eggs whip better, giving your cookies the lift they need.
- 2/3 cup granulated sugar – This sweetener helps stabilize the egg whites for those fluffy cookies.
- Pinch of salt – A small amount enhances the flavor and works to stabilize the egg whites.
- 1/4 tbsp vanilla extract – Adds a lovely depth of flavor that balances the sweetness.
- 1 cup all-purpose flour (sifted) – The main structure of your cookies; sifting ensures they remain light and airy.
- 2 tbsp cornstarch – This secret ingredient contributes to a delicate texture that makes the cookies practically melt in your mouth.
- 1 tsp lemon zest (optional) – Brightens the flavor profile and can be swapped with other zests for variety.
For the Topping
- Powdered sugar for dusting – Adds a sweet finishing touch that looks fabulous and enhances the taste too.
These ladyfinger cookies for Tiramisu are truly a pleasure to bake, and once you try your hand at making them, you’ll wonder how you ever enjoyed Tiramisu without them!
Step‑by‑Step Instructions for Light and Crispy Homemade Ladyfinger Cookies for Tiramisu
Step 1: Preheat the Oven
Begin by positioning your oven rack in the middle, then preheat it to 350°F (175°C). As the oven warms up, line two baking sheets with parchment paper to create a non-stick surface for your cookies. This preparation is key for achieving that perfect crispiness in your ladyfinger cookies for tiramisu.
Step 2: Prepare the Egg Mixture
Carefully separate the three large eggs, placing the yolks in one bowl and the whites in another. Using a hand mixer or stand mixer, whip the yolks with half of the granulated sugar until the mixture becomes pale and fluffy, which should take about 3-4 minutes. Add the vanilla extract and optional lemon zest, mixing until fully incorporated and smooth.
Step 3: Whip the Egg Whites
In the bowl with the egg whites, whip them on medium-high speed until soft peaks begin to form, which usually takes about 2-3 minutes. Gradually add the remaining sugar, continuing to beat until the mixture reaches stiff peaks and has a glossy appearance. This step is crucial for the lightness of your ladyfinger cookies for tiramisu.
Step 4: Combine the Mixtures
Now it’s time to unite the two mixtures! Gently fold the whipped egg whites into the yolk mixture, using a spatula. Be careful not to deflate the whipped whites as you fold, rotate the bowl and gently scoop from the bottom, ensuring a light and airy texture remains in the combined batter.
Step 5: Incorporate Dry Ingredients
In a separate bowl, whisk together the sifted all-purpose flour, cornstarch, and a pinch of salt. Gradually fold this dry mixture into the egg batter using the same gentle technique to maintain the volume. Mix until just combined, ensuring there are no visible flour pockets, but avoid overworking the batter to keep your ladyfinger cookies fluffy.
Step 6: Pipe the Cookies
Fill a piping bag fitted with a round tip with your prepared batter. On your lined baking sheets, pipe the batter into 3-inch long and 1-inch wide ‘fingers’, leaving ample space between each for expansion. This will give your ladyfinger cookies the classic shape that is perfect for dipping into Tiramisu.
Step 7: Bake and Cool
Before baking, dust the piped cookies lightly with powdered sugar to add a sweet finish and enhance their appearance. Place the baking sheets in the preheated oven and bake for 12-15 minutes, or until they are puffed up and lightly golden. Allow the cookies to cool on the tray for a few minutes before transferring them to a wire rack to cool completely.
What to Serve with Light and Crispy Homemade Ladyfinger Cookies for Tiramisu
Transform your homemade ladyfinger cookies into a delightful spread with these perfect pairings that enhance their charm and flavor.
-
Espresso: The robust flavors of a hot, rich espresso complement the sweetness of the cookies and elevate your coffee break.
-
Whipped Cream: A dollop of freshly whipped cream adds a creamy texture that pairs beautifully with the lightness of the ladyfingers.
-
Fresh Berries: Juicy strawberries or raspberries provide a pop of color and tartness, balancing the sweetness of the cookies.
-
Chocolate Sauce: Drizzling warm chocolate sauce over the cookies creates an indulgence that’s hard to resist. The lusciousness turns every bite into an experience!
-
Gelato: Scoop your favorite flavor of gelato on the side. The creaminess and temperature contrast beautifully with the airy cookies.
-
Fruit Compote: A homemade fruit compote, warm or cold, offers a refreshing burst of flavor that enhances the delightful simplicity of the cookies.
-
Tea: A fragrant cup of herbal or chai tea complements the delicate nature of the ladyfingers and makes for a cozy pairing.
-
Tiramisu: Naturally, serving these ladyfinger cookies in a classic Tiramisu is the ideal way to showcase their flavor and texture. It’s a match made in culinary heaven!
How to Store and Freeze Ladyfinger Cookies
Fridge: Store ladyfinger cookies in an airtight container for up to 3 days. This keeps them fresh while preserving their delightful texture.
Freezer: For longer preservation, freeze cookies in a single layer on a baking sheet. Once frozen, transfer to an airtight container or freezer bag for up to 2 months.
Reheating: To enjoy the cookies warmed, place them in a preheated oven at 350°F (175°C) for about 5 minutes. This helps restore their original crispiness, making them perfect for your Tiramisu.
Make Ahead Options
These ladyfinger cookies for tiramisu are perfect for busy home cooks looking to save time without sacrificing quality! You can prepare the cookie batter up to 24 hours in advance; simply fill your piping bag and refrigerate it. When you’re ready to bake, let the batter sit at room temperature for about 20 minutes to ensure it pipes smoothly. Alternatively, you can bake the cookies and store them in an airtight container at room temperature for up to 3 days. To keep them crisp, avoid stacking them and layer parchment paper between the cookies if needed. No matter how you choose to prepare ahead, you’ll find that these homemade ladyfinger cookies remain just as delicious and delightful as fresh-baked!
Ladyfinger Cookies for Tiramisu: Creative Twists
Feel free to play around with these ladyfinger cookies and add your personal flair to elevate their appeal.
-
Almond Extract: Swap vanilla extract for almond extract to introduce a nutty, aromatic flavor that beautifully enhances the cookie’s sweetness. This subtle twist will surprise your taste buds and add an elegant touch to your Tiramisu.
-
Citrus Zest: Replace lemon zest with orange or lime zest for a refreshing burst of flavor. The citrus notes will brighten every bite, giving a vibrant new character to your classic dessert.
-
Gluten-Free Flour: Use a gluten-free all-purpose flour blend for a delightful gluten-free version, ensuring you still include cornstarch for that signature lightness. It’s a fantastic way to make this treat accessible to everyone, without sacrificing texture or taste.
-
Chocolate Drizzle: Once cooled, drizzle a bit of melted dark chocolate over the cookies for an elegant and indulgent twist. The bittersweet chocolate pairs perfectly with Tiramisu, making each bite even more decadent.
-
Cinnamon Spice: Sprinkle a touch of ground cinnamon into the batter for an unexpected warmth and depth of flavor. This cozy spice brings a comforting element to your ladyfinger cookies that’s particularly lovely in autumn.
-
Herbal Infusion: Infuse the egg mixture with a hint of finely crushed rosemary or basil to create an aromatic experience. This herby twist adds a sophisticated layer to your cookies that will leave your guests wondering about the secret ingredient.
-
Sugar Alternatives: Substitute granulated sugar with coconut sugar or agave syrup for a less refined sweet alternative. These options will introduce a hint of caramel notes to the cookies, subtly enhancing their flavor profile.
-
Savory Version: For an adventurous twist, add a pinch of sea salt and black pepper to the batter. This savory take on ladyfinger cookies can create a delightful contrast in flavor, perfect for pairing with a rich coffee dessert.
As you consider these variations, let your creativity lead the way! If you’re searching for more delightful treats, check out Healthy Carrot Cookies or indulge in the rich flavors of Chocolate Oat Cookies. Happy baking!
Expert Tips for Ladyfinger Cookies
-
Perfect Egg Whipping: Make sure to whip your egg whites until they form stiff peaks. This ensures that your ladyfinger cookies achieve their ideal lightness and shape.
-
Gentle Folding: Always fold the egg whites into the yolk mixture gently. Overmixing can deflate the batter, leading to dense cookies instead of the airy texture essential for ladyfinger cookies for tiramisu.
-
Avoid Oven Interruptions: Keep that oven door closed while baking! Opening it too soon can cause the cookies to collapse, ruining their beautiful shape.
-
Piping Precision: Use a piping bag with a round tip for even, classic shapes. Leave enough space between each cookie on the baking sheet to prevent them from sticking together.
-
Cool Correctly: Allow the cookies to cool on the tray for a few moments before transferring them to a wire rack. This step helps them maintain their crispiness and prevents them from becoming soggy.
Ladyfinger Cookies for Tiramisu Recipe FAQs
How do I select the best eggs for making ladyfinger cookies?
Absolutely! For the best results, choose fresh, large eggs. Room temperature eggs whip more easily, allowing for greater volume and a lighter texture in your ladyfinger cookies for tiramisu. Look for eggs that are free of cracks and have a clean shell, as this indicates freshness.
What is the best way to store ladyfinger cookies?
To keep your ladyfinger cookies fresh and delightful, store them in an airtight container at room temperature for up to 3 days. If you want to keep them longer, they can also be refrigerated, but be aware that they may soften slightly.
Can I freeze ladyfinger cookies, and if so, how?
Very! To freeze your ladyfinger cookies, start by laying them flat on a baking sheet in a single layer and freezing for about 1 to 2 hours until solid. Then, transfer them to an airtight container or freezer bag, and they can be kept in the freezer for up to 2 months. When you’re ready to enjoy them, simply reheat in a 350°F (175°C) oven for about 5 minutes to restore their crispiness.
What should I do if my ladyfinger cookies spread during baking?
If you notice that your ladyfinger cookies are spreading too much, it may be due to insufficient whipping of the egg whites. Ensure you’re whipping the egg whites to stiff peaks; this provides the necessary structure. Also, make sure your batter isn’t overmixed when combining the dry ingredients, as overworking can deflate the mixture.
Are ladyfinger cookies a good option for those with gluten allergies?
The more the merrier! You can absolutely make ladyfinger cookies gluten-free by substituting all-purpose flour with a gluten-free flour blend. Just remember to keep the cornstarch in the recipe for that light, airy texture. Always check that your other ingredients, like baking powder and vanilla extract, are gluten-free as well.
Can I use alternative flavorings in my ladyfinger cookies?
Absolutely! For a delightful twist, feel free to substitute the vanilla extract with almond extract for a nutty flavor. You can also switch out the lemon zest for orange zest for a refreshing citrusy variation—just tailor it to your taste!
Crispy Ladyfinger Cookies for Tiramisu You’ll Love to Bake
Ingredients
Equipment
Method
- Preheat your oven to 350°F (175°C) and line two baking sheets with parchment paper.
- Separate the eggs, whipping the yolks with half the sugar until pale and fluffy. Add vanilla extract and lemon zest.
- Whip the egg whites until soft peaks form, then gradually add the remaining sugar until stiff peaks form.
- Gently fold the egg whites into the yolk mixture.
- Whisk together flour, cornstarch, and salt, then fold into the egg batter.
- Pipe the batter into 3-inch long 'fingers' on the baking sheets.
- Dust the piped cookies lightly with powdered sugar, then bake for 12-15 minutes until golden.
- Cool on the tray for a few minutes before transferring to a wire rack.
Leave a Reply