
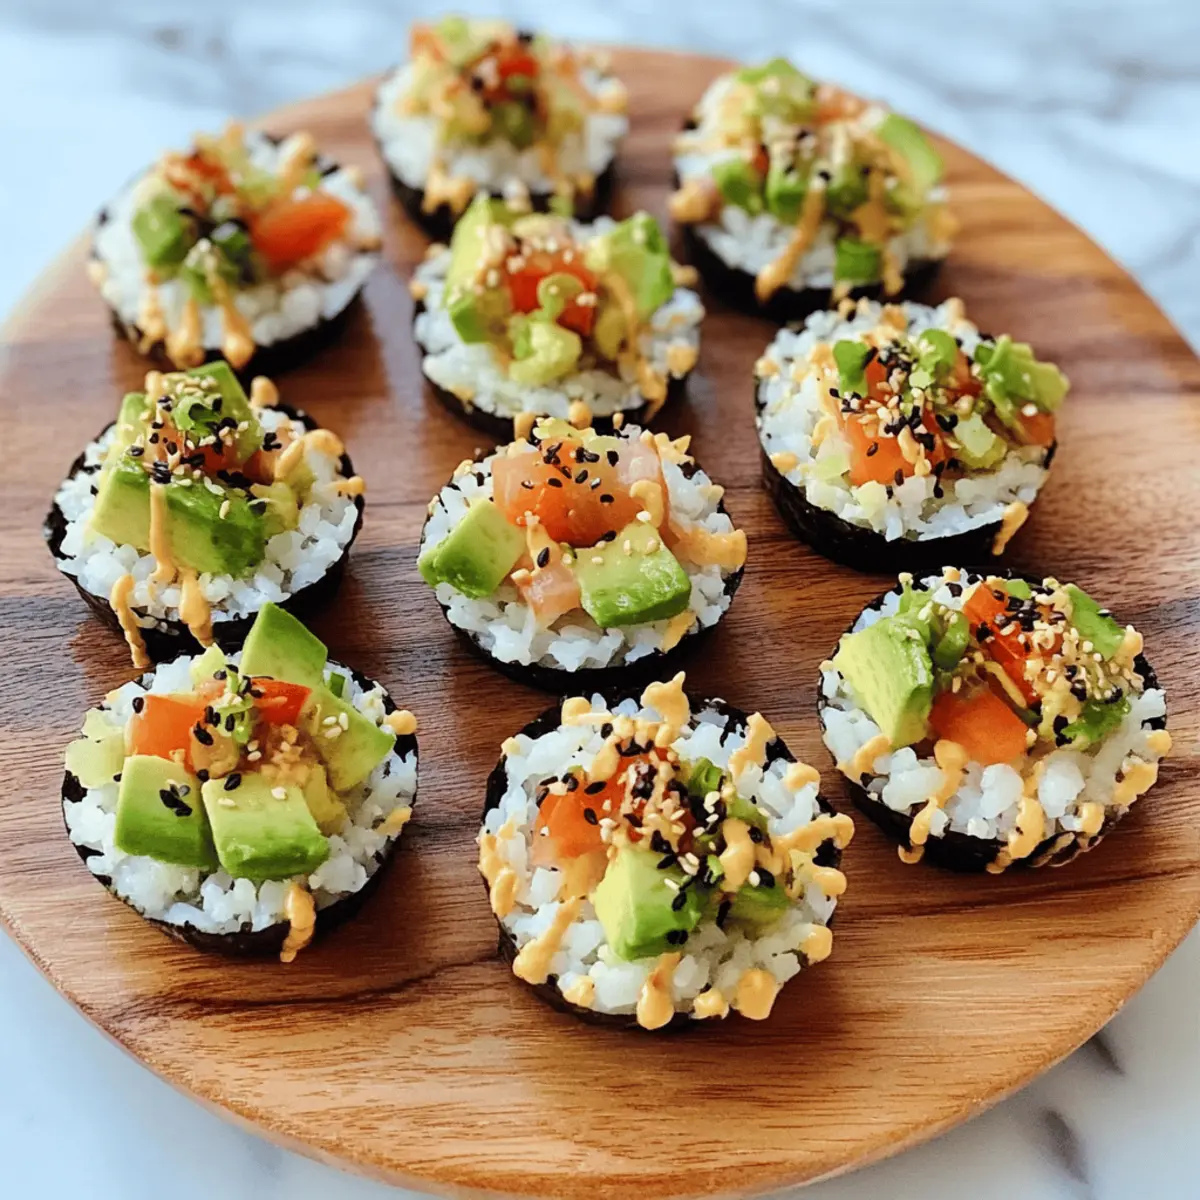
As I savored the last bite of my sushi roll, a thought struck me: why not capture all that deliciousness in a portable form? That’s how my journey to these Customizable No-Bake Sushi Cups began. Not only are they incredibly easy to whip up, but each delightful cup is a mere 110 calories, making it the ultimate guilt-free snack! Whether you’re hosting a gathering or just want a quick bite to eat, these sushi cups are a colorful play of textures and flavors, featuring tender sushi rice, crunchy vegetables, and creamy avocado. Plus, you can customize them to suit your cravings—whether it’s a tangy sauce or your favorite veggies, the possibilities are endless. So, are you ready to elevate your sushi experience and create delicious little bites of joy?
Why are Sushi Cups so Delightful?
Versatile Customization: You can easily adjust the ingredients to match your taste preferences or dietary needs, whether you prefer vegetables, proteins, or sauces.
No Baking Needed: Say goodbye to complicated cooking techniques—these sushi cups require minimal effort and time, perfect for a busy lifestyle.
Bursting with Flavor: Each bite delivers a harmonious blend of creamy avocado, crunchy veggies, and savory sushi rice, tantalizing your taste buds.
Low-Calorie Indulgence: At just 110 calories per cup, they’re an ideal guilt-free snack option for anyone monitoring their caloric intake.
Crowd-Pleasing Appeal: Perfect for parties, these sushi cups are not only visually appealing but also a fun finger food that everyone will love! If you’re looking for another tasty treat, check out our easy Breakfast Granola Cups for a delightful start to your day.
Sushi Cups Ingredients
For the Rice Base
• Sushi Rice – Provides the perfect sticky texture for holding the cups together; opt for short-grain for the best results.
• Water – Essential for cooking the rice to achieve ideal tenderness and consistency.
For the Filling
• Finely Chopped Veggies (½ cup) – Adds freshness and crunch; feel free to mix in raw carrots, cucumber, bell peppers, or sprouts for a colorful presentation.
• Steamed Mukimame (¼ cup) – Packed with protein and a hint of nuttiness; substitute with shelled edamame if mukimame isn’t available.
• Diced Avocado (¼ cup) – Contributes a creamy texture that complements the flavors; always choose ripe avocado for the best taste.
• Sauce of Choice (1 tbsp) – Elevates flavor; select from soy sauce, tamari, or coconut aminos to fit your dietary preferences.
For the Spicy Mayo
• Mayonnaise (¼ cup) – Serves as the base for a luscious spicy mayo; vegan mayo can be used for a plant-based version.
• Sriracha Sauce (1 tsp, adjust to taste) – Adds delightful heat; feel free to modify the amount according to your spice tolerance.
• Coconut Aminos or Soy Sauce (1 tsp) – Enhances the overall flavor profile; optional based on dietary needs.
• Honey (1 tsp) – Provides a hint of sweetness; can be swapped with agave or omitted for a low-sugar option.
• Sesame Oil (½ tsp) – Infuses a rich, nutty aroma; can be left out for a lighter version.
For Garnish
• Black Sesame Seeds – An optional finishing touch that adds visual appeal and additional texture to the sushi cups.
Dive into the world of Sushi Cups that let you play with flavor and texture effortlessly!
Step‑by‑Step Instructions for Sushi Cups
Step 1: Cook the Rice
In a medium pot, rinse 1 cup of sushi rice under cold water until the water runs clear. Combine the rinsed rice with 1 ¼ cups of water, bringing it to a boil over medium-high heat. Once boiling, reduce the heat to low, cover, and simmer for about 20 minutes, or until the water is absorbed and the rice is tender.
Step 2: Prepare the Rice Cups
Once the sushi rice is cooked, remove it from heat and let it cool slightly for around 10 minutes. Using silicone muffin liners for easy removal, press about 2 tablespoons of the sushi rice into each cup. Pack it gently but firmly so that it holds its shape, creating a sturdy base for your sushi cups.
Step 3: Chill the Rice Cups
Place the muffin tin with rice cups in the refrigerator and let them chill for approximately 20 minutes. This will help the rice to set and maintain its form, making it easier to add your delicious fillings later. Use this time to prepare your vegetables and sauce.
Step 4: Mix the Fillings
In a mixing bowl, combine ½ cup of finely chopped vegetables such as carrots, cucumber, and bell peppers, along with ¼ cup of steamed mukimame and ¼ cup of diced avocado. Pour in your sauce of choice—whether it’s soy sauce or tamari—and mix the ingredients gently until everything is well coated and combined for a fresh filling for your sushi cups.
Step 5: Whisk the Spicy Mayo
In a separate bowl, whisk together ¼ cup of mayonnaise, 1 teaspoon of Sriracha sauce, and a teaspoon of coconut aminos or soy sauce. Adjust the heat to your liking by varying the amount of Sriracha. Add in 1 teaspoon of honey and ½ teaspoon of sesame oil, mixing until everything is well incorporated and the spicy mayo is creamy and smooth.
Step 6: Assemble the Sushi Cups
After chilling, carefully remove the rice cups from the muffin tin. Spoon the vegetable filling generously into each rice cup, ensuring it’s piled high for maximum flavor. Drizzle the prepared spicy mayo over the top for that extra zing and finish with a sprinkle of black sesame seeds for both texture and visual appeal.
Make Ahead Options
These Customizable No-Bake Sushi Cups are perfect for busy meal prep enthusiasts! You can prepare the sushi rice cups up to 24 hours in advance. Simply press about 2 tablespoons of cooked sushi rice into each silicone muffin liner and refrigerate them in an airtight container. This ensures they hold their shape and texture. You can also chop your veggies and mix them with steamed mukimame, and diced avocado, up to a day before serving. When you’re ready to enjoy, just assemble the cups with the refreshing filling, drizzle with your spicy mayo, and indulge in these delightful bites that remain just as delicious as when freshly made!
Expert Tips for Sushi Cups
-
Use Quality Rice: Always choose short-grain sushi rice for the best sticky texture that holds the cups together nicely.
-
Chill for Best Shape: Make sure to refrigerate the rice cups for about 20 minutes; this helps them maintain their shape and makes filling easier.
-
Fresh Veggies Matter: Opt for fresh, crunchy vegetables for that satisfying bite; avoid overcooked or soggy veggies that can muddle the flavors.
-
Personalize Your Sauce: Don’t hesitate to adjust or swap the sauce based on your taste preferences—whether it’s a sweeter sauce or spicy mayo, let your palate guide you.
-
Prep Ahead: Consider making the sushi cups a day in advance for gatherings; they keep well in an airtight container for up to 2 days, making prepping a breeze.
-
Experiment with Fillings: Feel free to mix in proteins like shrimp or imitation crab, or even fruits like mango for unexpected flavors in your sushi cups.
What to Serve with Customizable No-Bake Sushi Cups
Elevate your sushi experience with these delightful pairings, perfect for a memorable meal.
-
Creamy Miso Soup: This soothing soup adds warmth and complements the fresh flavors of the sushi cups, creating a heartwarming contrast. A spoonful of umami goodness ensures every bite of sushi is accompanied by a comforting sip.
-
Crispy Spring Rolls: Light and crispy, spring rolls with a zesty dipping sauce enhance the flavor profile while adding crunch. The contrast in texture will impress your guests and leaves a refreshing taste on the palate.
-
Zesty Cucumber Salad: A refreshing cucumber salad with sesame dressing lightens the meal and adds a crunchy, tangy boost. This vibrant side balances the rich avocado in the sushi cups for a perfect harmony of flavors.
-
Teriyaki Chicken Skewers: These savory skewers provide a protein kick with a sweet glaze that contrasts beautifully with your sushi cups. The sweetness of teriyaki enhances the flavors and adds a delightful depth.
-
Pickled Ginger: A classic sushi accompaniment, pickled ginger cleanses your palate between bites. Its zingy flavor is a perfect complement that refreshes the taste buds and enhances the overall sushi experience.
-
Green Tea: This soothing beverage works as a perfect match for sushi, enhancing flavors without overpowering them. Its earthy notes beautifully contrast the fresh, vibrant components of your sushi cups.
-
Mango Sticky Rice: For dessert, this sweet treat brings a luscious finish to a sushi-themed meal. The creamy coconut and sweet mango create a satisfying end that leaves you wanting more.
Explore these pairings to create a delightful, well-rounded meal full of flavor and texture!
Sushi Cups Variations & Substitutions
Feel free to get creative and make these sushi cups uniquely yours; the flavor combinations are endless!
-
Vegetable Swaps: Substitute any veggies with seasonal favorites like mango or bell peppers for a refreshing twist.
Mixing in diverse vegetables not only enhances flavor but also brings vibrant colors to your plate. -
Protein Boost: Add cooked shrimp or imitation crab for a more filling option.
These protein-packed additions transform your sushi cups into a heartier snack that’s still bursting with flavor. -
Dairy-Free: Use vegan mayo instead of regular mayonnaise for a plant-based version of the spicy mayo.
You won’t sacrifice taste, since the vegan mayo provides a creamy base that holds up beautifully. -
Sweet Sauce Variation: Swap spicy mayo for a sweet teriyaki sauce if you’re in the mood for something more mellow.
This simple change will create a delightful balance between sweet and savory, perfect for those who prefer a milder flavor. -
Gluten-Free: Choose tamari or coconut aminos in place of soy sauce to keep it gluten-free.
With this swap, everyone can enjoy these delectable sushi cups without worry! -
Extra Crunch: Add toasted nuts or seeds for an exciting crunch that contrasts nicely with the creamy avocado.
This texture twist elevates your sushi cups, making each bite even more satisfying. -
Heat Level: Increase Sriracha for a spicier mayo, or even mix in fresh jalapeños for a fiery kick.
Adjusting the heat allows you to customize the spice level to suit your taste, ensuring every bite is just right. -
Make It A Salad: Transform the elements into a sushi salad—combine the ingredients in a bowl instead of cups for a fresh twist.
This is a fun option for meal prep or when you want to enjoy these flavors in a more relaxed setting.
For another delicious customizable dish, you can also try our easy Breakfast Granola Cups!
How to Store and Freeze Sushi Cups
Fridge: Store sushi cups in an airtight container for up to 2 days to maintain freshness and taste.
Freezer: For longer storage, freeze the rice cups (without toppings) wrapped tightly in plastic wrap for up to 1 month. Thaw in the fridge before adding fillings.
Reheating: Gently reheat in the microwave for 15-30 seconds to warm the rice and enjoy. Avoid overheating to prevent the rice from becoming dry.
Make-Ahead: Prep the sushi cups up to 24 hours in advance and store them unassembled to preserve texture and flavor until ready to serve.
Sushi Cups Recipe FAQs
How do I select ripe ingredients for my sushi cups?
Absolutely! For ripe avocados, look for a fruit that yields slightly to gentle pressure, indicating it’s ready to enjoy. When picking veggies, choose those that are vibrant in color and firm to the touch. Avoid any with dark spots or wilting, as these can affect the overall flavor of your sushi cups.
What’s the best way to store leftover sushi cups?
Very! Store your sushi cups in an airtight container in the fridge for up to 2 days. This keeps the ingredients fresh and the rice intact. If you want to make them a day in advance, it’s best to keep the rice base separate from the toppings until you’re ready to serve for optimal texture.
Can I freeze sushi cups for later?
Certainly! To freeze sushi cups, wrap the rice cups tightly in plastic wrap and place them in an airtight container. They’ll remain good for up to 1 month. When you’re ready to enjoy them, simply thaw in the fridge overnight and add your fillings before serving!
What should I do if my sushi rice is too sticky?
If your sushi rice turns out too sticky, don’t worry! This can happen sometimes. You can try rinsing the rice a bit more thoroughly before cooking it next time, and avoid packing it too tightly when forming the rice cups. If it’s already too sticky, mix in a little bit of water or vinegar before assembling.
Are sushi cups suitable for people with dietary restrictions?
Definitely! These sushi cups are highly customizable, so you can easily adapt them for various dietary needs. Use vegan mayo for a plant-based option and choose gluten-free sauces like coconut aminos to accommodate gluten sensitivities. Just ensure that all ingredients match your dietary restrictions!
Can I make sushi cups ahead of time?
Absolutely! You can prepare the rice base up to 24 hours in advance. Just store the assembled rice cups unfilled in an airtight container to maintain their texture and freshness. Add the vegetable filling and spicy mayo just before serving for the best flavor experience.
Delicious No-Bake Sushi Cups You Can Customize Today
Ingredients
Equipment
Method
- Cook the rice by rinsing sushi rice under cold water and then cooking with water until tender.
- Prepare the rice cups by pressing cooked rice into silicone muffin liners.
- Chill the rice cups in the refrigerator to help them set.
- Mix the fillings together in a bowl until well combined.
- Whisk together the ingredients for the spicy mayo until smooth.
- Assemble the sushi cups by adding fillings and spicy mayo, then garnish with sesame seeds.
Leave a Reply