
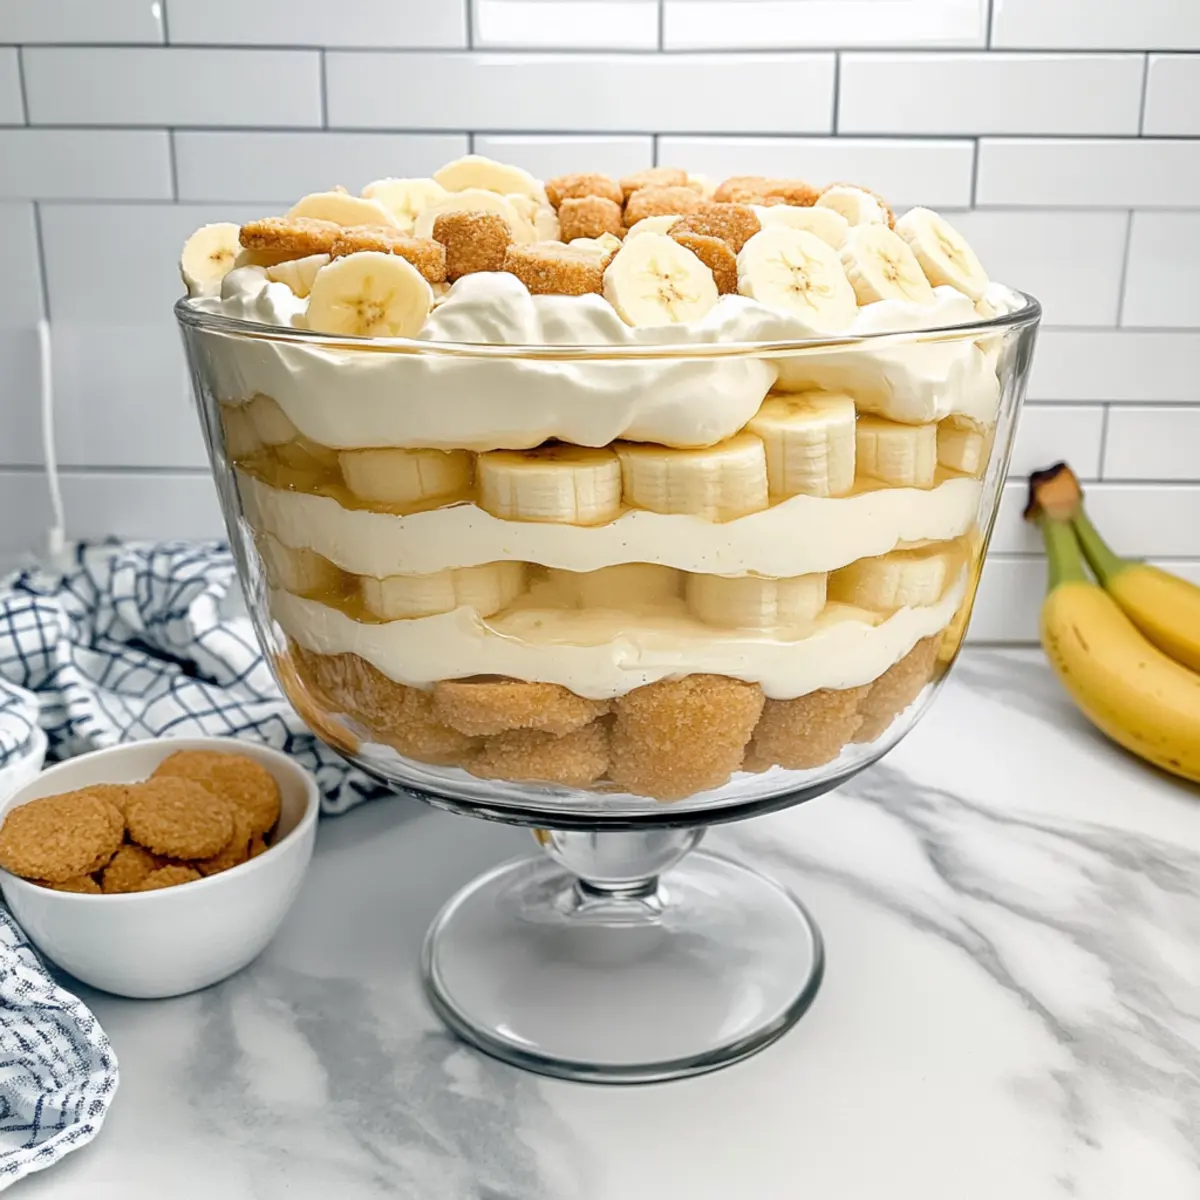
As I pulled my favorite bowl out of the cupboard, a nostalgic wave hit me, reminding me of carefree summer days spent gathering with family over a bowl of creamy banana pudding. This Easy Banana Pudding with Vanilla Wafers captures that joy perfectly, offering luscious layers of rich vanilla pudding, sweet ripe bananas, and crunchy Nilla Wafers—all with zero baking required! Not only is this dessert a delightful make-ahead option for barbecues and gatherings, but it’s also a crowd-pleaser that brings smiles at every turn. With every creamy spoonful, you’ll rediscover the comfort of homemade sweetness. Are you ready to bring this classic American treat back into your kitchen?
Why is this Banana Pudding special?
Ease of Preparation: With zero baking required, this recipe is great for anyone. Perfect Make-Ahead: Prepare it days in advance, perfect for busy schedules! Crowd-Pleasing Delight: This dessert is sure to capture the hearts of guests at any gathering. Versatile Options: Try swapping bananas for strawberries for a fruity twist, or use graham crackers instead of Nilla Wafers. Great Texture Contrast: Experience creamy layers with the crunch of wafers, creating a satisfying treat. Nostalgic Appeal: Every bite evokes the comfort of childhood memories, making this banana pudding an instant favorite!
Banana Pudding with Vanilla Wafers Ingredients
For the Creamy Base
• 8 ounces softened cream cheese – Ensures a rich and smooth texture; make sure it’s at room temperature for easy mixing.
• 14-ounce can sweetened condensed milk – Adds sweetness and thickness; no good substitutes, but you can reduce the sugar in other ingredients if needed.
• 2 (3.4 oz.) boxes instant vanilla pudding – Provides flavor and consistency as the dessert’s foundation; feel free to explore different pudding flavors for variety.
• 2 ¾ cups cold milk – Mixing this with the pudding helps create a silky filling; whole milk is best for richness, but lower-fat options are fine.
• 8 ounces Cool Whip (divided) – Contributes airy lightness; you can opt for homemade whipped cream, just remember it may not hold its shape as well.
For the Layers
• 60 vanilla wafers – Gives structure and crunch, making each bite delightful; can be replaced with other cookies like Chessmen or graham crackers if you prefer.
• 5-7 ripe bananas, sliced – Freshness that defines this classic dessert; use bananas that are ripe for maximum flavor and to avoid browning issues.
Rediscover the joy of homemade desserts with this Banana Pudding with Vanilla Wafers that effortlessly brings smiles and nostalgia to your gatherings!
Step‑by‑Step Instructions for Easy Banana Pudding with Vanilla Wafers
Step 1: Prepare the Creamy Mixture
In a large mixing bowl, beat 8 ounces of softened cream cheese with an electric mixer on medium speed until smooth and fluffy, about 2 minutes. Gradually mix in a 14-ounce can of sweetened condensed milk, continuing to combine until the mixture is completely lump-free, forming a rich and creamy base for your Easy Banana Pudding with Vanilla Wafers.
Step 2: Whisk the Pudding
In a separate bowl, whisk together 2 (3.4 oz.) boxes of instant vanilla pudding mix and 2 ¾ cups of cold milk until the mixture is smooth and thickened, which should take about 2 minutes. You want it to have a silky texture with no lumps—this will be key to achieving the delightful layers in your pudding!
Step 3: Combine Mixtures
Gently fold the pudding mixture into the cream cheese blend until well combined. Next, carefully fold in half of the 8 ounces of Cool Whip until evenly distributed, creating a light and airy consistency. This step is crucial for balancing the richness of the pudding and achieving a creamy final texture in your banana pudding layers.
Step 4: Layer the Vanilla Wafers
In a chosen serving dish, start by layering 30 vanilla wafers evenly at the bottom to create a crunchy foundation. Arrange them to ensure every bite will include that delightful crunch complemented by other flavors, setting the stage for the layers of your Easy Banana Pudding with Vanilla Wafers.
Step 5: Add the Bananas
Slice 5-7 ripe bananas and layer them generously over the vanilla wafers. Ensure the bananas are evenly distributed and cover as much of the wafers as possible to prevent browning and to enhance the overall sweetness, showcasing the essential flavor that makes this dessert so beloved.
Step 6: Add the Pudding Mixture
Spoon a generous layer of the creamy pudding mixture over the sliced bananas, smoothing it out evenly with a spatula. Make sure to cover the bananas completely, sealing them in to keep them fresh and prevent browning, forming a luscious layer of creamy goodness in your banana pudding creation.
Step 7: Repeat the Layers
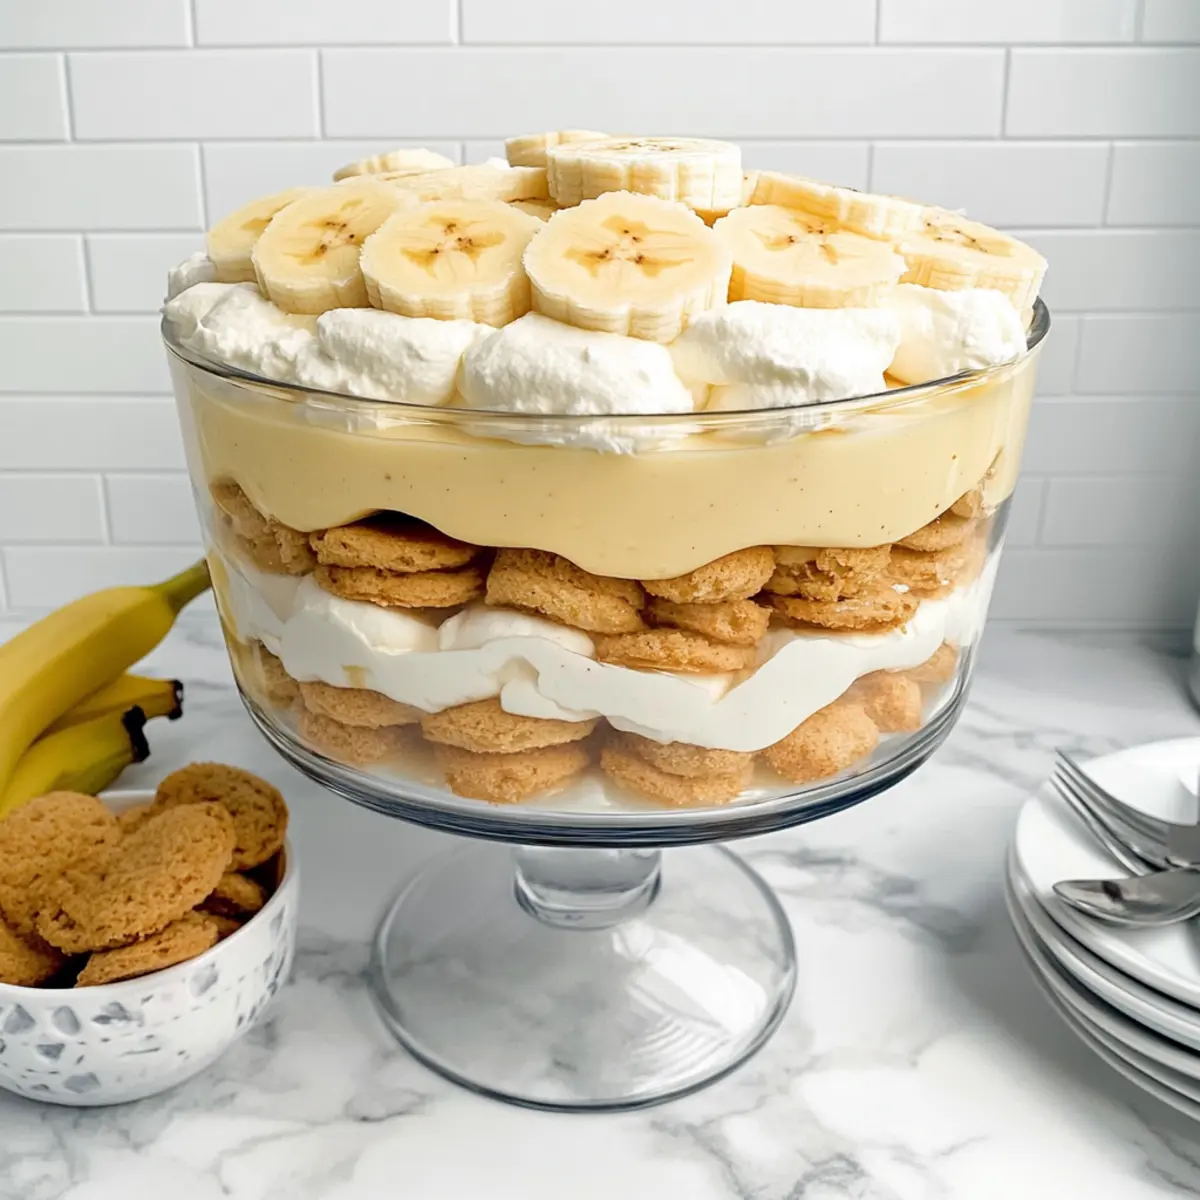
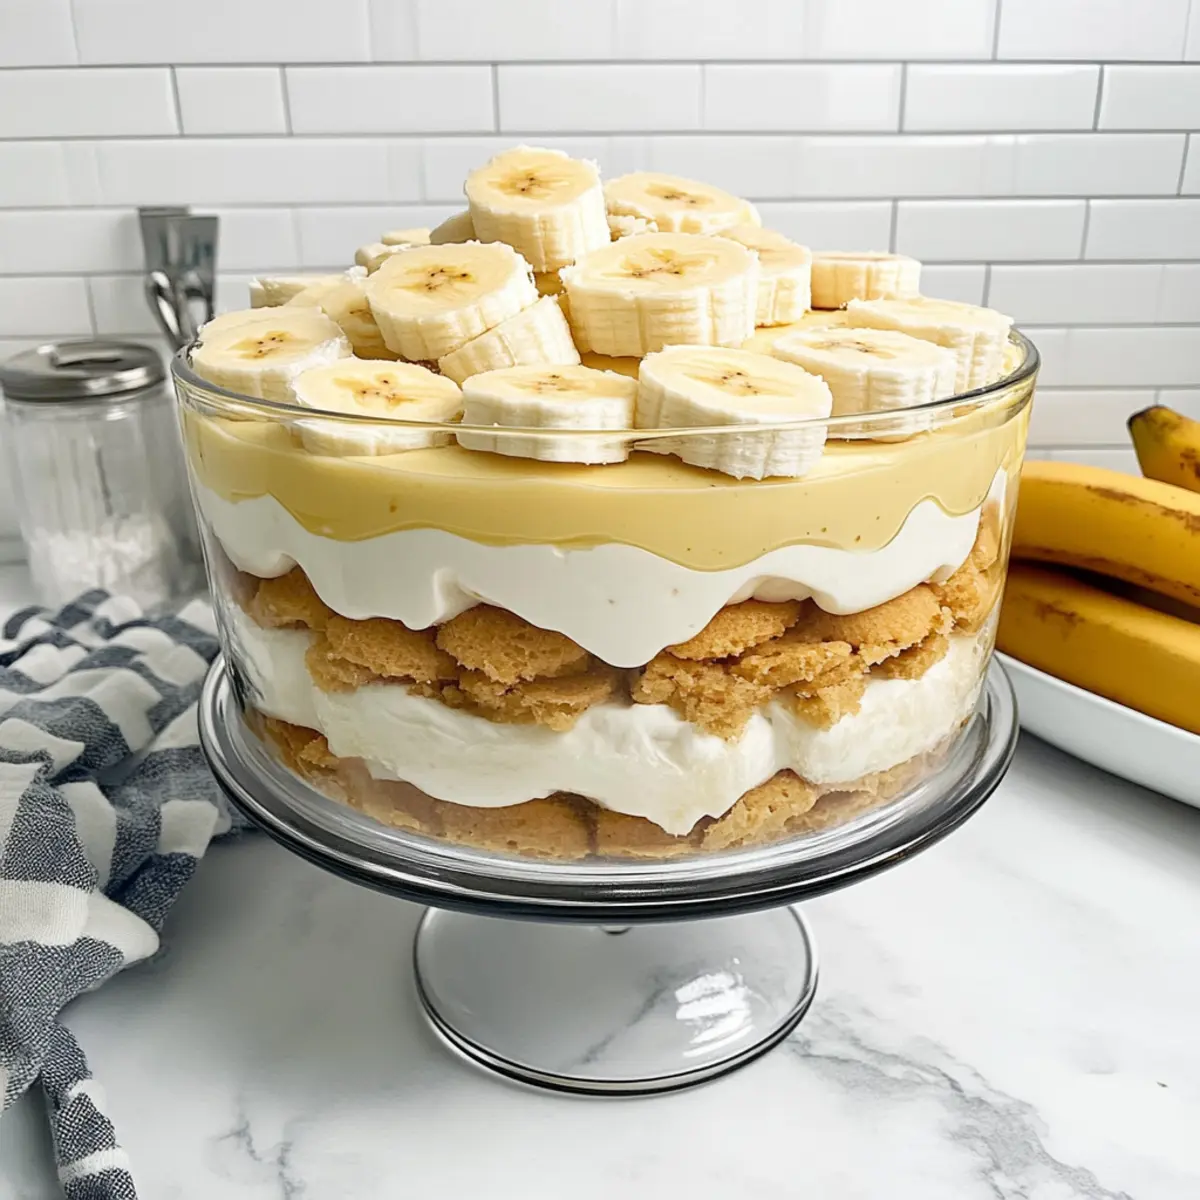
Continue layering by adding another layer of vanilla wafers followed by sliced bananas, then top with more pudding mixture. Repeat this process until you’ve used up all your ingredients, usually about three or four layers, depending on the size of your serving dish, promoting that signature delightful combination of textures.
Step 8: Finish with Cool Whip
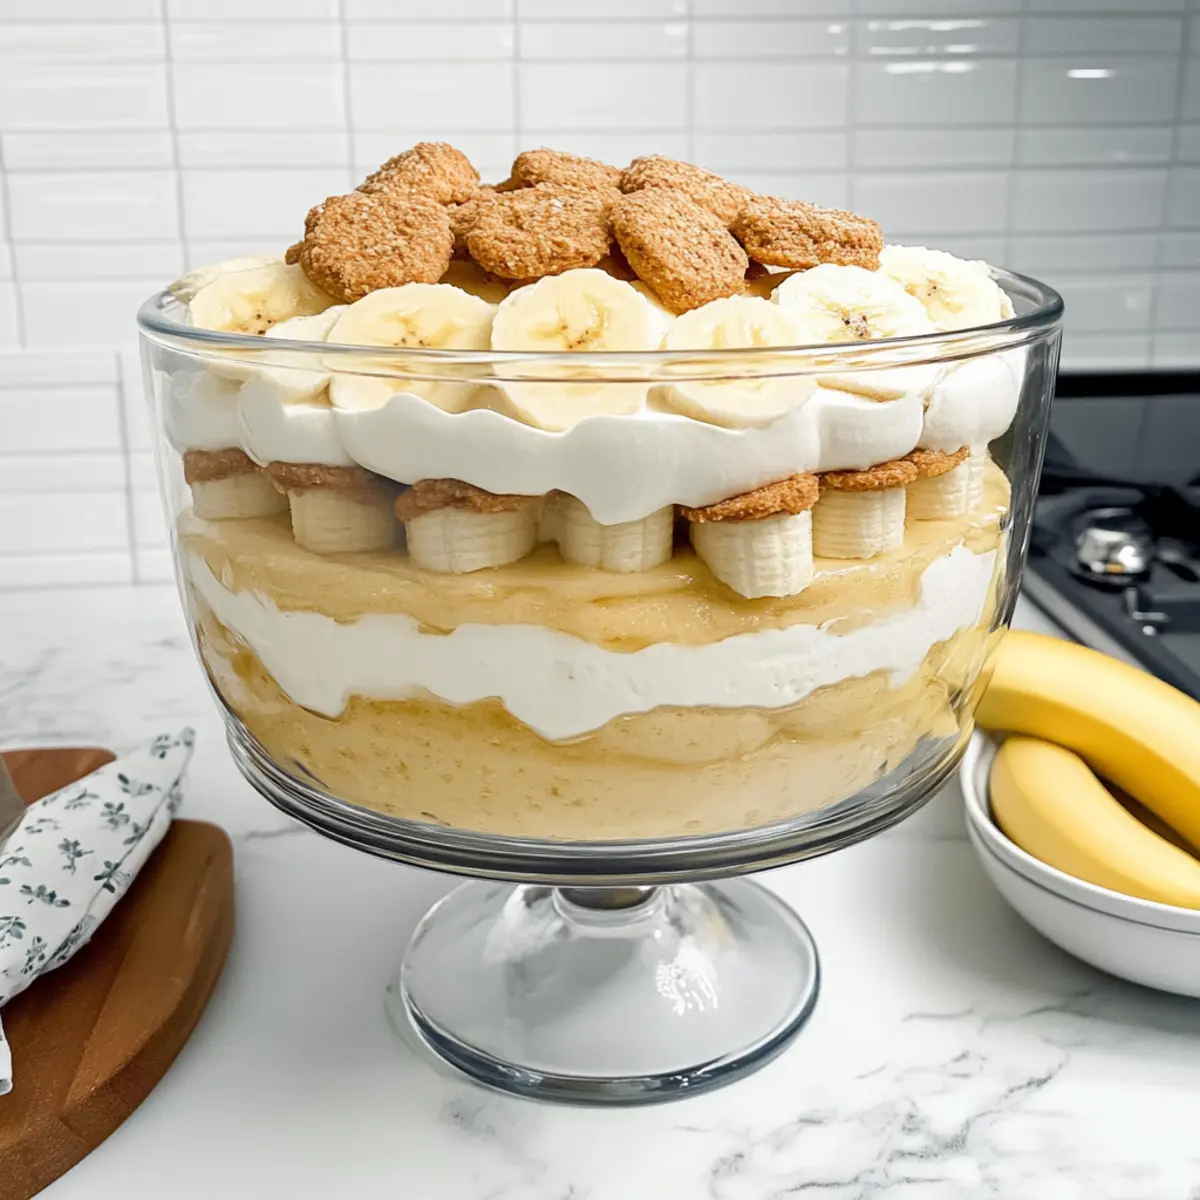
Top the final layer of your Easy Banana Pudding with Vanilla Wafers with the remaining Cool Whip, spreading it gently to create a smooth surface. This topping adds a light and fluffy finish, enhancing the overall visual appeal and inviting your guests to dive into this delicious treat.
Step 9: Chill the Pudding
Cover the assembled banana pudding with plastic wrap and refrigerate for at least 4 hours, ideally overnight. This chilling time allows the flavors to meld beautifully while the layers soften slightly, creating that sought-after creamy texture in every scoop of your delightful dessert.
Step 10: Add the Final Touch
Before serving, crush a few extra vanilla wafers and sprinkle them on top for added crunch and presentation. This last-minute touch will not only enhance the visual aspect of your Easy Banana Pudding with Vanilla Wafers but also bring an extra layer of delightful texture that everyone will enjoy!
Expert Tips for Banana Pudding with Vanilla Wafers
-
Soft Cream Cheese: Ensure your cream cheese is fully softened before mixing to avoid lumps in the pudding mixture. This guarantees a beautifully smooth and creamy base.
-
Banana Coverage: Always cover the bananas completely with the pudding mixture to prevent browning. This keeps your dessert visually appealing and delicious.
-
Chilling Time: For the best texture, allow the banana pudding to chill for at least 4 hours, or ideally overnight. This helps the flavors deepen and the wafers to soften perfectly.
-
Serving Freshness: Add crushed vanilla wafers right before serving to keep the crunch intact. This simple step prevents sogginess, ensuring every bite is delightful.
-
Storage Reminder: Consume the banana pudding within 24 hours for optimal freshness. Bananas may release moisture, which can affect the overall texture over time.
-
Explore Variations: Feel free to experiment with other flavors! Substitute bananas with strawberries or use different cookies in your Banana Pudding with Vanilla Wafers for a unique twist.
Make Ahead Options
Planning ahead with this Easy Banana Pudding with Vanilla Wafers is a lifesaver for busy weeknights! You can prepare the creamy base—combining softened cream cheese, sweetened condensed milk, and instant vanilla pudding—up to 24 hours in advance. Just keep the mixture covered in the refrigerator to maintain its luscious texture. Additionally, you can slice the bananas in the morning and store them in a bowl with a little lemon juice to prevent browning. When you’re ready to serve, layer the pudding with the vanilla wafers and bananas, chill for at least 4 hours (or overnight, if prepped early), then top with Cool Whip and crushed wafers before diving into this delightful treat!
What to Serve with Easy Banana Pudding with Vanilla Wafers
Imagine the joyful harmony of flavors and textures as you create a delightful meal around this nostalgic dessert.
-
Fresh Fruit Salad: Bursting with seasonal fruits, this refreshing addition balances the sweetness of pudding while adding a vibrant, colorful touch.
-
Crispy Bacon-Wrapped Asparagus: The savory crunch of this elegant side perfectly contrasts with the creamy sweetness, creating a wonderful flavor journey.
-
Grilled Chicken Skewers: Marinated and grilled to perfection, these juicy skewers add a lovely smoky flavor that complements the richness of the pudding beautifully.
-
Homemade Biscuits: Flaky and warm, these buttery biscuits offer a comforting alternative, especially when lightly drizzled with honey or served with jam.
-
Creamy Coleslaw: The tangy, crunchy layers of coleslaw provide a refreshing bite to offset the rich dessert, making your meal feel complete and satisfying.
-
Sparkling Lemonade: A crisp and bubbly drink, this zesty beverage not only quenches your thirst but also enhances the fresh flavors of the pudding.
-
Mini Chocolate Cupcakes: End on a sweet note with these indulgent bites that echo the layered textures of your pudding while adding a delightful chocolate twist.
-
Coffee or Espresso: Serve with a steaming cup for a delightful finish, allowing the rich coffee flavors to beautifully complement the creamy, sweet pudding.
Creating the perfect meal surrounding your Easy Banana Pudding with Vanilla Wafers invites a variety of flavors, textures, and unforgettable moments at the table!
Banana Pudding with Vanilla Wafers Variations
Feel free to play around with this recipe, allowing your creativity to shine through in every delicious bite!
-
Dairy-Free: Use coconut cream instead of cream cheese and dairy milk to create a creamy texture without the dairy.
-
Flavor Twist: Switch out the vanilla pudding for chocolate pudding for a decadent Chocolate Banana Pudding—perfect for chocolate lovers!
-
Nutty Crunch: Fold in chopped nuts like walnuts or pecans into the layers for added richness and crunch that complements the pudding beautifully.
-
Caramel Drizzle: Add a swirl of caramel sauce between the layers for a sweet, buttery twist that will elevate your banana pudding to new heights.
-
Berry Delight: Swap out bananas for fresh strawberries or mixed berries for a lighter, fruity version. This variation bursts with seasonal sweetness!
-
Spicy Kick: Sprinkle in a dash of cinnamon or nutmeg to the pudding mixture for a warm spice note that brings an unexpected depth of flavor.
-
Graham Cracker Base: Use graham crackers instead of vanilla wafers for a delightful s’mores-inspired dessert that kids and adults alike will enjoy.
-
Single-Serve Cups: Layer the pudding in mason jars for easy serving at parties. These cute individual portions are not only charming but also practical!
Whether you choose to dig into a classic Banana Pudding with Vanilla Wafers or one of these creative variations, you’re bound to create a memorable dessert that your loved ones will adore. For an easy transition to other delightful desserts, try your hand at some Strawberry Banana Pudding or venture into a rich Chocolate Chip Banana Bread—both are sure to please!
How to Store and Freeze Banana Pudding with Vanilla Wafers
Fridge: Store leftovers in an airtight container for up to 3-4 days. Make sure it’s well-covered to maintain freshness and prevent odors from other foods.
Freezer: While not ideal, you can freeze leftover banana pudding (without bananas) for up to 2 months. Separate layers, and freeze the creamy base in a freezer-safe container.
Thawing: To enjoy frozen pudding, transfer it to the fridge overnight to thaw. Re-layer fresh bananas and crushed vanilla wafers just before serving for the best texture.
Reheating: If needed, mix well after thawing, but it’s best enjoyed chilled to maintain the creamy, delicious layers of your Banana Pudding with Vanilla Wafers.
Banana Pudding with Vanilla Wafers Recipe FAQs
What type of bananas should I use?
For the best flavor and texture, use ripe but firm bananas that are slightly speckled. This balance will provide natural sweetness without being overly mushy, ensuring that your creamy banana pudding remains visually appealing and delicious.
How should I store leftover banana pudding?
Store any leftovers in an airtight container in the refrigerator for 3-4 days. Ensure it’s well-covered to minimize exposure to air, which can affect freshness and flavor. This method keeps your delightful dessert ready to enjoy at a moment’s notice!
Can I freeze banana pudding?
While best enjoyed fresh, you can freeze the creamy base of your Easy Banana Pudding with Vanilla Wafers (without added bananas) for up to 2 months. To do this, allow the creamy mixture to cool completely before placing it in a freezer-safe container. Remember to re-layer fresh bananas and wafers after thawing for optimal texture!
What if my pudding mixture has lumps?
If your pudding mixture turns out lumpy, don’t worry! Simply use an immersion blender or transfer the mixture to a blender and pulse it until smooth. This will help you achieve that silky texture essential for layers in your banana pudding. And remember, starting with very soft cream cheese makes all the difference!
Is this recipe suitable for those with allergies?
This banana pudding contains dairy ingredients, including cream cheese, milk, and Cool Whip. If you or your guests have lactose intolerance or dairy allergies, consider using lactose-free cream cheese and whipped toppings. Feel free to swap in alternatives based on dietary needs, ensuring everyone can enjoy this creamy banana pudding!
How can I enhance the flavor of the pudding?
Absolutely! For an extra flavor boost, consider adding a splash of vanilla extract to the creamy mixture or incorporating a pinch of cinnamon. These small additions can elevate the dessert, making it even more delightful while retaining that classic taste of banana pudding with vanilla wafers!
Creamy Banana Pudding with Vanilla Wafers You'll Love
Ingredients
Equipment
Method
- In a large mixing bowl, beat the cream cheese until smooth and fluffy, about 2 minutes. Gradually mix in the sweetened condensed milk until completely smooth.
- In a separate bowl, whisk together the pudding mix and cold milk until smooth and thickened, about 2 minutes.
- Gently fold the pudding into the cream cheese mixture until well combined, then fold in half of the Cool Whip.
- Layer 30 vanilla wafers evenly at the bottom of a serving dish.
- Layer the sliced bananas over the wafers.
- Spoon the pudding mixture over the bananas.
- Repeat the layers of vanilla wafers, bananas, and pudding mixture until all ingredients are used.
- Top with the remaining Cool Whip.
- Cover and refrigerate for at least 4 hours, ideally overnight.
- Before serving, crush a few extra vanilla wafers and sprinkle them on top.
Leave a Reply