
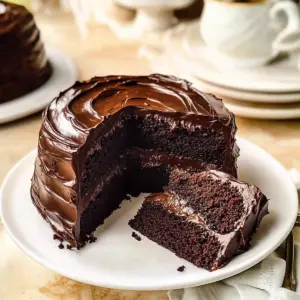
Amidst the aroma of baking chocolate wafting through the kitchen, I found myself completely captivated by a layer cake that brings back sweet memories. Matilda’s Chocolate Cake is not just a dessert; it’s an experience that transforms any ordinary day into a celebration. This ultra-moist, rich layer cake, crowned with a glossy fudge frosting, is perfect for chocolate lovers seeking comfort or a touch of nostalgia. Not only does it elevate gatherings with its show-stopping beauty, but it also requires just simple ingredients and minimal fuss, making it a go-to for home chefs like you. Can you think of a better reason to indulge? Get ready to explore how to create a masterpiece that will leave everyone asking for seconds!
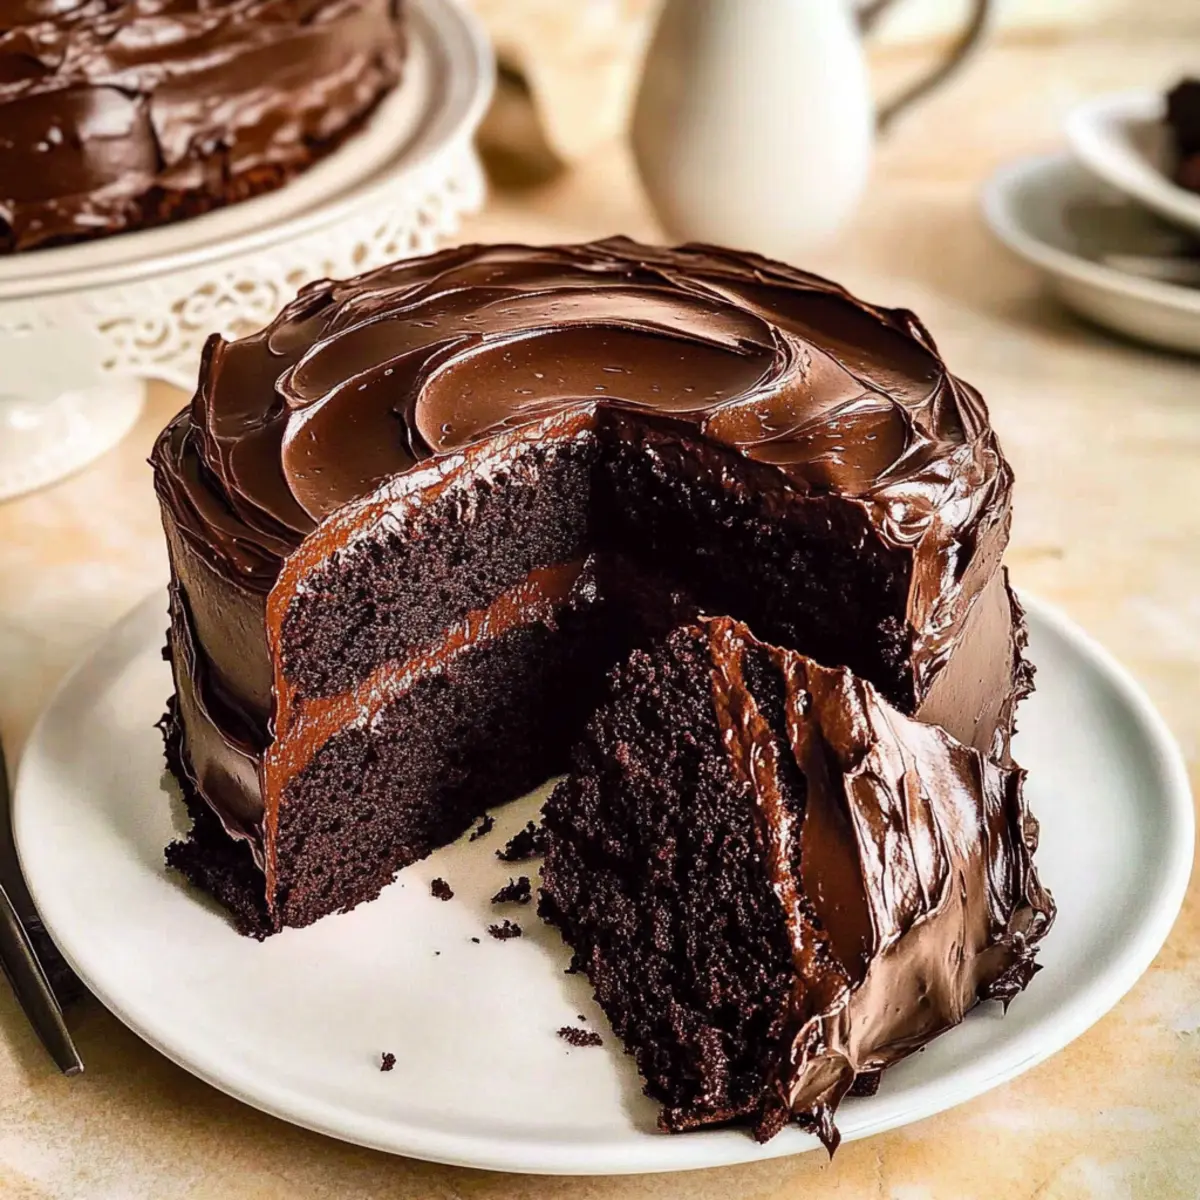
Why is Matilda’s Chocolate Cake a must-bake?
Decadent Delight: This cake offers rich, chocolatey layers that are simply irresistible, making every bite a moment of pure bliss.
Easy to Make: Don’t worry about complex techniques; the recipe is approachable and straightforward, perfect for home bakers of all skill levels.
Perfect for Celebrations: Whether it’s a birthday or a cozy family dinner, this cake is guaranteed to be the centerpiece that wows your guests!
Nostalgic Inspiration: Inspired by the beloved film, it’s a delightful way to bring back sweet memories while enjoying a treat that’s full of love.
Flexible Variations: Feeling adventurous? You can easily adjust this cake to include flavors like salted caramel or a lighter frosting—after all, why not make it your own?
Check out Healthy Carrot Cake for another fantastic dessert option!
Matilda’s Chocolate Cake Ingredients
For the Cake
- All-Purpose Flour – Provides structure and texture to hold the cake together.
- Granulated Sugar – Adds sweetness and keeps the cake tender.
- Baking Powder & Baking Soda – Essential leaveners that help the cake rise.
- Fine Sea Salt – Enhances the chocolate flavor and balances sweetness.
- Dutch-Processed Cocoa Powder (divided) – Provides the deep chocolate color and flavor.
- Buttermilk – Adds acidity for a tender crumb and moisture.
- Vegetable Oil – Keeps the cake moist for several days; substitute with canola oil if needed.
- Large Eggs – Acts as a binder to enrich the batter.
- Hot Brewed Coffee – Blooms the cocoa powder, enhancing the chocolate flavor without a coffee taste; substitute with boiling water for a caffeine-free option.
- Pure Vanilla Extract – Adds depth to the overall flavor.
For the Frosting
- Semi-Sweet Chocolate – Use high-quality chocolate bars (60% to 70% cocoa) for the frosting; avoid chips due to stabilizers.
- Unsalted Butter – Contributes richness and helps set the frosting.
- Heavy Cream – Required to achieve a silky frosting texture.
- Powdered Sugar – Adds sweetness to the frosting; always sift before use to avoid graininess.
Indulge in the magic of Matilda’s Chocolate Cake—a delightful layer cake that makes every occasion brighter!
Step‑by‑Step Instructions for Matilda’s Chocolate Cake
Step 1: Preheat and Prepare Bakeware
Begin by preheating your oven to 350°F (175°C). While the oven warms up, grease and line two 8-inch round cake pans with parchment paper. This will ensure your Matilda’s Chocolate Cake layers release easily after baking. Gently press the parchment into the bottom and sides, creating a perfect non-stick surface for your cake.
Step 2: Bloom the Cocoa
In a small mixing bowl, whisk together the hot brewed coffee with half of the Dutch-processed cocoa powder until fully smooth. The heat from the coffee will bloom the cocoa, enhancing the deep chocolate flavor. Set this mixture aside for about 10 minutes to allow the flavors to meld beautifully as you move on to the next step.
Step 3: Mix Dry Ingredients
In a large bowl, sift together the all-purpose flour, the remaining cocoa powder, granulated sugar, baking soda, baking powder, and fine sea salt. Sifting these dry ingredients helps to aerate them, resulting in a light and fluffy Matilda’s Chocolate Cake. Stir well until combined, ensuring there are no lumps for a smooth batter.
Step 4: Combine Wet Ingredients
Add the large eggs, buttermilk, vegetable oil, and pure vanilla extract into the bowl with the dry ingredients. Using a whisk, blend everything together until you achieve a smooth batter. Make sure all components are well incorporated, creating a rich, velvety mixture that will provide a luscious texture to your cake.
Step 5: Gradually Incorporate Coffee Mixture
Gently stir in the coffee-cocoa mixture you prepared earlier. This infusion of coffee will enhance the chocolate flavors without leaving any coffee taste. Continue to mix until the batter is uniform, ensuring that all ingredients are well blended for that perfect Matilda’s Chocolate Cake consistency.
Step 6: Bake the Cake Layers
Evenly divide the batter between the two prepared cake pans. Smooth the tops with a spatula for even baking. Place them in the preheated oven and bake for 30 to 35 minutes, or until a toothpick inserted into the center comes out clean. Your cake layers should rise beautifully and spring back when lightly touched, indicating they are ready.
Step 7: Cool the Cakes
Once baked, carefully remove the cakes from the oven and let them cool in the pans for about 10 minutes. After this cooling period, run a knife around the edges and gently transfer the cakes to a wire rack. Allow them to cool completely before frosting, as hot cakes can melt your frosting.
Step 8: Prepare the Frosting
For the luscious frosting, melt together chopped semi-sweet chocolate, unsalted butter, heavy cream, and sifted powdered sugar in a saucepan over low heat. Whisk constantly to achieve a silky mixture without any lumps. Keep an eye on the texture; it should be smooth and glossy, perfect for coating your cake.
Step 9: Strain and Chill Frosting
Once fully combined and melted, strain the frosting through a mesh sieve into a bowl. This step ensures a velvety smooth texture for your frosting. Set the bowl in the refrigerator to chill until it thickens slightly but remains spreadable, around 20-30 minutes, perfect for creating that beautiful finish on your Matilda’s Chocolate Cake.
Step 10: Assemble the Cake
Begin assembling your cake by placing the first cooled cake layer onto a serving platter. Generously spread frosting over the top, ensuring even coverage. Carefully place the second layer on top and coat the entire cake with the remaining frosting. Use a spatula to create smooth edges and a beautiful finish.
Step 11: Set Before Slicing
Allow the assembled Matilda’s Chocolate Cake to sit at room temperature for about 15 minutes before slicing. This resting period helps the frosting set beautifully, resulting in a shiny surface. Now your cake is ready to be enjoyed, with all its rich, decadent, chocolatey layers waiting to delight every taste bud!
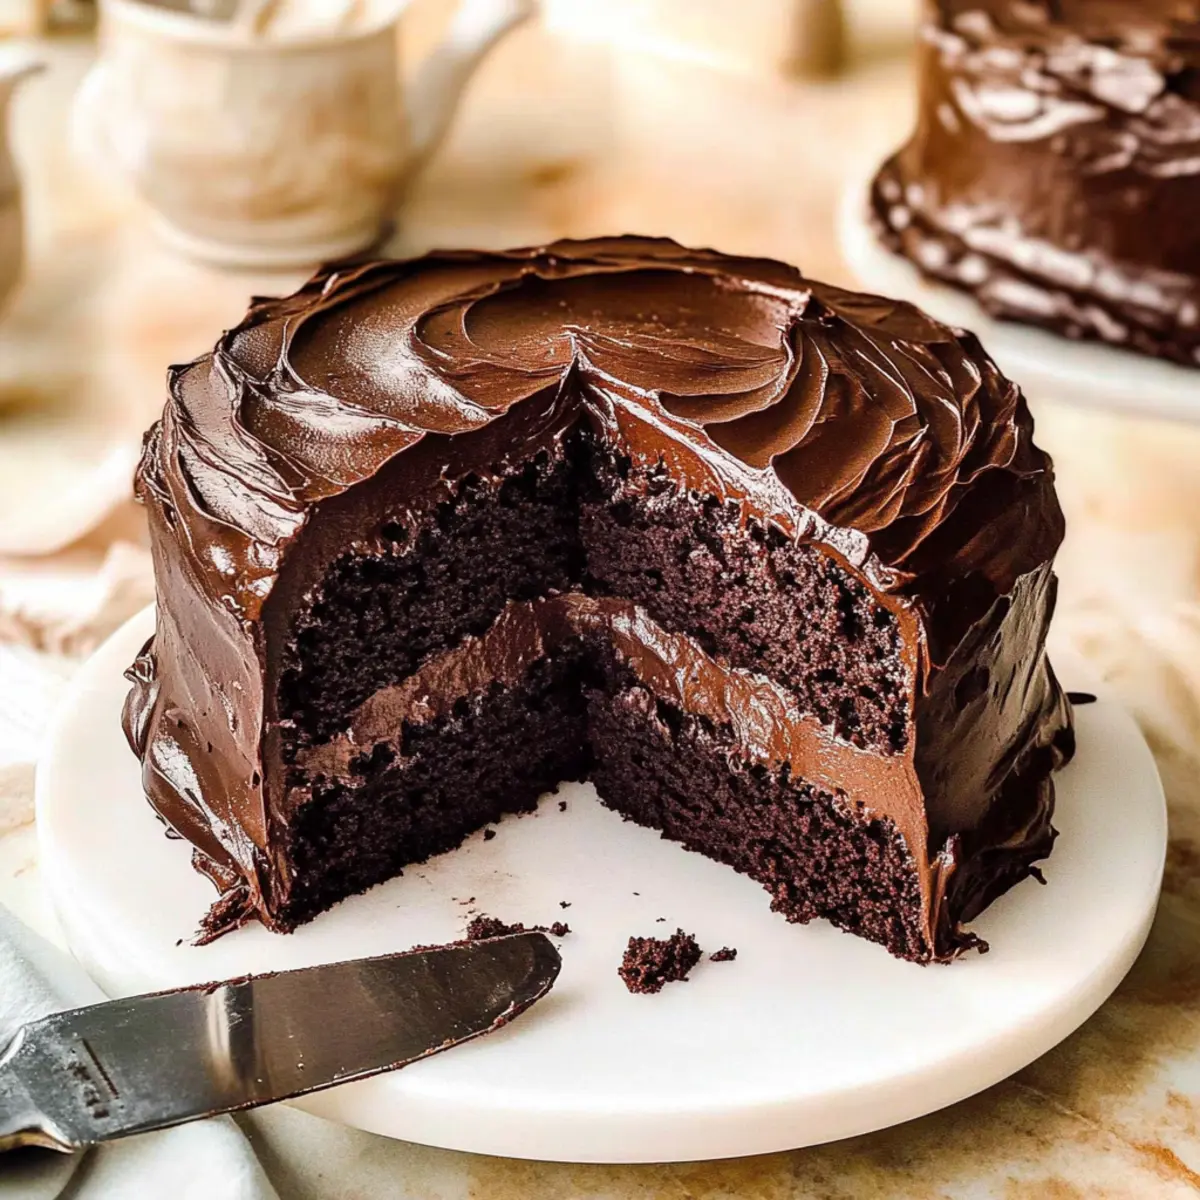
Make Ahead Options
Preparing Matilda’s Chocolate Cake ahead of time is a game-changer for busy home cooks! You can bake the cake layers up to 2 days in advance; simply let them cool completely, then wrap them tightly in plastic wrap and refrigerate. The frosting can also be made ahead and stored in an airtight container in the refrigerator for up to 3 days—just remember to let it sit at room temperature and re-whisk gently before spreading. When you’re ready to serve, assemble the cake with the chilled layers and frosting for a fresh finish that’s just as delicious as when it was baked. This way, you can enjoy a stunning dessert without any last-minute stress!
Expert Tips for Matilda’s Chocolate Cake
- Temperature Check: Use a digital thermometer to check for doneness; the ideal internal temperature is 205°F (96°C) for a perfectly baked cake.
- Coffee’s Role: Always bloom the cocoa powder in hot coffee for maximum flavor extraction; it makes a world of difference!
- Frosting Temperature: Apply the frosting while it’s still slightly warm; this ensures a glossy finish that looks professionally done.
- Mixing Caution: Avoid over-mixing your batter; too much agitation can lead to a dense, tough texture instead of the desired fluffiness.
- Layer Arrangement: When assembling, ensure each layer is completely cooled to avoid melting the frosting; this keeps your Matilda’s Chocolate Cake looking gorgeous!
Matilda’s Chocolate Cake Variations
Feel free to add your own twist to this beloved recipe; the possibilities are as delightful as they are delicious!
-
Dairy-Free: Substitute buttermilk with almond milk and use dairy-free butter for a fully dairy-free version. You’ll still enjoy the rich chocolate flavor without the dairy!
-
Vegan-Friendly: Replace eggs with flax eggs and use a dairy-free cream substitute for the frosting. These swaps keep the essence of the cake while catering to plant-based diets.
-
Three-Layer Cake: Expand the excitement by dividing the batter into three 8-inch pans instead of two. Adjust the baking time to 22-26 minutes for perfectly tender layers.
-
Salted Caramel Twist: For a decadent addition, swirl in salted caramel between the layers or drizzle it on top before frosting. This contrast enhances the rich chocolate and elevates the flavor profile.
-
Chocolate Chip Surprise: Fold in semi-sweet chocolate chips into the batter for added texture and delightful bursts of chocolate. They create pockets of gooey goodness throughout!
-
Nutty Delight: Add crushed walnuts or hazelnuts into the batter for a delightful crunch. This not only changes the texture but enhances the cake’s depth and flavor.
-
Spicy Chocolate: For those who enjoy a little heat, mix in a pinch of cayenne pepper or cinnamon to the batter. The subtle spice complements the chocolate beautifully, adding an unexpected twist.
-
Flavorful Extracts: Experiment with almond or orange extract instead of vanilla for a different aromatic experience. A little goes a long way in transforming the cake’s overall taste!
Once you’ve found your perfect variation, why not pair it with a scoop of vanilla ice cream or serve alongside a slice of Chocolate Chip Banana for a delightful dessert spread? Enjoy the sweet journey of baking and the joy of creating your own perfect Matilda’s Chocolate Cake!
What to Serve with Matilda’s Chocolate Cake
Indulging in a slice of this decadent cake opens the door to a host of delicious pairings that elevate your meal into something truly memorable.
-
Fresh Berries: Bright and juicy, they provide a refreshing contrast to the rich chocolate, adding balance to each bite.
-
Vanilla Ice Cream: A classic pairing that melts beautifully with the warm cake, adding a creamy texture that enhances every mouthful.
-
Whipped Cream: Light and airy, it brings a delightful fluffiness that complements the dense layers, making each serving feel celebratory.
-
Chocolate Ganache: For chocolate enthusiasts, a drizzle of ganache amplifies the chocolate experience, creating an indulgent chocolate lover’s paradise.
-
Espresso or Coffee: A warm cup enhances the cake, as the bitter notes of coffee harmonize with the sweetness, rounding out the flavors beautifully.
-
Toasted Nuts: Crunchy almonds or hazelnuts offer a delightful contrast in texture, enhancing the experience with a nutty richness.
-
Chocolate Stout: A rich beer adds depth and complexity to your dessert, enhancing chocolate flavors and creating a memorable pairing for special occasions.
With these delightful accompaniments, your Matilda’s Chocolate Cake transforms from a simple dessert into a luxurious experience that invites everyone to savor the moment.
How to Store and Freeze Matilda’s Chocolate Cake
Room Temperature: Store the cake in an airtight container at room temperature for up to 5 days to maintain its moisture and flavor.
Fridge: If you live in a warmer climate, you can keep it in the refrigerator, where it will stay fresh for up to a week. Bring it to room temperature before serving for the best taste.
Freezer: For longer storage, wrap individual slices in plastic wrap, then foil, or use an airtight container; it can be frozen for up to 3 months without losing its deliciousness.
Reheating: To enjoy leftovers, thaw slices in the fridge overnight, then gently warm in the microwave for about 10-15 seconds if preferred slightly warm.
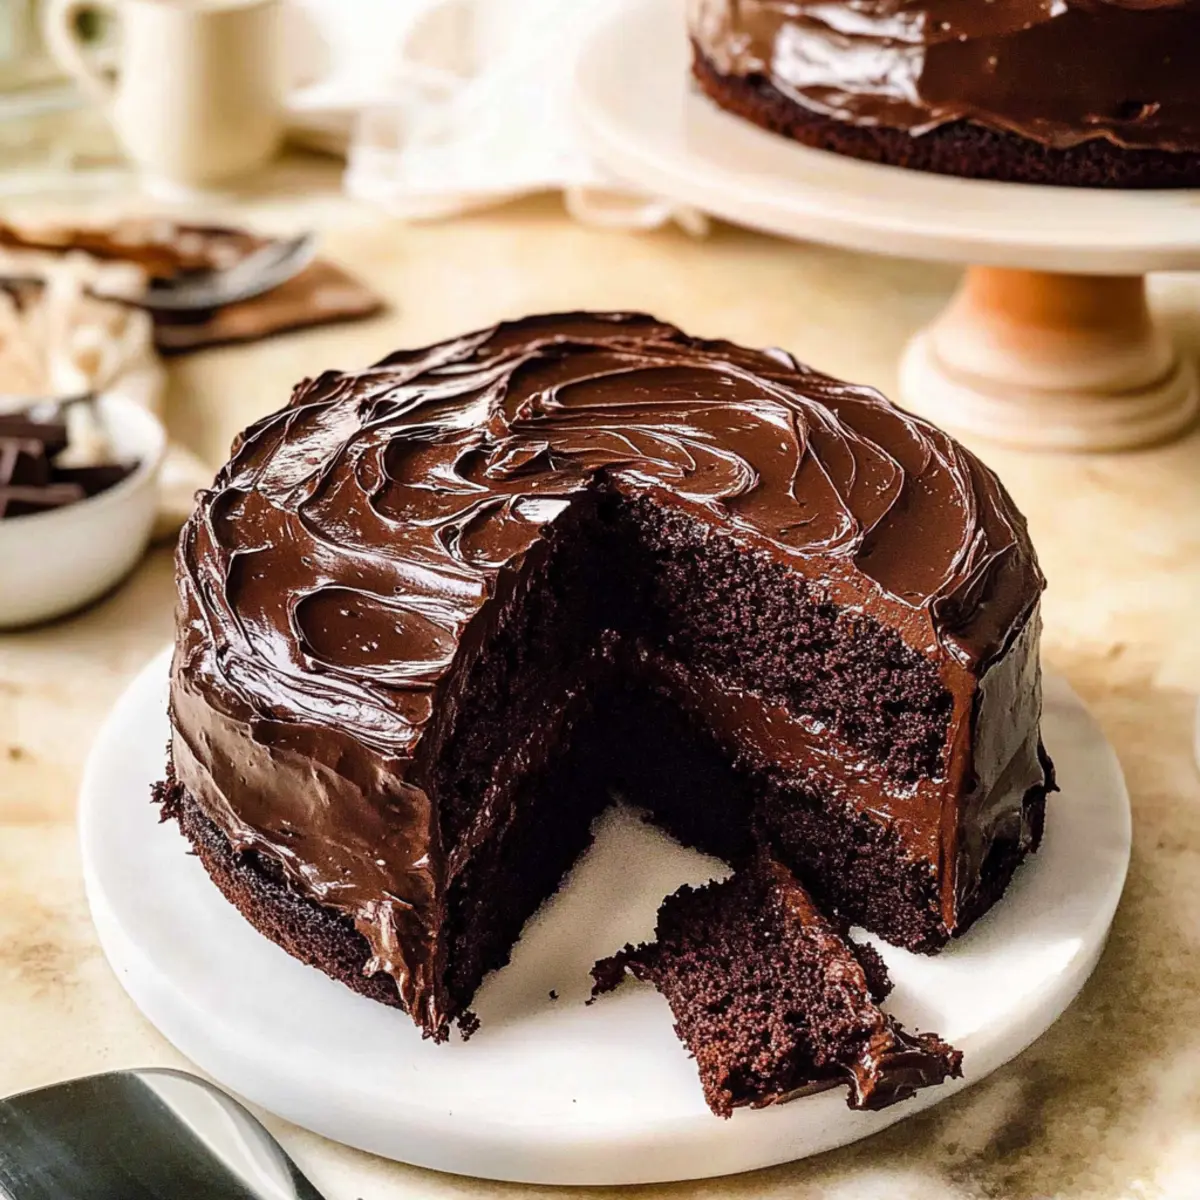
Matilda’s Chocolate Cake Recipe FAQs
What is the best way to choose ripe ingredients for Matilda’s Chocolate Cake?
Absolutely! Selecting the right ingredients is key to achieving that rich chocolatey flavor. For the freshest eggs, look for ones with clean shells and an expiration date that’s at least a few weeks away. When choosing buttermilk, pick one that is cold and has a nice, fresh smell — this ensures a tender crumb in your cake. For cocoa powder, the fresher it is, the better the taste, so try to buy it in smaller quantities if possible.
How should I store Matilda’s Chocolate Cake after baking?
Very! Store your cake in an airtight container at room temperature for up to 5 days to keep it moist and flavorful. If it’s particularly warm where you are, you can refrigerate it, which will help it last for about a week. Just be sure to bring it back to room temperature before serving for the best texture and taste!
Can I freeze Matilda’s Chocolate Cake, and if so, how?
Certainly! To freeze your cake, first ensure it’s completely cooled. Then, wrap individual slices tightly in plastic wrap, followed by aluminum foil, to prevent freezer burn. Alternatively, you can use an airtight container. The cake can be frozen for up to 3 months. When you’re ready to enjoy, thaw the slices in the refrigerator overnight and if you like, warm them gently in the microwave for about 10-15 seconds to bring back that fresh-from-the-oven experience.
What common issues should I watch for while baking Matilda’s Chocolate Cake?
Oh, definitely a good question! One common issue is overmixing the batter, which can lead to a dense texture rather than the light, fluffy cake you want. Another potential issue is not allowing your cake layers to cool completely before frosting; hot layers can melt your frosting, creating a gooey mess. Finally, ensure you bloom the cocoa in hot coffee before mixing; this step is crucial for maximizing the flavor and achieving that deep chocolate richness!
Are there any dietary considerations I should keep in mind for Matilda’s Chocolate Cake?
Absolutely! This cake is vegetarian, but if you have dietary restrictions, you can modify it. For a dairy-free version, substitute the buttermilk with almond milk mixed with lemon juice, and for the frosting, opt for dairy-free chocolate and butter alternatives. Always double check ingredient labels if allergies are a concern, especially for eggs and chocolate, as they can sometimes contain allergens depending on the brand.
Is there a way to adjust the richness of Matilda’s Chocolate Cake?
Very much so! If you’re looking to lighten the cake, consider using half dark chocolate and half milk chocolate in the frosting. This will still give you that sweet and satisfying taste without being overwhelmingly rich. You can also reduce the amount of sugar slightly if you’re looking for a less sweet cake; however, keep in mind that sugar plays a significant role in moisture, so do so cautiously!
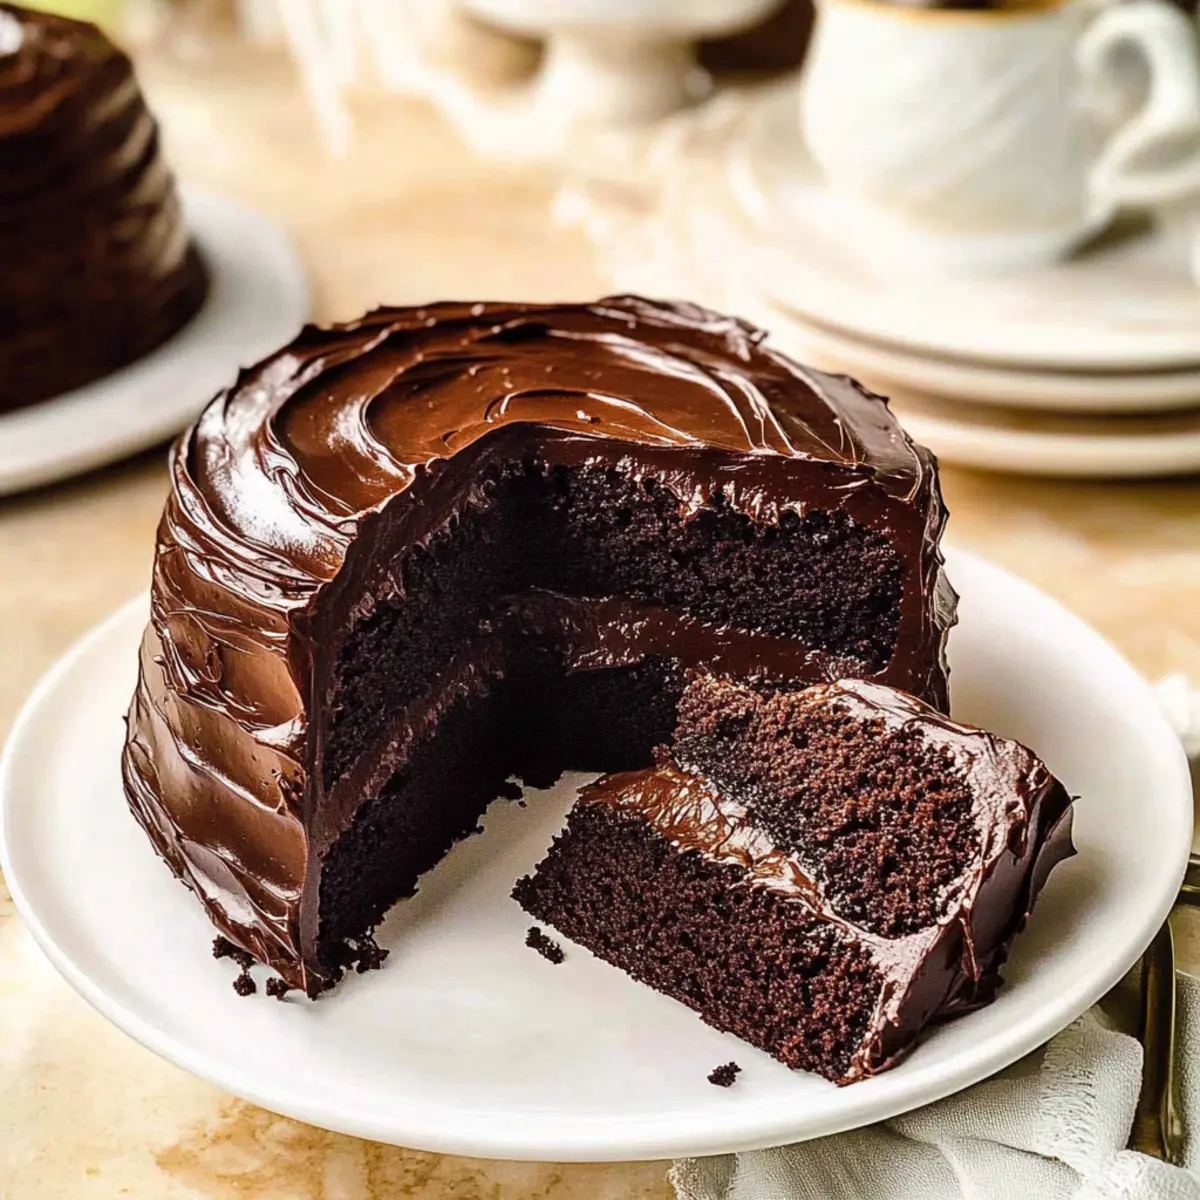
Matilda's Chocolate Cake - Rich, Decadent Layers Await
Ingredients
Equipment
Method
- Preheat your oven to 350°F (175°C) and prepare two 8-inch round cake pans with parchment paper.
- In a bowl, whisk together the hot brewed coffee with half of the cocoa powder until smooth. Set aside for 10 minutes.
- Sift the flour, remaining cocoa powder, sugar, baking soda, baking powder, and salt in a large bowl.
- Add eggs, buttermilk, vegetable oil, and vanilla extract to the dry ingredients, whisk until smooth.
- Gradually stir in the coffee-cocoa mixture until well combined.
- Divide the batter between prepared pans and bake for 30-35 minutes.
- Cool the cakes in pans for 10 minutes, then transfer to a wire rack to cool completely.
- Melt chocolate, butter, heavy cream, and sifted powdered sugar together in a saucepan to prepare frosting.
- Strain frosting through a sieve and chill until slightly thickened, about 20-30 minutes.
- Frost the first layer of the cooled cake, then top with the second layer and coat the entire cake with frosting.
- Let the assembled cake sit at room temperature for 15 minutes before slicing.
Leave a Reply