
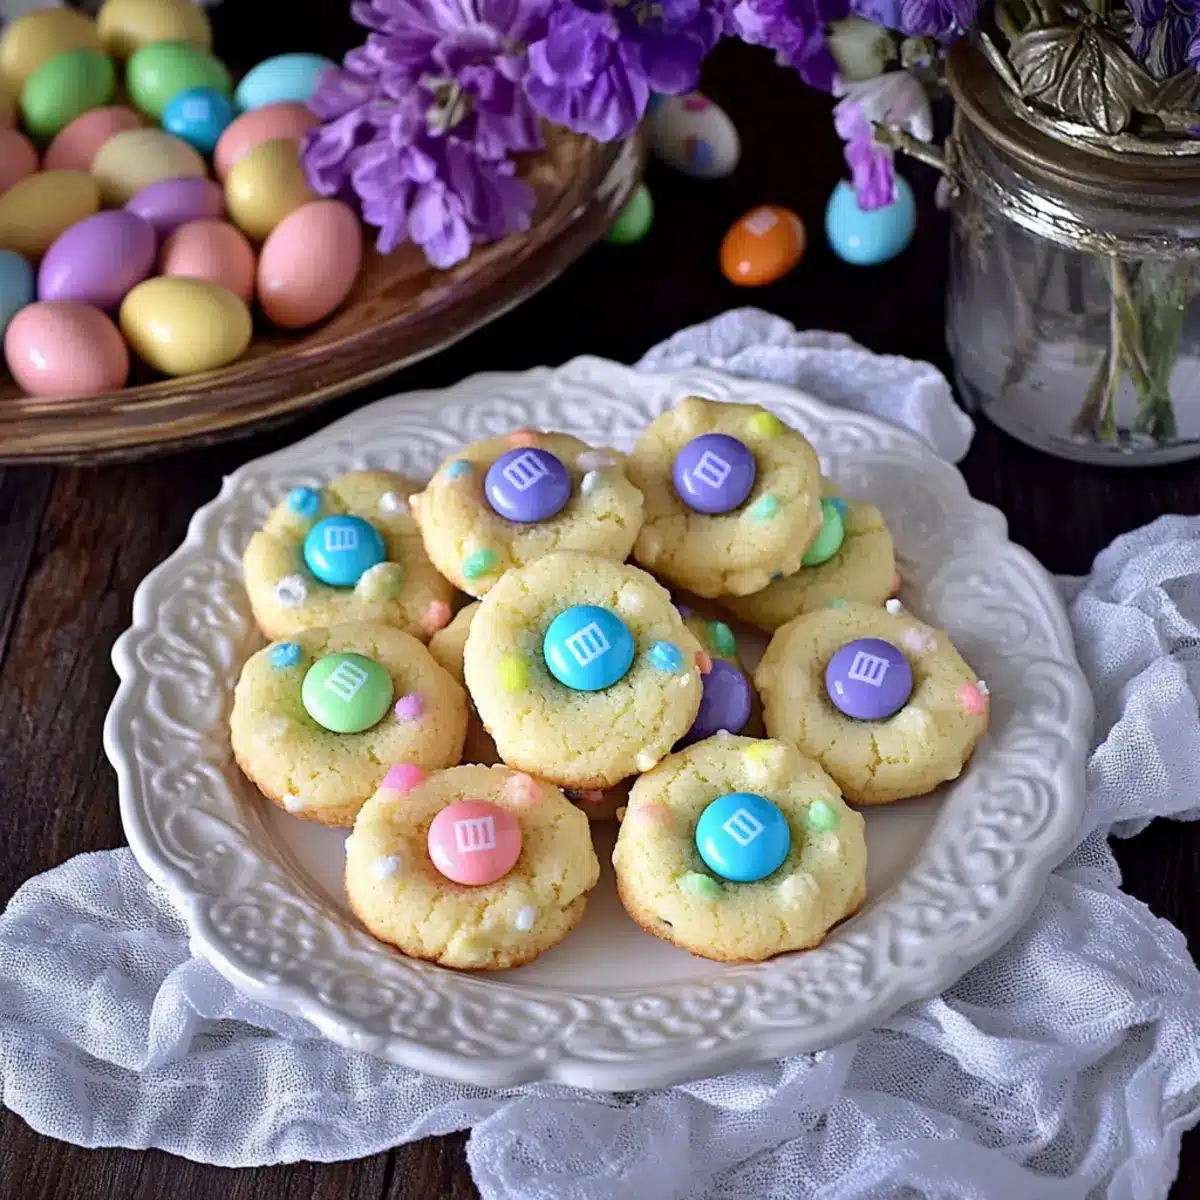
As the aroma of freshly baked cookies wafts through the kitchen, I can’t help but feel a wave of nostalgia wash over me. These Easter Bunny Button Cookies are not just adorable treats; they evoke the joy of past Easters spent with loved ones. With their tender, shortbread-like texture and vibrant M&M candy centers, these delightful bites are simple to whip up—making them perfect for both gifting and indulging. Plus, their charming festive presentation ensures they’ll be the star of any celebration. Ready to bring some whimsy to your dessert table? Let’s dive into the delightful world of Easter Bunny Button Cookies—your new go-to recipe for sweet memories!

Why Are These Cookies So Special?
Simplicity and Fun: The recipe is incredibly easy, making it perfect for bakers of all skill levels to create festive treats effortlessly.
Nostalgic Flavors: These cookies bring back childhood memories of Easter celebrations, enveloping your taste buds in sweetness and joy.
Vibrant Appeal: Topped with colorful M&Ms, they are as striking as they are delicious, adding an eye-catching element to your dessert table.
Versatile Options: Feel free to experiment with seasonal variations—swap M&Ms for holiday-themed candies or even incorporate chocolate chips for extra flavor!
Perfect for Sharing: Ideal for gifting, these cookies make delightful additions to Easter baskets or party spreads, guaranteed to put a smile on everyone’s face.
Easter Bunny Button Cookies Ingredients
• Get ready to bake delightful treats!
For the Cookie Dough
• Butter – Adds richness and moisture; use unsalted butter, softened for the best texture.
• Sugar – The key to sweetness and texture; opt for granulated or baking sugar, avoiding regular sugar for coating.
• Egg Yolks – Provide structure and richness; make sure to separate them carefully for precise measurement.
• Vanilla Extract – Enhances the overall flavor; pure vanilla offers a more delightful taste compared to imitation.
• All-Purpose Flour – Forms the cookies’ structure; precise measuring is essential for the right consistency.
For the Coating
• Sanding Sugar – Adds a crunchy texture and shine; if unavailable, coarse or pearl sugar makes a good substitute. Avoid regular granulated sugar.
• Chocolate M&M Candy – Brings sweetness and vibrant color to your cookies; swap for Smarties or other candy-coated chocolates if desired.
Get ready to enjoy making these Easter Bunny Button Cookies—they’re sure to charm everyone at your table!
Step‑by‑Step Instructions for Easter Bunny Button Cookies
Step 1: Preheat the Oven
Begin by preheating your oven to 350°F (175°C). While the oven heats up, prepare a baking sheet by lining it with parchment paper or a silicone baking mat. This will prevent the cookies from sticking and ensure easy removal after baking.
Step 2: Cream the Butter and Sugar
In a large mixing bowl, cream together ½ cup of softened unsalted butter and ¾ cup of granulated sugar. Use a hand mixer or stand mixer to beat the mixture until it becomes light and fluffy, approximately 2-3 minutes. This step is crucial for achieving the tender texture of your Easter Bunny Button Cookies.
Step 3: Add Egg Yolks and Vanilla
Next, add in two egg yolks and 1 teaspoon of pure vanilla extract to the creamed butter and sugar. Mix well until everything is fully combined and the mixture is smooth, scraping down the sides of the bowl as needed to ensure even incorporation. This flavorful blend enhances the sweetness and richness of your cookies.
Step 4: Incorporate the Flour
Gradually sift in 1 ¾ cups of all-purpose flour. Gently fold the flour into the mixture using a spatula or wooden spoon until just combined. Be cautious not to over-mix, as this can lead to tougher cookies. The dough should be soft and slightly sticky, ready for shaping.
Step 5: Shape the Cookies
To form the cookies, scoop about one teaspoon of dough and roll it into a ball between your palms. Once shaped, roll each dough ball in sanding sugar, ensuring they are thoroughly coated. This not only adds sweetness but also gives your Easter Bunny Button Cookies a sparkling finish.
Step 6: Prepare for Baking
Place the sugar-coated dough balls on your prepared baking sheet, spacing them about 2 inches apart for room to spread. With your finger or the back of a spoon, gently press an M&M candy into the center of each dough ball, creating that adorable button look that defines these cookies.
Step 7: Bake the Cookies
Slide the baking sheet into your preheated oven and bake the cookies for 10 minutes. Keep an eye on them; the cookies should have a light golden edge but remain soft in the center. A visual cue to watch for is a slightly puffed appearance, indicating they’re nearly done.
Step 8: Cool and Enjoy
After baking, remove the sheet from the oven and let the cookies cool on the baking sheet for 3-5 minutes. This allows them to set before transferring them to a wire rack. Once completely cool, your delightful Easter Bunny Button Cookies are ready to be enjoyed or packaged as sweet gifts for family and friends.
What to Serve with Easter Bunny Button Cookies
These delightful miniature cookies are perfect for elevating your spring celebrations with colorful treats and joyful flavors.
-
Refreshing Lemonade: The zesty brightness of homemade lemonade contrasts beautifully with the sweetness of the cookies, creating a refreshing pairing for warm spring days.
-
Fruity Salad: A vibrant fruit salad, bursting with seasonal berries and citrus, adds a fresh element that complements the cookie’s sweetness while providing a lovely textural contrast.
-
Rich Vanilla Ice Cream: The creamy, velvety richness of vanilla ice cream is a simple yet indulgent side that enhances the delightful flavors of your cookies.
-
Charming Easter Decorated Cupcakes: Keep the festive spirit alive with whimsical cupcakes topped with pastel frosting and sprinkles—perfect for the same crowd and occasion!
-
Mint Chocolate Milkshake: A minty twist on a classic shake pairs wonderfully by balancing the sweetness of the cookies with a cool, creamy texture, inviting nostalgia and delight in every sip.
-
Hot Chocolate or Coffee: The rich flavors of hot chocolate or a smooth cup of coffee can balance the sweetness of the cookies, adding a cozy touch to your gatherings and inviting everyone to linger.
Indulging in these pairings will turn your dessert experience with Easter Bunny Button Cookies into a festive feast to remember, whether you’re celebrating with family or friends!
Easter Bunny Button Cookies Variations
Feel free to get creative with these delightful cookies and add your personal touch for a truly unique experience!
-
Candy Swap: Replace M&Ms with chocolate eggs or seasonal pastel candies for holiday-themed variations. The bright colors will make your cookies even more festive!
-
Dairy-Free: Swap butter for coconut oil and use a plant-based milk to make them dairy-free. This gives the cookies a subtly sweet flavor that complements the candy.
-
Vegan Option: Use a flax egg (1 tablespoon flaxseed meal mixed with 2.5 tablespoons water) instead of egg yolks along with coconut oil for a vegan-friendly twist.
-
Nutty Flavor: Incorporate 1/4 cup of finely chopped nuts like pecans or walnuts into the dough for a delightful crunch. They add nutritional benefits and a delicious texture contrast.
-
Chocolatey Treat: Mix in half a cup of chocolate chips (dark, milk, or white) for a rich flavor boost! Chocolate lovers will rave over this added touch in each bite.
-
Zesty Lemon: Add a teaspoon of lemon zest to the dough for a refreshing citrus hint. The tangy flavor pairs beautifully with the sweetness of the candies.
-
Heat Elements: For a unique twist, sprinkle a tiny pinch of cayenne pepper into the dough for a surprising kick. The heat can elevate the sweet flavors deliciously!
-
Flour Alternatives: For gluten-free cookies, substitute all-purpose flour with a gluten-free baking blend. You can enjoy the same festive flavors without the gluten!
With these variation ideas, your Easter Bunny Button Cookies will suit any occasion and please everyone at the table! Enjoy experimenting with flavors and textures while creating new, delightful memories. And if you’re looking for other festive treats, check out these recipes for Healthy Carrot Cookies or indulge in some Chocolate Oat Cookies. Happy baking!
Expert Tips for Easter Bunny Button Cookies
-
Perfect Butter Texture: Use softened, unsalted butter to achieve a creamy consistency. Overly hard butter can result in dense cookies.
-
Gentle Mixing: Fold in the flour just until combined to avoid developing gluten, which can lead to tough cookies.
-
Right Oven Temperature: Always preheat your oven to 350°F. An incorrect temperature can lead to uneven baking or burned edges.
-
Chill Dough (Optional): If the dough feels too sticky, chill it for 30 minutes. This helps in rolling and keeps cookies from spreading too much while baking.
-
Custom Candy Choices: Feel free to use other pastel candies like chocolate eggs or seasonal sweets in place of M&Ms to make your Easter Bunny Button Cookies even more festive.
Make Ahead Options
These Easter Bunny Button Cookies are ideal for meal prep, allowing you to enjoy festive treats with minimal last-minute fuss. You can prepare the cookie dough and refrigerate it up to 24 hours in advance; simply wrap it tightly in plastic wrap to prevent drying out. For even longer storage, freeze the rolled dough balls coated in sanding sugar for up to 3 months—just make sure to space them out on a baking sheet until firm before transferring to an airtight container. When you’re ready to bake, place the frozen dough directly on the baking sheet and add an M&M candy in the center, then bake as directed—resulting in freshly baked cookies that taste just as delightful!
How to Store and Freeze Easter Bunny Button Cookies
Room Temperature: Store cookies in an airtight container at room temperature for up to 5 days. This keeps them fresh and ready to enjoy at a moment’s notice.
Freezer: For longer storage, freeze the cookies in a single layer on a baking sheet, then transfer to an airtight container for up to 3 months. This helps retain their delightful texture and flavor.
Reheating: To revive frozen cookies, let them thaw at room temperature for about 30 minutes. If desired, warm briefly in a preheated oven at 300°F for 5-7 minutes for that fresh-baked taste.
Gift Packaging: If gifting, consider wrapping cookies in cellophane bags or putting them in decorative tins, ensuring they’re layered with parchment paper to maintain freshness.

Easter Bunny Button Cookies Recipe FAQs
How do I choose ripe and quality ingredients?
Absolutely! For this recipe, select butter that is room temperature, unsalted to control salt levels. Choose large eggs with intact shells for the egg yolks, and for the flour, ensure it’s freshly opened for the best performance. The M&Ms should be vibrant and shiny – avoid any with dark spots or dull surfaces.
How should I store my Easter Bunny Button Cookies?
These delightful cookies can be stored in an airtight container at room temperature for up to 5 days. If you want to keep them longer, store them in the freezer for up to 3 months. When ready to enjoy them again, simply let them thaw or warm them in the oven slightly—this brings back their freshly baked charm!
What’s the best way to freeze the cookies?
To freeze your Easter Bunny Button Cookies, place them in a single layer on a baking sheet lined with parchment paper. Freeze them for about 1-2 hours, then transfer them to a freezer-safe airtight container or zip-top bag. Make sure to label it with the date, and they’ll stay fresh and delicious for up to 3 months!
What if my dough is too sticky to handle?
Very! If your cookie dough feels too sticky, don’t worry. Just chill it in the fridge for about 30 minutes. This helps the dough firm up, making it much easier to scoop and roll into balls. Remember, a little chilling can go a long way in cookie-making!
Are there any dietary considerations for these cookies?
Absolutely! These Easter Bunny Button Cookies can be adapted for dietary needs. For a dairy-free version, replace butter with a dairy-free alternative like coconut oil. You can also use egg substitutes like flaxseed or applesauce—about ¼ cup of applesauce for each egg yolk gives a nice texture. While M&Ms are generally safe, check the packaging for allergy information if others are consuming.
Can I customize the candies used in the cookies?
The more the merrier! Feel free to swap out M&Ms for other candy-coated chocolates, or even seasonal treats like pastel jelly beans or chocolate eggs. This not only keeps things fun and fresh but also allows for creative twists that appeal to your taste and the festive season!

Easter Bunny Button Cookies: Sweet Treats for Spring Celebrations
Ingredients
Equipment
Method
- Preheat your oven to 350°F (175°C) and prepare a baking sheet with parchment paper.
- In a large mixing bowl, cream together the butter and sugar until light and fluffy, about 2-3 minutes.
- Add the egg yolks and vanilla extract, mixing until fully combined and smooth.
- Gradually sift in the all-purpose flour and gently fold until just combined.
- Scoop about one teaspoon of dough, roll into a ball, and coat in sanding sugar.
- Place the sugar-coated dough balls on the baking sheet and press an M&M candy into the center of each.
- Bake in preheated oven for 10 minutes until lightly golden around the edges.
- Let cool on the baking sheet for 3-5 minutes before transferring to a wire rack.
Leave a Reply