
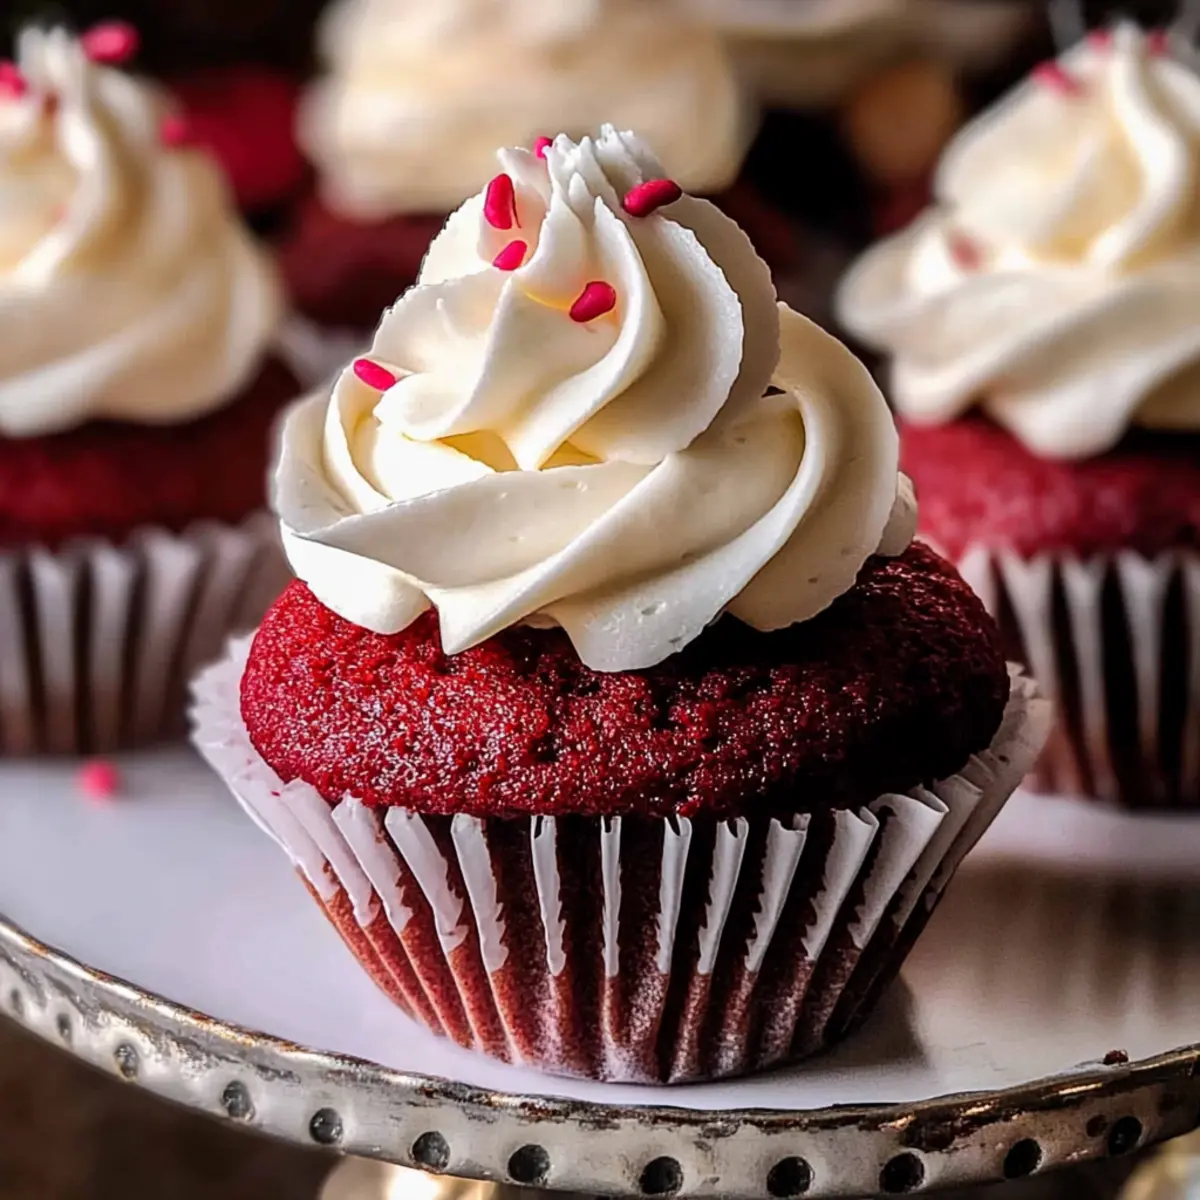
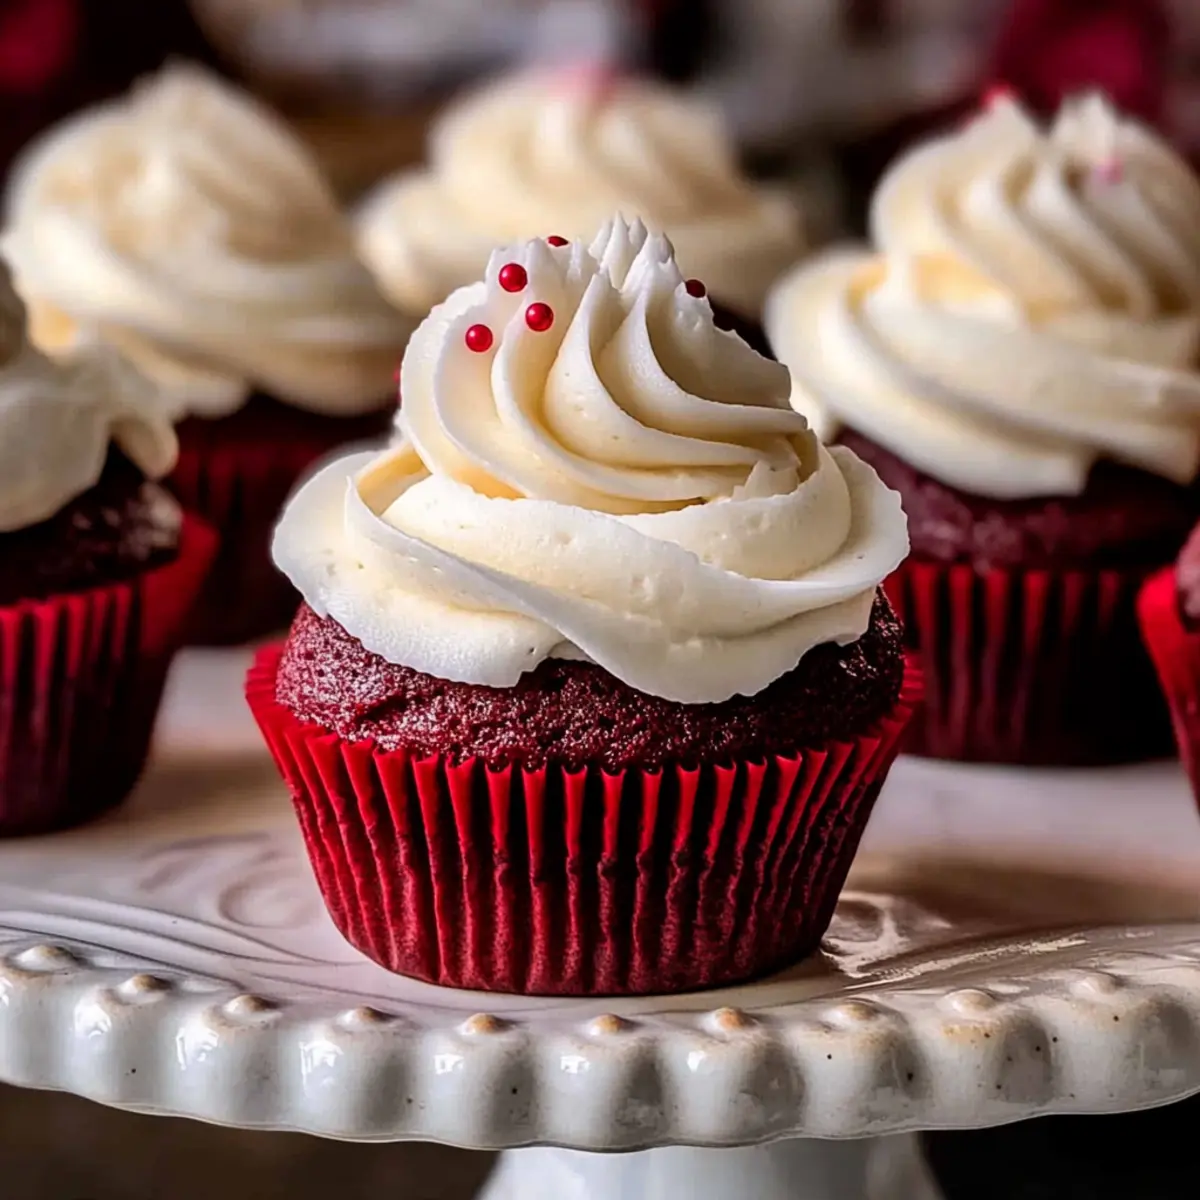
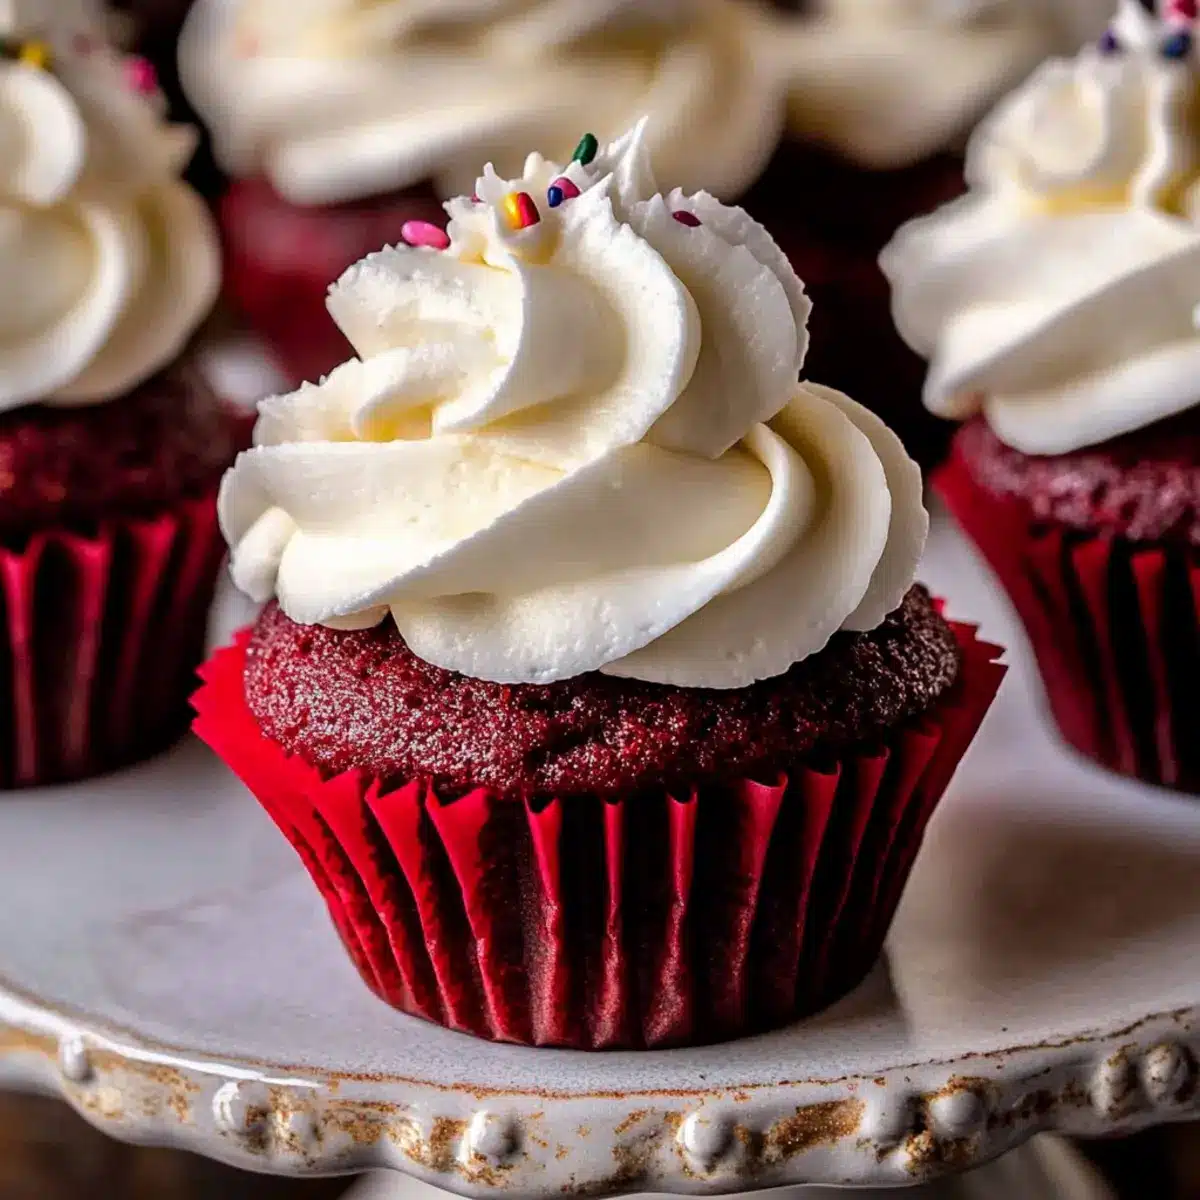
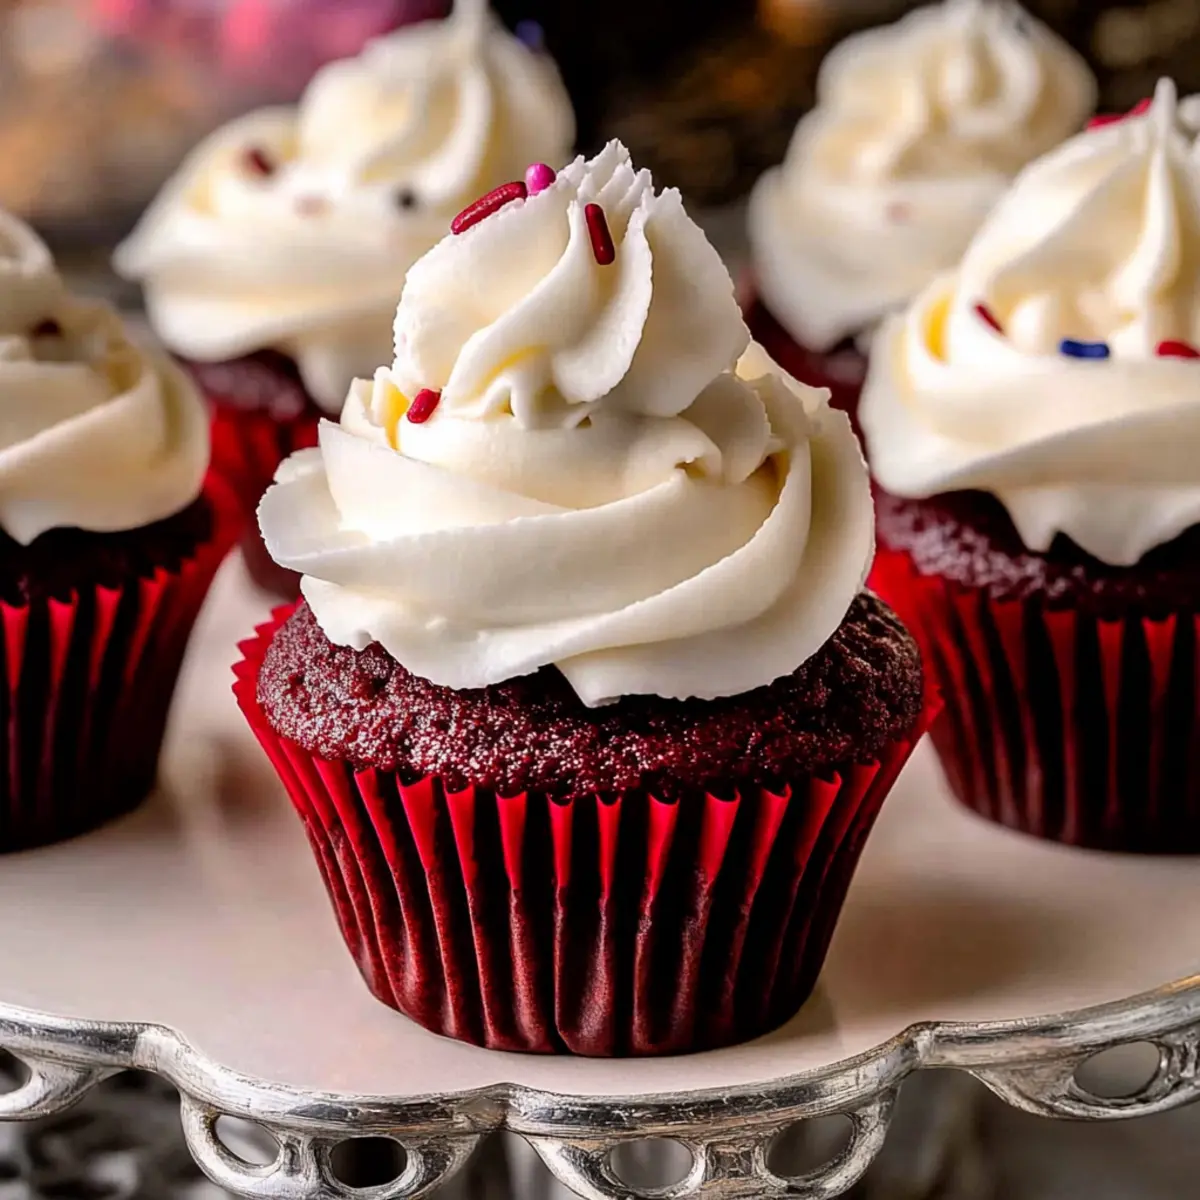
As I stood in my kitchen, the sweet aroma of cocoa mingling with rich butter filled the air, instantly transporting me to a time of festive celebrations and heartwarming gatherings. These Moist Red Velvet Cupcakes with Cream Cheese Frosting have become a staple in my dessert repertoire, not just for their stunning crimson hue, but for their perfect balance of tenderness and flavor. Whether it’s Valentine’s Day or a cozy Christmas dinner, these gorgeous little treats are sure to delight both the eyes and the taste buds. Plus, they come together quickly, making them a go-to for any last-minute sweet cravings. What better way to impress your loved ones than with these irresistible delights? Shall we dive into the magic of baking together?
Why are Red Velvet Cupcakes a Must-Bake?
Irresistible appeal: These vibrant red velvet cupcakes are not just a feast for the eyes; they deliver incredible flavor and a moist texture that’s hard to resist.
Quick to prepare: With easy-to-follow steps, you’ll create these festive treats in no time—ideal for last-minute gatherings!
Creamy contrast: The silky cream cheese frosting beautifully complements the cocoa notes, making for a delightful taste experience that guests rave about.
Versatile joy: Perfect for any celebration, whether Valentine’s Day or casual get-togethers, these cupcakes will steal the spotlight.
Everlasting memories: Baking these cupcakes often leads to cherished moments spent with loved ones, making each bite even sweeter.
For another crowd-pleaser, check out my Gluten Free Cupcakes recipe that will leave everyone smiling!
Red Velvet Cupcake Ingredients
• Let’s create these delightful treats!
For the Cupcakes
- All-Purpose Flour – Provides structure and stability; spoon and level for accuracy.
- Dutch Process Cocoa Powder – Adds rich chocolate flavor and depth; regular cocoa won’t achieve the same color.
- Baking Powder & Baking Soda – These leavening agents help the cupcakes rise; no substitutions are recommended.
- Salt – Enhances flavor, balancing sweetness perfectly.
- Unsalted Butter (softened) – Adds moisture and richness; must be softened for easy creaming.
- Granulated Sugar – Sweetens and contributes to structure; no direct substitutes are suggested.
- Egg & Egg Yolk (room temperature) – Provides moisture and helps bind; ensure they’re at room temperature for better mixing.
- Vanilla Extract – Adds flavor complexity; use pure vanilla for the best results.
- Buttermilk (room temperature) – Contributes moisture and tanginess, making the cupcakes tender; can substitute with homemade buttermilk.
- Red Gel Food Coloring – Gives the signature vibrant color; recommended over liquid food coloring for depth.
For the Frosting
- Unsalted Butter (for frosting, softened) – Key base for a creamy texture; same prep notes as the cupcake butter.
- Cream Cheese (cold) – Core component of frosting, providing tangy flavor; should be cold to keep the frosting firm.
- Powdered Sugar – Sweetens and thickens frosting; sifting may help achieve a smoother texture.
- Sprinkles (optional) – For decoration; use any type you prefer for visual appeal.
Dive into baking these irresistible red velvet cupcakes, and enjoy the love that pours from each delightful bite!
Step‑by‑Step Instructions for Moist Red Velvet Cupcakes with Cream Cheese Frosting
Step 1: Preheat the Oven
Preheat your oven to 350°F (175°C) and prepare a standard cupcake pan by lining it with 12 cupcake liners. This sets the stage for baking your red velvet cupcakes perfectly, ensuring they rise nicely and develop that lovely dome shape.
Step 2: Mix the Dry Ingredients
In a small bowl, whisk together 1 cup of all-purpose flour, 2 tablespoons of Dutch process cocoa powder, 1 teaspoon of baking powder, 1 teaspoon of baking soda, and 1/2 teaspoon of salt. This step not only combines the ingredients but also aerates them, ensuring your cupcakes have a light and airy texture when they bake.
Step 3: Cream Butter and Sugar
In a large mixing bowl, using an electric mixer on high speed, cream together 1/2 cup of softened unsalted butter and 1 cup of granulated sugar for about 1 to 2 minutes until the mixture is pale in color and fluffy. This creates a rich base that contributes to the moistness of your red velvet cupcakes.
Step 4: Incorporate Eggs and Vanilla
Add 1 large egg, 1 egg yolk, and 1 teaspoon of vanilla extract into the butter-sugar mixture. Beat on medium speed for another 1 to 2 minutes, until it becomes pale and smooth. The eggs will enrich the cupcake batter, while the vanilla adds a lovely depth of flavor.
Step 5: Combine Wet and Dry Ingredients
Gradually alternate adding the dry ingredients and 1/2 cup of room-temperature buttermilk to the egg mixture. Start with one-third of the dry mixture, blend on low speed, then add half of the buttermilk and repeat until all ingredients are just combined. Be cautious not to overmix, as this can lead to dense cupcakes.
Step 6: Add Food Coloring
Carefully fold in 1 tablespoon of red gel food coloring until fully incorporated. This step is essential to achieve the signature vibrant hue of your red velvet cupcakes. The gel coloring will blend uniformly without altering the batter’s consistency.
Step 7: Fill Liners and Bake
Fill each cupcake liner about 3/4 full with batter, using a spoon or cookie scoop for even portions. Place the cupcake tray in your preheated oven and bake for 17-20 minutes, or until a toothpick inserted into the center comes out clean. Allow them to cool in the pan for 10 minutes, then transfer to a wire rack to cool completely.
Step 8: Prepare Cream Cheese Frosting
In a separate bowl, beat together 1/2 cup of softened unsalted butter until fluffy. Add 8 ounces of cold cream cheese and mix until fully combined and smooth. Gradually incorporate 2 cups of sifted powdered sugar until the frosting is creamy and holds its shape, ready to be piped onto the cupcakes.
Step 9: Frost Cupcakes
Once the red velvet cupcakes are cool, use a piping bag or a spatula to generously frost each cupcake with the cream cheese frosting. Feel free to get creative with your piping technique! For an extra touch, sprinkle your favorite decorations on top, adding a festive flair to your delightful treats.
Expert Tips for Perfect Red Velvet Cupcakes
- Measure Accurately: Spoon and level the flour to avoid excess, which can lead to dry, dense cupcakes. Accuracy matters in baking!
- Room Temperature Ingredients: Ensure eggs and buttermilk are room temperature for a smoother batter and better rise. Cold ingredients can hinder your cupcakes’ fluffiness.
- Don’t Overtighten: Mix the batter just until combined. Overmixing can make your red velvet cupcakes tough instead of light and airy.
- Cooling Time: Allow cupcakes to cool completely before frosting. This prevents the frosting from melting and helps maintain their delightful structure.
- Gel Food Coloring: Always opt for gel food coloring instead of liquid; it provides a bolder color without changing the batter’s consistency. Using the right color enhances the presentation without compromising quality.
How to Store and Freeze Red Velvet Cupcakes
Fridge: Store leftover red velvet cupcakes in an airtight container for up to 3 days. Allow them to come to room temperature before serving to enjoy their full flavor and tenderness.
Freezer: For longer storage, freeze the un-frosted cupcakes for up to 2 months. Place them in a single layer in a freezer-safe container or wrap individually in plastic wrap and foil to prevent freezer burn.
Frosting Storage: If you have extra cream cheese frosting, store it in an airtight container in the fridge for up to 1 week. Re-whip before using to restore its fluffy texture.
Thawing: When ready to enjoy, transfer frozen cupcakes to the fridge overnight to thaw, then frost them just before serving for a delightful treat that’s as good as fresh.
Make Ahead Options
These Red Velvet Cupcakes are perfect for meal prep enthusiasts! You can prepare the batter up to 24 hours in advance by mixing together all the wet and dry ingredients, then storing it in an airtight container in the fridge. The baked cupcakes can also be made ahead and stored for up to 3 days in an airtight container at room temperature. When you’re ready to serve, simply frost them with the cream cheese frosting, which can also be made ahead and refrigerated for up to 5 days. Just give it a quick whip before piping to ensure it’s fluffy and spreadable. With these tips, you’ll have delightful cupcakes ready with minimal effort, allowing you to enjoy stress-free celebrations!
Red Velvet Cupcakes Variations
Feel free to get creative and tailor these delightful red velvet cupcakes to your taste and dietary preferences!
-
Gluten-Free: Substitute all-purpose flour with a quality gluten-free blend for a delicious alternative without sacrificing flavor or texture.
Baking gluten-free doesn’t have to be daunting. Just ensure your blend contains xantham gum for the best results. -
Dairy-Free: Use almond milk or coconut milk in place of buttermilk and swap cream cheese for a dairy-free alternative.
Your loved ones won’t even notice the difference with these luscious swaps, and you can still share the joy of baking with everyone! -
Chocolate Lovers: Fold in 1/2 cup of chocolate chips or chunks into the batter for an indulgent twist.
Adding chocolate will bring an extra richness that elevates the flavor profile, making these cupcakes irresistible. -
Nutty Texture: Stir in chopped walnuts or pecans for a delightful crunch that contrasts with the moist cake.
The nutty flavor will add depth and enhance the overall eating experience, making every bite multifaceted. -
Vibrant Swirls: Create a marbled effect by swirling in a bit of cream cheese frosting into the cupcake batter before baking.
This fun technique leads to stunning visuals and a surprising flavor mix that your guests will love. -
Zesty Surprise: Incorporate a teaspoon of orange zest into the batter for a refreshing citrus note that uplifts the classic flavor.
This twist not only brightens the taste but also pairs beautifully with the cream cheese frosting. -
Spiced Up: Add 1/2 teaspoon of cinnamon or nutmeg to the batter for a warm, spicy flavor – perfect for cozy gatherings!
Spices bring a delightful complexity to the cupcakes, receiving rave reviews with every bite.
Need some delightful cupcakes that cater to dietary needs? Check out my Gluten Free Cupcakes recipe for another tasty alternative!
What to Serve with Moist Red Velvet Cupcakes with Cream Cheese Frosting
Indulging in these delightful cupcakes is just the beginning—pair them with the right accompaniments to create a truly memorable experience.
-
Fresh Berries: Juicy raspberries or strawberries add a burst of freshness that perfectly balances the sweetness of the cupcakes.
-
Coffee or Espresso: The rich, bold flavors of a cup of coffee enhance the chocolatey notes, making for a comforting pairing.
-
Whipped Cream: Light and airy, this addition adds creaminess without overpowering the cupcakes; a dollop on the side is perfect.
-
Chocolate Ganache: Drizzling warm ganache over the cupcakes elevates them to another level of decadence, taking each bite to heavenly heights.
-
Sparkling Wine: A flute of bubbly adds a festive touch, bringing an impressive sparkle to the table, perfect for any celebration.
-
Creamy Vanilla Ice Cream: A scoop of vanilla ice cream melting atop a warm cupcake creates a delightful contrast in temperature and texture.
-
Nutty Caramel Sauce: Drizzling a nutty caramel sauce brings not only sweetness but also adds a textured crunch, enhancing the overall flavor profile.
-
Fruit Salad: A light fruit salad with citrus notes refreshes the palate and complements the rich flavors of the cupcakes beautifully.
-
Chocolate-Covered Strawberries: Share the love with these luxurious bites that make for the perfect sweet couple with your red velvet indulgence.
Red Velvet Cupcakes Recipe FAQs
How do I know if my ingredients are ripe or fresh enough?
Absolutely! When selecting your ingredients, especially the buttermilk, ensure it’s fresh. Check expiration dates and look for any off odors. If you’re using eggs, a simple freshness test is to place them in a bowl of water. Fresh eggs will sink while older ones will float. For your buttermilk, a slight tangy smell is normal, but if it smells off, discard it.
What’s the best way to store leftover cupcakes?
Very! You should store your leftover red velvet cupcakes in an airtight container in the fridge for up to 3 days. This helps maintain their moisture while keeping them fresh. Before serving, allow them to come to room temperature; it enhances their flavor and tenderness!
Can I freeze red velvet cupcakes?
Absolutely! For freezing, it’s best to freeze your un-frosted cupcakes. Once completely cooled, place them in a single layer in a freezer-safe container, or wrap each cupcake individually in plastic wrap followed by aluminum foil. They can be frozen for up to 2 months. When you’re ready to enjoy them, simply thaw them in the fridge overnight before frosting them.
Why did my red velvet cupcakes turn out dense?
Very! A common reason for dense cupcakes is overmixing the batter. Be sure to mix your ingredients just until combined, since overmixing can develop the gluten in the flour and make your cupcakes tough. Also, ensure you’re measuring your flour correctly by spooning it into the measuring cup and leveling it off. Excess flour can lead to a dense final product.
Is there anything I should consider regarding dietary restrictions or allergies?
Of course! If you’re baking for someone with allergies, be aware of common allergens in this recipe. Both eggs and gluten (from the all-purpose flour) can be problematic for some. If you’re looking for alternatives, consider using an egg replacer for an egg-free option, and gluten-free flour blends can be useful for a gluten-free version. Always double-check the labels for any packaged products you use, like the baking powder or food coloring, to ensure they’re allergy-friendly.
Irresistibly Moist Red Velvet Cupcakes with Creamy Frosting
Ingredients
Equipment
Method
- Preheat your oven to 350°F (175°C) and prepare a standard cupcake pan by lining it with 12 cupcake liners.
- In a small bowl, whisk together all-purpose flour, Dutch process cocoa powder, baking powder, baking soda, and salt.
- In a large mixing bowl, cream together softened unsalted butter and granulated sugar until pale and fluffy.
- Add egg, egg yolk, and vanilla extract into the mixture and beat until pale and smooth.
- Gradually alternate adding the dry ingredients and buttermilk to the egg mixture, blending just until combined.
- Fold in red gel food coloring until fully incorporated.
- Fill each cupcake liner about 3/4 full with batter and bake for 17-20 minutes.
- For frosting, beat softened unsalted butter until fluffy, then mix in cold cream cheese until smooth.
- Gradually incorporate powdered sugar until creamy and ready to frost.
- Frost each cooled cupcake and add sprinkles if desired.
Leave a Reply