
As I stood in my kitchen, the enticing aroma of sizzling beef mingled with the crisp tang of taco shells, I couldn’t help but feel a wave of nostalgia. These Oven-Baked Cheesy Tacos are not just a meal; they’re a celebration of flavors and a cherished family favorite that brings everyone together. In just 30 minutes, this quick and customizable delight gets you from a hectic day to a satisfying dinner without the fuss. Whether you’re craving the perfect comfort food or need a crowd-pleaser for a gathering, these tacos are just what you need. And the best part? You can mix and match your toppings, making each taco uniquely yours! Ready to create some cheesy magic? Let’s dive into this tasty adventure together!
Why Are These Tacos a Must-Try?
Quick and Easy: In just 30 minutes, you can whip up a batch of these delightful tacos that are perfect for busy weeknights.
Customizable Perfection: With options for ingredient substitutions and an array of fresh toppings, every taco can reflect your own culinary flair!
Crispy and Gooey: Enjoy a delicious contrast of the crispy taco shell with a rich and messy cheese filling that will surely satisfy your cravings.
Crowd-Pleaser: Whether for a family dinner or a friend gathering, these Oven-Baked Cheesy Tacos are sure to be a hit, much like my Cheesy Garlic Bread or Cheesy Chicken Crescent recipes!
Health-Conscious Options: Feel free to switch out beef for lighter proteins or add veggies for an even healthier twist. Enjoy delicious flavors without the guilt!
Oven-Baked Cheesy Tacos Ingredients
For the Beef Mixture
- Ground Beef – The main protein source; you can substitute with ground turkey or plant-based options like lentils for a lighter version.
- Onion – Adds depth of flavor; any variety works, but yellow or white is preferred.
- Garlic – Fresh garlic enhances the savory notes perfectly; garlic powder is a good backup.
- Taco Seasoning – Essential for that signature taco taste; feel free to make your own blend for a personalized touch.
- Tomato Sauce/Salsa – Provides moisture and flavor; pick your favorite salsa for a spicy kick.
For Assembly
- Hard Taco Shells – The crispy base for your tacos; choose gluten-free varieties if needed.
- Shredded Cheese – Melts beautifully to create a gooey layer; cheddar is traditional, but Monterey Jack works wonders too.
For Fresh Toppings
- Shredded Lettuce – Adds a crunchy texture that’s refreshing and light.
- Diced Tomatoes – Introduces a burst of color and fresh flavor to each bite.
- Red Onion – Offers a slight zing; you can also use green onions for a milder taste.
- Optional Ingredients – Avocado or jalapeños for those who crave extra creaminess or spice!
Get ready to create these fantastic Oven-Baked Cheesy Tacos and delight your family and friends with a meal that’s not only fast and satisfying but also customizable to everyone’s liking!
Step‑by‑Step Instructions for Oven-Baked Cheesy Tacos
Step 1: Preheat the Oven
Start by preheating your oven to 400°F (200°C). This ensures a perfect cooking environment for your Oven-Baked Cheesy Tacos. Once the oven reaches the desired temperature, you’ll be ready to create that crispy shell that everyone loves!
Step 2: Prepare Taco Shells
While the oven is heating, take a baking dish and arrange the hard taco shells upright inside. This allows the shells to catch heat evenly, making them nice and crispy. Make sure they are snug but not cramped, so they bake perfectly without tipping over.
Step 3: Cook the Beef Mixture
In a large skillet over medium heat, add the ground beef and diced onion. Cook for 7-10 minutes, stirring occasionally, until the beef is nicely browned and the onion is translucent. Drain any excess fat, then stir in minced garlic and taco seasoning. Pour in ½ cup of tomato sauce or salsa, allowing the mixture to simmer for 5 minutes until it thickens.
Step 4: Assemble the Tacos
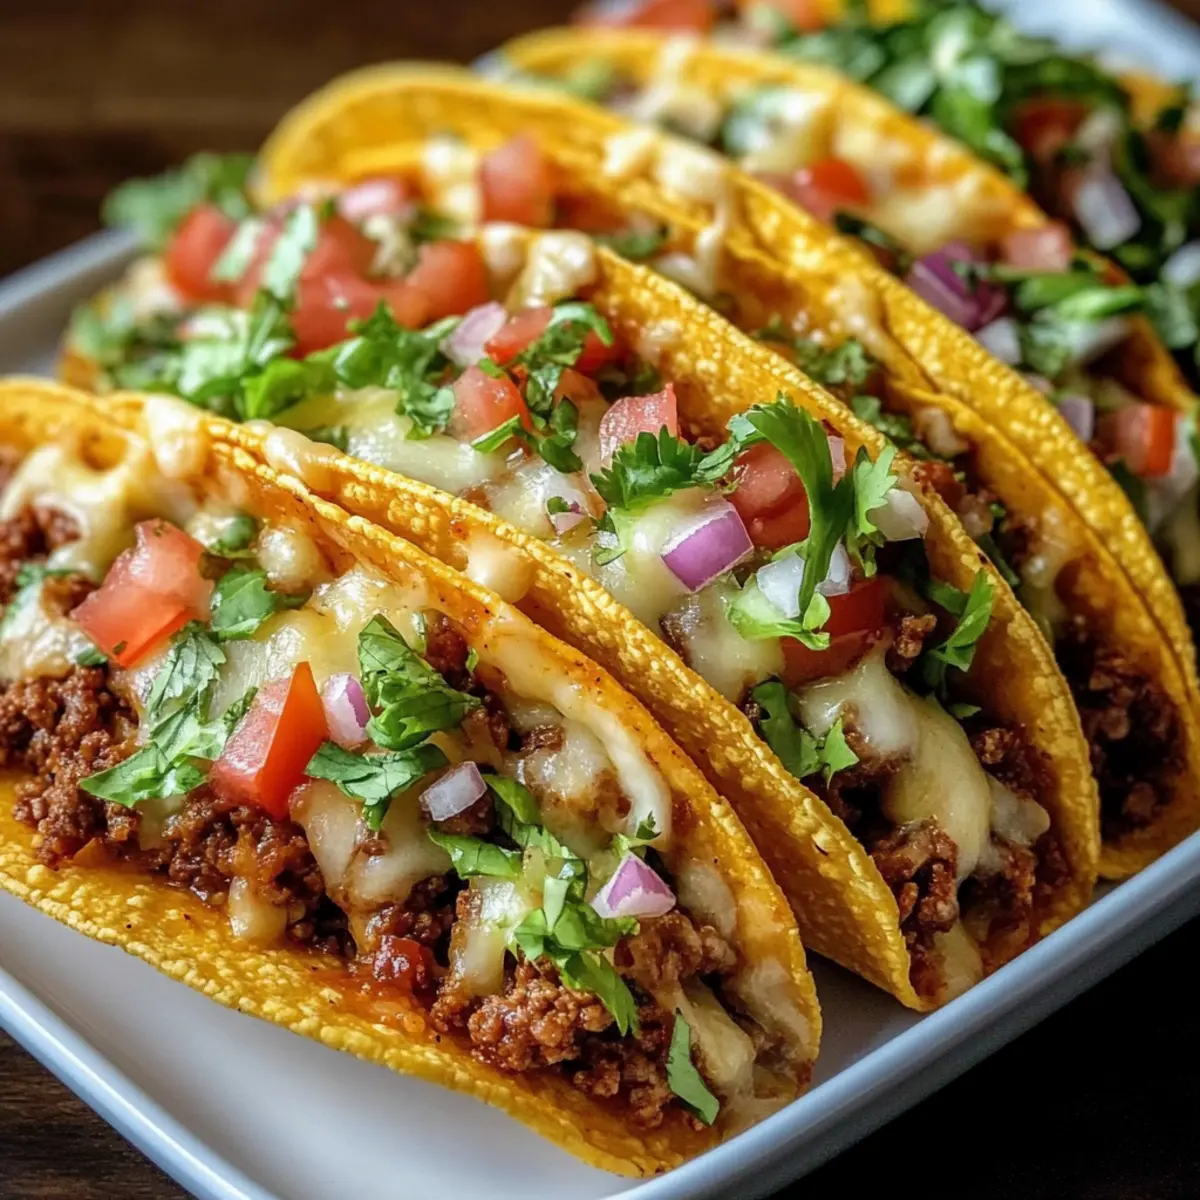
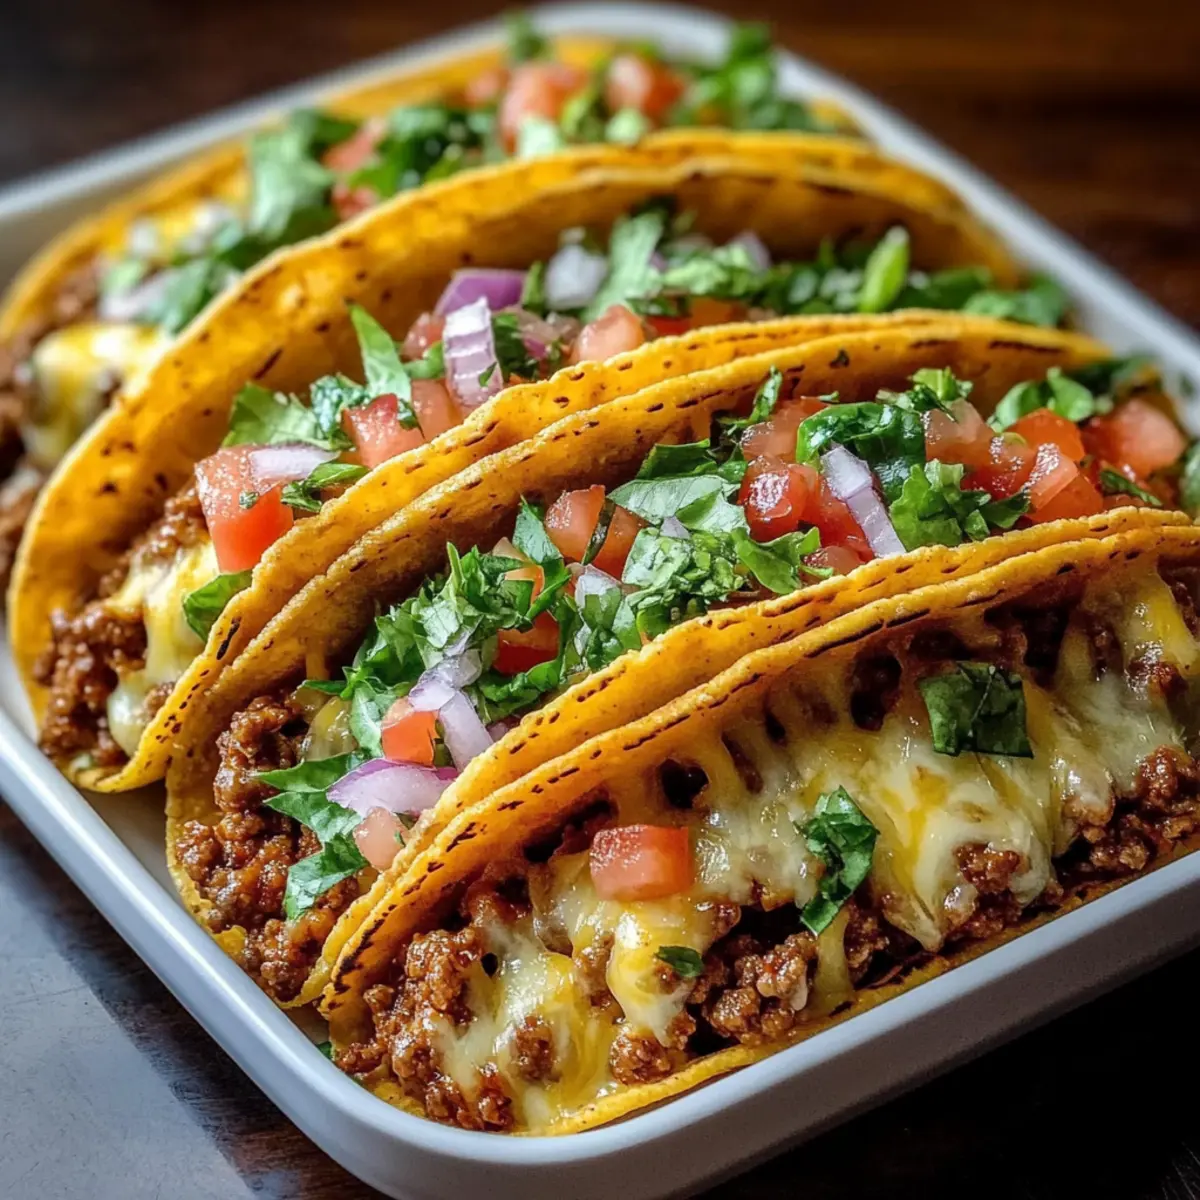
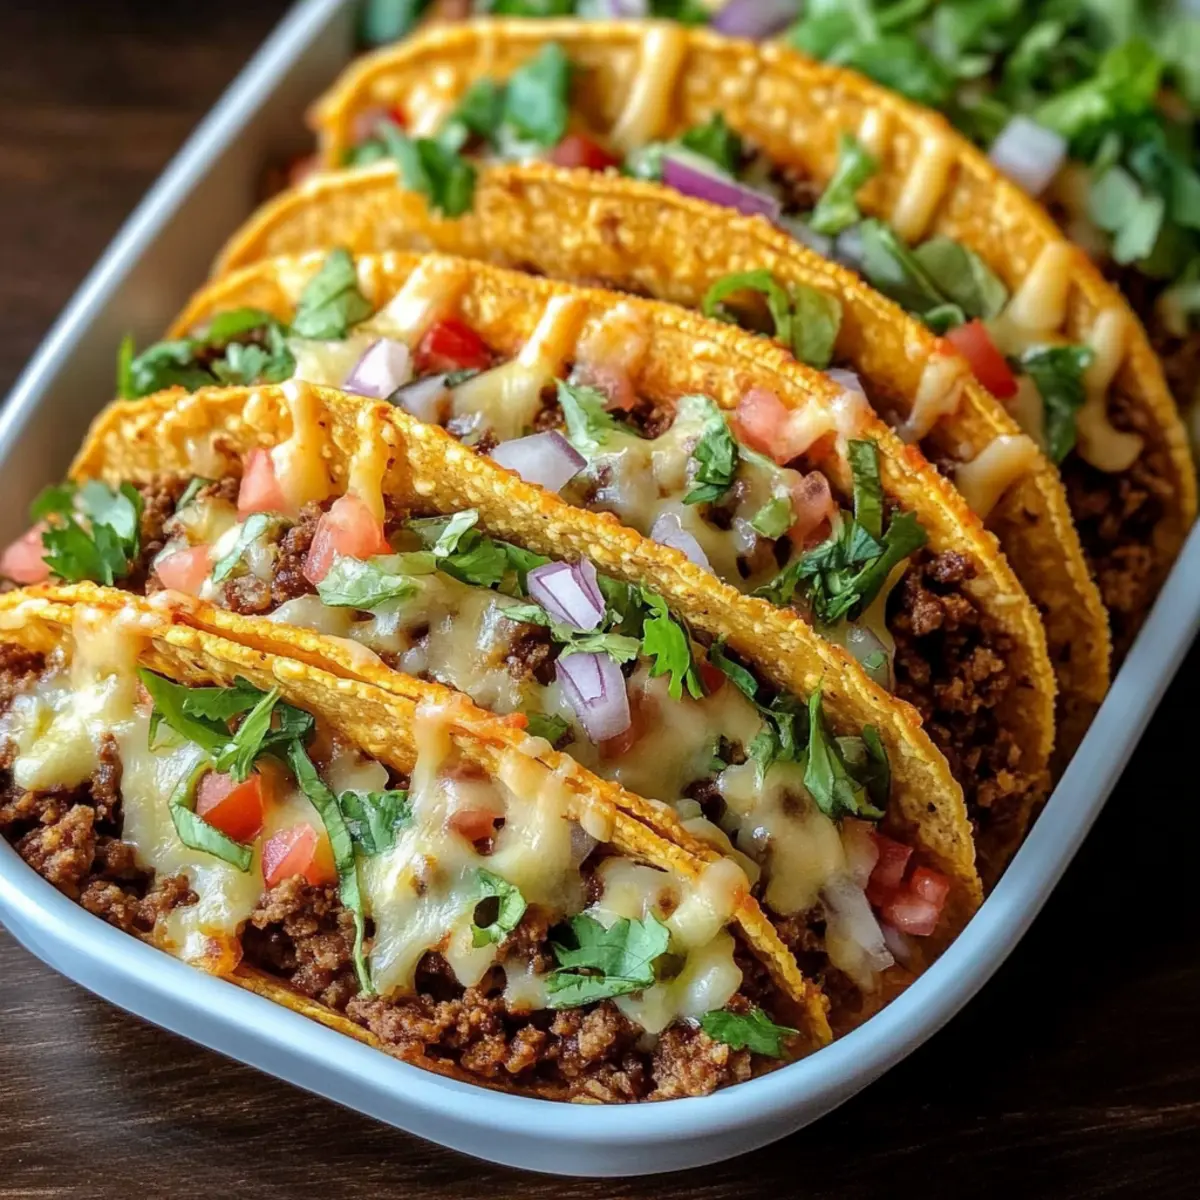
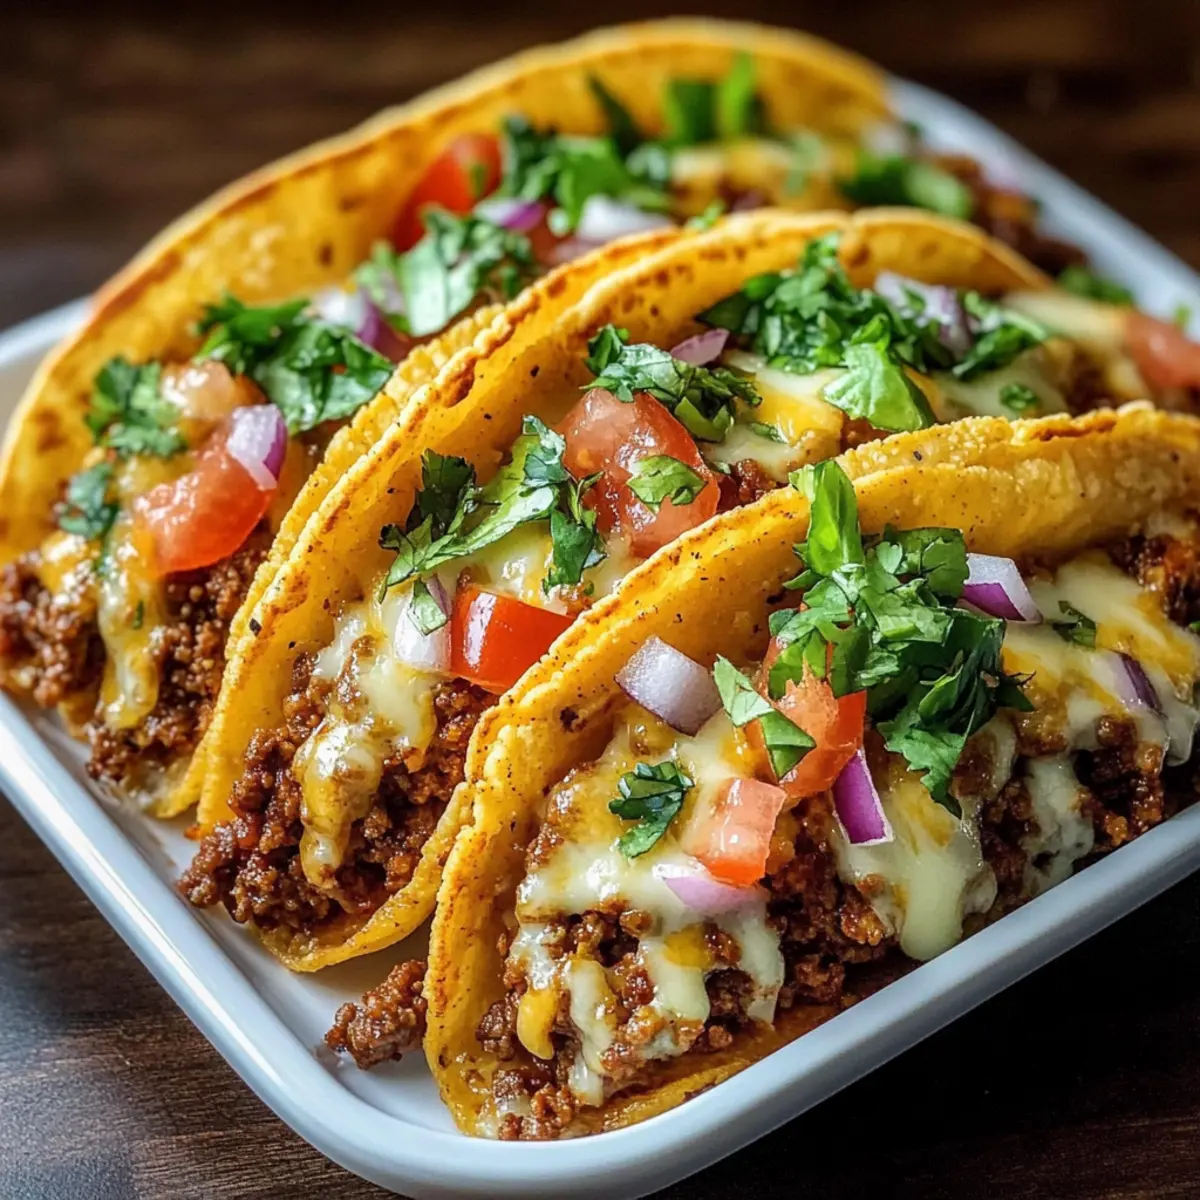
Carefully fill each taco shell with the beef mixture, generously packing it in. Then, sprinkle a generous amount of shredded cheese over each filled taco. This step creates that gooey, melty cheese layer that’s the hallmark of delicious Oven-Baked Cheesy Tacos.
Step 5: Bake the Tacos
Place the filled taco shells in the preheated oven and bake for 10-15 minutes. Keep an eye out for the cheese melting and the taco shells turning golden brown. The perfect visual cue is the bubbling cheese and crispy edges, indicating they’re done.
Step 6: Add Fresh Toppings
Once the tacos are finished baking, remove them from the oven and let them sit for a minute. Then, top each taco with fresh shredded lettuce, diced tomatoes, and red onion to add a refreshing crunch. For extra flavor, consider adding avocado or jalapeños as a wonderful finishing touch.
Oven-Baked Cheesy Tacos Variations
Customize your Oven-Baked Cheesy Tacos and unleash your creativity in the kitchen!
- Ground Turkey: Swap ground beef for a leaner, yet equally tasty option that’s lower in fat.
- Black Beans: For a vegetarian twist, replace beef with rinsed black beans for hearty goodness.
- Gluten-Free Shells: Opt for gluten-free taco shells to delight gluten-sensitive diners without sacrificing flavor.
- Cheese Combos: Experiment with a mix of cheddar and pepper jack for a bit of heat and richness.
- Salsa Choices: Use spicy salsa or mango salsa for a sweet and zesty kick in every bite.
- Veggie Load: Add corn, diced bell peppers, or olives to the filling for an added crunch and flavor boost.
- Herb Infusion: Toss in fresh cilantro or chives as a fresh topping for a burst of color and flavor.
- Kick It Up: For heat enthusiasts, sprinkle crushed red pepper flakes or jalapeños inside for extra spice!
With so many fun variations, every taco can be a little adventure! If you’re looking for more cheesy delights, don’t miss my recipe for Cheesy Parmesan Mozzarella bites, perfect for snacking alongside your tacos!
What to Serve with Oven-Baked Cheesy Tacos
Create a delightful meal experience that perfectly complements the cheesy goodness of your tacos.
-
Mexican Rice: Fluffy, flavorful rice brings a comforting base that pairs beautifully with the rich tacos.
-
Refried Beans: Creamy and hearty, refried beans add a classic touch and boost protein, enhancing the meal’s satisfaction.
-
Corn Salsa: A vibrant mix of sweet corn, tomatoes, and cilantro provides a refreshing contrast to the warm, cheesy tacos.
-
Guacamole: Creamy avocado goodness adds richness and balances the spice of the tacos, making each bite indulgent.
-
Crispy Tortilla Chips: Perfect for scooping up extra toppings or guacamole, chips add a satisfying crunch that complements soft fillings.
-
Margaritas: A zesty lime margarita elevates the experience, refreshing your palate with each sip as you enjoy your tacos.
-
Churros: End on a sweet note with churros, offering a delightful crispy exterior and a warm, sugary center for dessert.
How to Store and Freeze Oven-Baked Cheesy Tacos
Fridge: Store leftover Oven-Baked Cheesy Tacos in an airtight container for up to 3 days to maintain freshness and flavor.
Freezer: For longer storage, freeze the assembled and unbaked tacos. Wrap them tightly in plastic wrap, then in aluminum foil, and they’ll keep for up to 2 months.
Reheating: When ready to enjoy, bake frozen tacos directly from the freezer at 400°F (200°C) for about 20-25 minutes until heated through and cheese is bubbly.
Assembling in Advance: You can prepare the beef mixture ahead of time, refrigerate, and assemble just before baking. This way, you can enjoy them fresh any night of the week!
Make Ahead Options
These Oven-Baked Cheesy Tacos are perfect for meal prep enthusiasts looking to save time during busy weeknights! You can prepare the beef mixture and store it in the refrigerator for up to 3 days. Simply cook the ground beef with onion, garlic, and taco seasoning as directed, then cool and transfer it to an airtight container. Additionally, you can set up your hard taco shells in the baking dish ahead of time. When you’re ready to enjoy, just fill the shells with the chilled beef mixture, top with cheese, and bake for 10-15 minutes in a preheated oven until they are crispy and gooey. This way, you get delicious, homemade tacos with minimal fuss!
Expert Tips for Oven-Baked Cheesy Tacos
Perfectly Preheated: Avoid sogginess by ensuring your oven is fully preheated. This helps achieve that glorious crispy texture that everyone loves.
Don’t Overfill: Be careful not to overstuff the taco shells. Overfilling can cause them to topple over during baking and lead to a messy dinner!
Timing is Key: Keep an eye on your tacos during the final bake. Aim for a golden brown color on the shells and bubbling cheese, but don’t let them burn.
Custom Cheese Blends: Feel free to experiment with cheese! Combining different types can elevate the flavor profile of your Oven-Baked Cheesy Tacos.
Serve Immediately: For the best texture, serve the tacos right after baking. They remain crispy, keeping that delightful contrast with the melted cheese filling.
Oven-Baked Cheesy Tacos Recipe FAQs
How do I select the best ground beef for my tacos?
Absolutely! When choosing ground beef, aim for a lean blend, like 80/20, which strikes a good balance between flavor and fat content. This way, you’ll savor the richness without excess grease. Look for meat that is bright red in color and avoid any with dark spots, as that’s usually a sign of freshness gone by.
What are the best storage methods for leftovers?
To maintain the deliciousness of your leftovers, store them in an airtight container in the fridge for up to 3 days. If you’re looking to extend their lifespan, you can freeze them! Simply wrap the assembled but unbaked tacos tightly in plastic wrap and then in aluminum foil. They can last in the freezer for up to 2 months.
Can I freeze the cooked tacos? How should I reheat them?
Absolutely! You can freeze your assembled, unbaked Oven-Baked Cheesy Tacos. When you’re ready to indulge, there’s no need to thaw! Just bake them directly from the freezer at 400°F (200°C) for 20-25 minutes until they’re heated through and the cheese is bubbly. This keeps them nice and crispy!
What should I do if my taco shells break while baking?
Don’t worry too much! If your taco shells break, it often means they were either overfilled or not arranged securely in the baking dish. For next time, fill them moderately and ensure they fit snugly in the dish, allowing them to support each other. The end result is still delicious and can be served as a taco casserole if it becomes extra messy!
Are there any dietary considerations I should keep in mind?
For a gluten-free option, check that the hard taco shells are labeled gluten-free. If you’re mindful of allergies, be cautious with toppings like cheese and salsa, as they can contain common allergens. If serving to young kids or pets, keep them away from any spicy toppings like jalapeños, as they can be too intense for them.
Can I customize the toppings for variety?
Very! This is one of the best parts of making Oven-Baked Cheesy Tacos! Feel free to go wild with fresh toppings like sliced olives, corn, or grilled bell peppers. You can also make it special for different occasions by mixing up the seasonings in your beef mixture or using different cheese blends! The more the merrier!
Oven-Baked Cheesy Tacos That Will Wow Your Taste Buds
Ingredients
Equipment
Method
- Preheat your oven to 400°F (200°C).
- Arrange the hard taco shells upright in a baking dish.
- In a large skillet, cook the ground beef and diced onion for 7-10 minutes until browned. Stir in minced garlic and taco seasoning, then add tomato sauce or salsa and simmer for 5 minutes.
- Fill each taco shell with the beef mixture and top with shredded cheese.
- Bake in the preheated oven for 10-15 minutes until cheese is melted and shells are golden brown.
- Top with fresh shredded lettuce, diced tomatoes, and red onion. Optionally add avocado or jalapeños.
Leave a Reply