
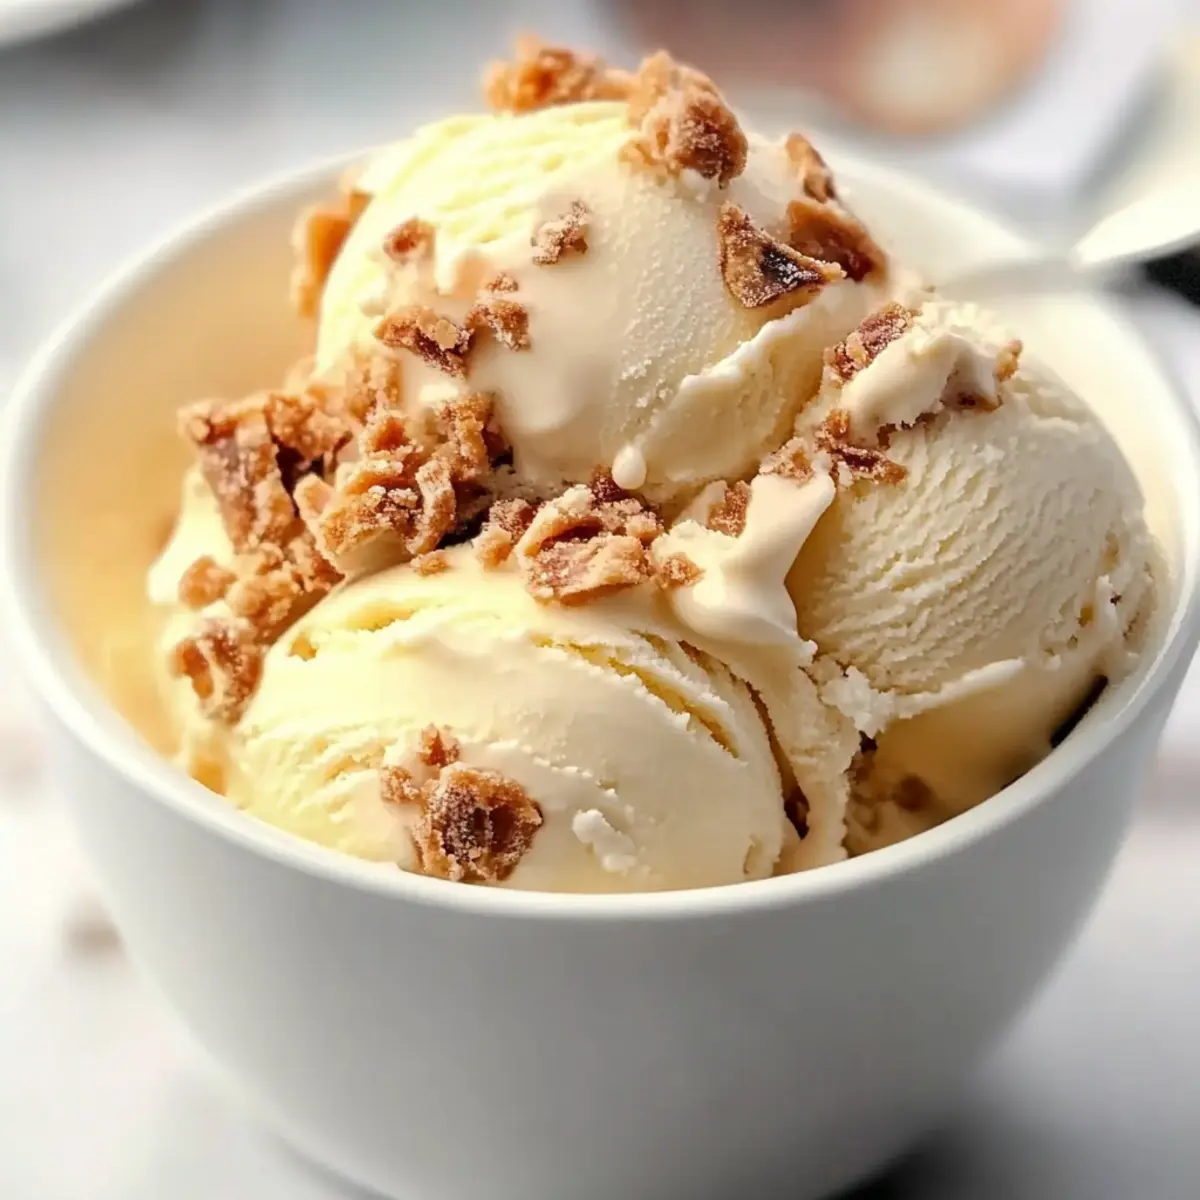
As I savored the last spoonful of my dinner, I was left with a craving that called out for something special. That’s when I decided to whip up a batch of No Churn Crème Brûlée Ice Cream—an extravagant dessert that requires zero baking fuss! This delightfully creamy treat brings the luxurious essence of classic crème brûlée straight to your freezer, complete with silky vanilla flavors and a satisfying crunch from toffee bits. The best part? It’s egg-free and naturally gluten-free if you opt for gluten-free toffee, making it a delightful indulgence for everyone. Whether you’re impressing dinner guests or treating yourself after a long day, this no-churn ice cream is a simple yet sophisticated dessert that’s sure to please. Ready to dive into this frozen bliss? Let’s get started!
Why Crème Brûlée Ice Cream is Amazing?
Indulgent Experience: Each scoop captures the luxurious taste of the classic French dessert, transforming it into a delightful frozen treat.
Effortless Preparation: With a no-churn method, you can whip up this indulgence without any fuss. Simply mix, freeze, and enjoy!
Versatile Flavor: Customize your ice cream with mix-ins like chocolate chips or crushed cookies for a personal touch, similar to Garlic Butter Steak or Grilled Shrimp Bowl.
Crowd-Pleaser: It’s the perfect dessert for entertaining; everyone will appreciate a serving of this creamy delight.
Healthier Option: With the choice to go gluten-free and egg-free, this recipe caters to various dietary preferences. Indulge guilt-free or pair it with fresh fruits for a lighter dessert!
Crème Brûlée Ice Cream Ingredients
• Here’s everything you need to create this delightful dessert!
For the Ice Cream Base
• 2 cups heavy whipping cream – Provides richness and creaminess; optional: use coconut cream for a dairy-free version.
• 1 (14 oz) can sweetened condensed milk – Acts as a sweetener and stabilizer for a smooth texture; no substitutes needed.
• 1 tbsp vanilla bean paste – Enhances flavor with true vanilla essence; substitute with 1 tbsp vanilla extract for a milder taste, though flavor intensity will differ.
• Optional pinch of salt – Enhances other flavors and balances sweetness.
For the Crunch
• ½ cup toffee bits or crushed Heath Bar pieces – Adds delightful crunch and caramel flavor; substitutes include crushed caramel candies or caramel brittle.
Now you’re all set to create your own Crème Brûlée Ice Cream!
Step‑by‑Step Instructions for Crème Brûlée Ice Cream
Step 1: Chill Your Equipment
To start, pop your mixing bowl and whisk into the freezer for about 10 minutes. Chilling these tools helps the heavy cream whip up better, ensuring your Crème Brûlée Ice Cream achieves that perfectly fluffy texture. You want them nice and cold, so be sure to take them out just before you’re ready to whip.
Step 2: Whip the Cream
In the chilled bowl, pour in the 2 cups of heavy whipping cream. Using an electric mixer, beat the cream on medium-high speed until stiff peaks form—this should take about 3–5 minutes. Keep an eye on it; the cream should be glossy and hold its shape beautifully, creating the perfect base for your luscious ice cream.
Step 3: Mix the Condensed Milk
In a separate large bowl, combine the 14-ounce can of sweetened condensed milk, 1 tablespoon of vanilla bean paste, and an optional pinch of salt. Stir these ingredients together gently using a spatula, ensuring a smooth mixture that blends the creamy sweetness of the milk with the rich vanilla flavor. This mixture will anchor your Crème Brûlée Ice Cream.
Step 4: Combine the Mixtures
Carefully fold the whipped cream into the condensed milk mixture using a rubber spatula. Start by adding about one-third of the whipped cream to lighten the mixture, then gently fold in the remaining cream until no white streaks remain. This step is crucial for maintaining the airy texture that makes your ice cream so delightful.
Step 5: Add the Toffee
Once fully combined, incorporate the ½ cup of toffee bits or crushed Heath Bar pieces into the mixture. Use a gentle folding motion to evenly distribute the crunchy goodness throughout your ice cream base. The toffee will add that signature caramel flavor and delightful crunch that makes your Crème Brûlée Ice Cream truly irresistible.
Step 6: Transfer to Container
Pour the creamy mixture into a loaf pan or an airtight container. Use a spatula to smooth the top, ensuring an even surface. This helps with the presentation when you serve your delightful Crème Brûlée Ice Cream. Make sure it is tightly sealed to prevent ice crystals from forming during freezing.
Step 7: Freeze Until Firm
Place the container in the freezer and allow the Crème Brûlée Ice Cream to freeze for a minimum of 6 hours, or preferably overnight. This extended freezing time ensures a rich, solid texture and allows all the flavors to meld beautifully. Once frozen, it should be firm enough to scoop but creamy enough for a luscious bite.
Step 8: Serve and Enjoy
When ready to serve, remove the container from the freezer and let it sit at room temperature for a few minutes to soften slightly. This makes scooping easier. For the ultimate indulgence, consider caramelizing the top with sugar and a kitchen torch for that authentic crème brûlée finish. Enjoy your homemade Crème Brûlée Ice Cream!
Expert Tips for Crème Brûlée Ice Cream
Chill Equipment: Start with chilled mixing bowls and whisks. It’s key for whipping the cream to that perfect fluffy consistency!
Fold Gently: When combining the whipped cream with the condensed milk, fold gently to maintain airiness. Overmixing can lead to a denser texture.
Don’t Rush Freezing: Allow the ice cream to freeze overnight for the best flavor and texture. Freezing too short will yield a more icy consistency.
Caramelized Top: For a true crème brûlée experience, sprinkle some sugar on top and caramelize it with a kitchen torch for that crunchy top layer.
Scoop Warm: Running your ice cream scoop under warm water before serving makes it easier to scoop your Crème Brûlée Ice Cream. Enjoy every luscious bite!
What to Serve with No Churn Crème Brûlée Ice Cream?
Indulge your senses by complementing this creamy dessert with delightful pairings that elevate your experience.
-
Fresh Berries: The tartness of strawberries, raspberries, or blueberries contrasts beautifully with the rich flavors of the ice cream, adding a refreshing touch. A simple berry salad can brighten up your dessert plate.
-
Chocolate Sauce: Drizzling warm chocolate sauce on top introduces a decadent layer of flavor that pairs perfectly with crème brûlée’s vanilla sweetness. The combination creates an irresistible blend of textures.
-
Shortbread Cookies: The buttery crunch of shortbread cookies enhances the creamy ice cream, providing an extra element for crunch. Together, they are a classic duo for a sophisticated dessert platter.
-
Espresso or Coffee: A small cup of espresso or coffee serves as a delightful accompaniment, balancing the sweetness of the ice cream with a rich, bold flavor. The warmth of the drink will contrast beautifully with the chilled dessert.
-
Caramel Sauce: Add an extra drizzle of caramel sauce over your ice cream for an even sweeter touch. The additional layer of caramel enhances the classic crème brûlée flavor while introducing a luscious texture.
-
Toasted Nuts: Sprinkle some toasted almonds or pistachios on top to add a delightful crunch and nutty flavor that complements the creamy ice cream perfectly. Their saltiness balances sweetness beautifully.
-
Fruit Tart: Serve alongside a light and flaky fruit tart for a touch of elegance. The tartness of the fruits will harmonize well with the smooth ice cream, creating a balanced dessert experience.
-
Mint Leaves: Garnishing with fresh mint leaves not only adds a pop of color but also a refreshing note to cut through the richness of the ice cream. It brings a hint of brightness that ties everything together.
-
Vanilla Wafer Crust: For a fun twist, consider a small serving of a vanilla wafer crust on the side. The crunch provides a delightful contrast to the smooth ice cream while echoing similar flavors.
Enjoy mixing and matching these delightful pairings to create an unforgettable dessert experience with your No Churn Crème Brûlée Ice Cream!
Make Ahead Options
These No Churn Crème Brûlée Ice Cream are perfect for busy home cooks looking to save time! You can prepare the ice cream mixture up to 24 hours in advance. Start by whipping the cream and mixing it with the sweetened condensed milk and vanilla bean paste, then fold in the toffee bits. Once combined, transfer this mixture into an airtight container and freeze it overnight to develop the richness and texture. To maintain quality, ensure the container is tightly sealed to prevent ice crystals. When you’re ready to serve, just remove it from the freezer and let it sit for a few minutes to soften slightly, making it easier to scoop your delicious Crème Brûlée Ice Cream!
How to Store and Freeze Crème Brûlée Ice Cream
Fridge: This ice cream is best stored in the freezer; however, if you have leftover ice cream in the fridge, consume it within 2 days for optimal taste and texture.
Freezer: Store your Crème Brûlée Ice Cream in an airtight container in the coldest part of your freezer for up to 2 weeks. This keeps it creamy and prevents ice crystals from forming.
Reheating: When ready to serve, take the container out of the freezer and let it sit at room temperature for about 5-10 minutes before scooping. Enjoy a perfectly silky scoop every time!
Crème Brûlée Ice Cream Variations
Feel free to customize your Crème Brûlée Ice Cream to match your taste buds and dietary needs!
- Dairy-Free: Substitute heavy cream with coconut cream for a creamy, non-dairy alternative that’s equally indulgent.
- Lower Sugar: Opt for sugar-free condensed milk to minimize sweetness without sacrificing that delightful creaminess.
- Flavor Twist: Replace vanilla bean paste with hazelnut or almond extract for a distinct flavor profile that still maintains that rich base.
- Add Fruit: Stir in fresh berries or bananas for a fruity twist. Fruits add a refreshing burst and contrast beautifully with the creamy texture.
- Chocolate Lovers: Fold in mini chocolate chips or chunks for a decadent chocolate version that enhances the dessert experience.
- Heat It Up: Add a pinch of cayenne or cinnamon—just a little—to create a warm, spicy kick that complements the sweet and creamy elements beautifully.
- Nutty Crunch: Incorporate chopped nuts like pecans or walnuts in place of toffee for a crunchy, nutty surprise that adds texture.
- Layer It: Swirl in a layer of chocolate or caramel sauce just before freezing, creating a delightful ribbon of flavor throughout your ice cream.
These ideas make this frozen treat even more exciting, similar to how sometimes, a comforting Bacon Cream Cheese wraps its deliciousness around a crisp bagel. Each variation can inspire fun twists on your favorite recipes, bringing personal touches to this luscious dessert!
Crème Brûlée Ice Cream Recipe FAQs
How do I select the best ingredients for this recipe?
Absolutely! For the heavy whipping cream, look for a product with a high-fat content, ideally around 36%, as it will whip better and yield creamier ice cream. When choosing toffee bits, ensure they don’t have any dark spots or a stale smell, which could indicate they’re past their prime. If you’re opting for gluten-free, pick toffee bits labeled as such.
What’s the best way to store Crème Brûlée Ice Cream?
I recommend keeping your Crème Brûlée Ice Cream in an airtight container in the coldest part of your freezer. This method will help maintain its creamy texture. For the best experience, consume it within 2 weeks. If it becomes too hard, simply let it sit at room temperature for about 5-10 minutes before scooping to soften.
Can I freeze the Crème Brûlée Ice Cream for longer?
Yes! If stored properly, your ice cream can last up to 3 months in the freezer. Make sure it’s in an airtight container to minimize exposure to air, which can lead to freezer burn. To freeze, simply follow the original recipe and place the mixture directly in the container. When you’re ready to serve, thaw it slightly for the best scoopability!
What if my Crème Brûlée Ice Cream is too icy?
Very! If your ice cream turns out icy instead of creamy, the main culprit is often not enough whipping or freezing time. Make sure to whip the cream to stiff peaks and freeze it for at least 6 hours. If ice crystals do form, it can help to let it sit at room temperature for a few minutes before serving.
Is this recipe suitable for people with dietary restrictions?
Absolutely! With the right substitutions, this Crème Brûlée Ice Cream can be gluten-free if you choose gluten-free toffee. Also, since it’s made with sweetened condensed milk, it’s naturally egg-free. If you’re aiming for a dairy-free option, simply swap the heavy cream with coconut cream—this will still provide a delightful flavor while meeting dietary needs.
Can I make variations of this Crème Brûlée Ice Cream?
Yes! The beauty of this recipe is its versatility. You can add mix-ins like crushed cookies, chocolate chips, or fresh fruit according to your tastes. For a different flavor twist, consider adding almond extract or coffee for a punch of character. It’s all about personal preference, so feel free to experiment!
Decadent Crème Brûlée Ice Cream You Can Make at Home
Ingredients
Equipment
Method
- Chill Your Equipment: Pop your mixing bowl and whisk into the freezer for about 10 minutes.
- Whip the Cream: Pour in the heavy whipping cream and beat on medium-high speed until stiff peaks form, about 3-5 minutes.
- Mix the Condensed Milk: In a large bowl, combine the sweetened condensed milk, vanilla bean paste, and salt. Stir gently.
- Combine the Mixtures: Fold the whipped cream into the condensed milk mixture gently.
- Add the Toffee: Incorporate the toffee bits into the mixture and fold gently.
- Transfer to Container: Pour the mixture into a loaf pan or airtight container and smooth the top.
- Freeze Until Firm: Place in the freezer for at least 6 hours or preferably overnight.
- Serve and Enjoy: Let sit at room temperature for a few minutes before scooping.
Leave a Reply